


VMware template creation can be automated using packer. VMware Virtual Machine deployments are very faster because of the template based VM build. But due to rapid development and fast-paced Operating system releases, we might need to build multiple templates and keep it ready for deployment. A customer might ask different operating system release and you should be ready the prebuilt templates. In this article, we will walk through the VMware vSphere Template creation for Redhat/CentOS using Packer.
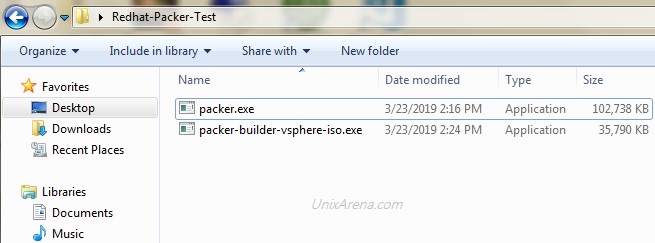
Download the following components:
- JetBrains-infra vSphere-iso (File Name: packer-builder-vsphere-iso.exe)
- Packer (Download according to your laptop OS )
- Redhat Enterprise Linux 7.x or CentOS 7.x ISO.
On Your Laptop/Desktop,
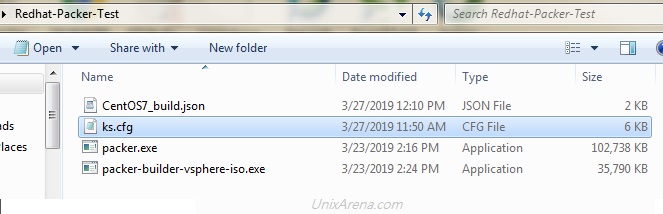
1. Create a new directory and copy all the downloaded components. RHEL/ CentOS ISO should be kept 0n VMware vSphere’s datastore.

2. Open a notepad and paste the following contents to it. Edit all the required values according to your infrastructure. Save this file as CentOS7_build.json on the same directory.
{
  "builders": [
    {
      "type": "vsphere-iso",

      "vcenter_server":      "192.168.2.212",
      "username":            "administrator@vsphere.local",
      "password":            "test@123",
      "insecure_connection": "true",
      "vm_name": "RHEL-Template",
      "notes": "Build via Packer",
      "datacenter": "STACK-BLR",
      "cluster": "UA-CLS",
      "host": "192.168.2.211",
      "datastore": "DATASTORE-BLR",
      "network": "VM Network",
      "resource_pool": "UA-ResPool",

      "guest_os_type": "centos7_64Guest",

      "ssh_username": "root",
      "ssh_password": "server",

      "CPUs":             1,
      "RAM":              1024,
      "RAM_reserve_all": false,

      "convert_to_template": true,

      "disk_controller_type":  "pvscsi",
      "disk_size":        25000,
      "disk_thin_provisioned": true,

      "network_card": "vmxnet3",

      "iso_paths": [
        "[DATASTORE-BLR] ISO/centos7_64.iso"
      ],
      "iso_checksum": "5b61d5b378502e9cba8ba26b6696c92a",
      "iso_checksum_type": "md5",
      "floppy_files": [
        "{{template_dir}}/ks.cfg"
      ],
      "boot_command": " <esc> <wait> linux inst.text inst.ks=hd:fd0:/ks.cfg <enter> "
          }
  ]
}
You might need to update the value for almost all the fields except the boot_command, networ_card, disk_controller_type, and provision type.
3. You need to prepare traditional kickstart file to define the package selection and other configuration. Download this kickstart file for RHEL 7 / CentOS 7. Please feel free to modify and update the kickstart file according to our need.
- Root Credentials – root/server
- User – admin/admin123
4. Here is the snapshot of the directory contents.

5. Open command prompt – Start – > cmd – > Enter. Navigate to the directory which we have created for this VM build.

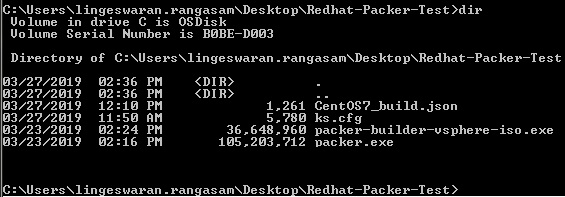
6. Trigger the packer build job using the following command. At this stage, the VM job is waiting for VM to boot with IP.
C:\Users\lingeswaran.rangasam\Desktop\packer\Redhat-Packer-Test>packer.exe build CentOS7_build.json
vsphere-iso output will be in this color.

==> vsphere-iso: Creating VM...
==> vsphere-iso: Customizing hardware...
==> vsphere-iso: Mount ISO images...
==> vsphere-iso: Creating floppy disk...
    vsphere-iso: Copying files flatly from floppy_files
    vsphere-iso: Copying file: C:\Users\lingeswaran.rangasam\Desktop\packer\Redhat-Packer-Test/ks.cfg
    vsphere-iso: Done copying files from floppy_files
    vsphere-iso: Collecting paths from floppy_dirs
    vsphere-iso: Resulting paths from floppy_dirs : []
    vsphere-iso: Done copying paths from floppy_dirs
==> vsphere-iso: Uploading created floppy image
==> vsphere-iso: Adding generated Floppy...
==> vsphere-iso: Set boot order temporary...
==> vsphere-iso: Power on VM...
==> vsphere-iso: Waiting 10s for boot...
==> vsphere-iso: Typing boot command...
==> vsphere-iso: Waiting for IP...
==> vsphere-iso: IP address: 192.168.2.67
==> vsphere-iso: Using ssh communicator to connect: 192.168.2.67
==> vsphere-iso: Waiting for SSH to become available...
==> vsphere-iso: Connected to SSH!
==> vsphere-iso: Shut down VM...
==> vsphere-iso: Deleting Floppy drives...
==> vsphere-iso: Deleting Floppy image...
==> vsphere-iso: Eject CD-ROM drives...
==> vsphere-iso: Convert VM into template...
==> vsphere-iso: Clear boot order...
Build 'vsphere-iso' finished.

==> Builds finished. The artifacts of successful builds are:
--> vsphere-iso: RHEL-Template

C:\Users\lingeswaran.rangasam\Desktop\packer\Redhat-Packer-Test>
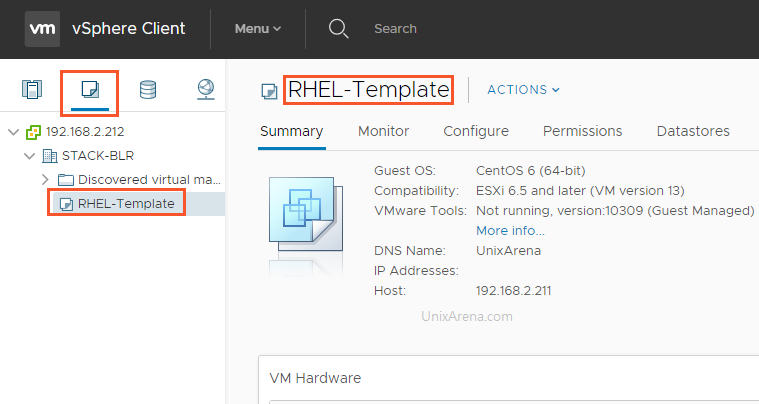
7. Login to VMware vCenter and navigate to template section. Here you can see the Packer generated template.

We have successfully built CentOS/RHEL 7.x VM and concerted into VMware VM template using Packer. If you do not want to convert into a VM template, Refer the REHL/CentOS VM build using ISO – Packer.
Hope this article is informative to you. Share it! Comment it!! Be Sociable!!!