Pacemaker offers web based user interface portal to manage the cluster. It also provides an interface to manage multiple clusters in single web UI. We can’t really say that WEB UI has all the options to manage the cluster. I would say that command line is much easier and simple when you compare to GUI. However , you could give a try for pacemaker web UI. It uses the port 2224 and you can access the web UI portal using “https://nodename:2224” .
Web UI is limited to perform the following tasks
- Create the new cluster
- Add existing cluster to the GUI
- Manage the cluster nodes (stop , start, standby)
- Configure the fence devices
- Configure the cluster resources
- Resource attributes (order, location, collocation, meta attributes )
- Set the cluster properties.
- Create a roles
I don’t see any option to switch over the resources from one node to another node . Also there is no way to verify & configure the corosync rings.
Let’s access the web UI portal of pacemaker.
1. Doesn’t require any additional setup to access the pacemaker web UI from cluster nodes. By default, pcs packages will be installed as a part of cluster package installation.
2.pcsd.service is responsible for web UI.
[root@UA-HA ~]# systemctl status pcsd
● pcsd.service - PCS GUI and remote configuration interface
   Loaded: loaded (/usr/lib/systemd/system/pcsd.service; enabled; vendor preset: disabled)
   Active: active (running) since Mon 2015-10-19 14:46:06 EDT; 2s ago
 Main PID: 55297 (pcsd)
   CGroup: /system.slice/pcsd.service
           ├─55297 /bin/sh /usr/lib/pcsd/pcsd start
           ├─55301 /bin/bash -c ulimit -S -c 0 >/dev/null 2>&1 ; /usr/bin/ruby -I/usr/lib/pcsd /usr/lib/pcsd/ssl.rb
           ├─55302 /usr/bin/ruby -I/usr/lib/pcsd /usr/lib/pcsd/ssl.rb
           └─55315 python2 /usr/lib/pcsd/systemd-notify-fix.py

Oct 19 14:46:01 UA-HA systemd[1]: Starting PCS GUI and remote configuration interface...
Oct 19 14:46:06 UA-HA systemd[1]: Started PCS GUI and remote configuration interface.
[root@UA-HA ~]#
3. pcsd configuration daemon uses the account called “hacluster” . we have setup the password during the initial cluster setup.
4.Let’s launch the pacemaker Web UI. You could use any one of the node’s IP address to access it.
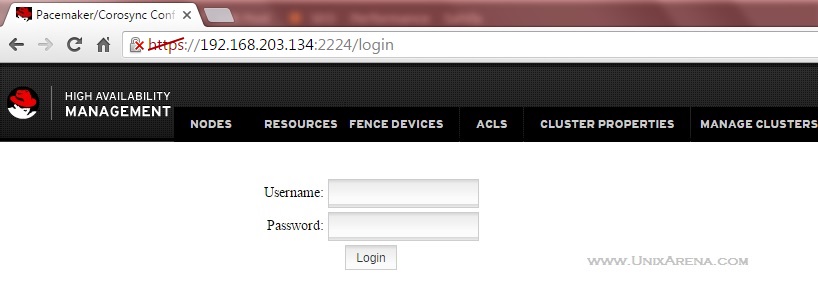
5. Login with “hacluster” user credentials .
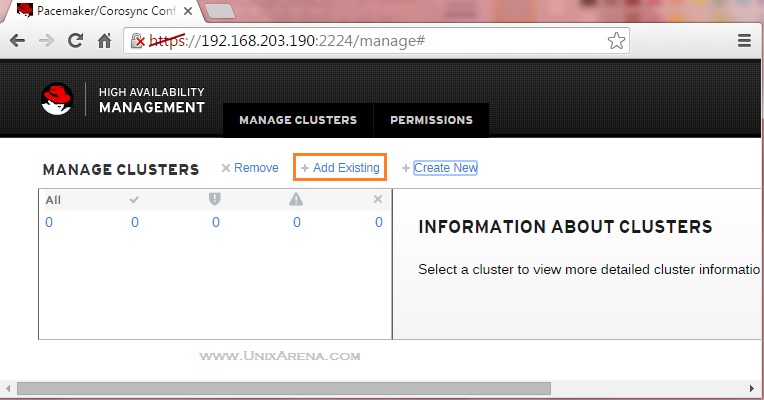
6. By default, there won’t be any cluster added in to the portal. Since we have a configured cluster, let’s add to this web UI. Click “+Add Existing” link.
7. Enter one of the cluster node IP address and click “Add Existing”. This process will automatic pull the cluster information to Web UI.
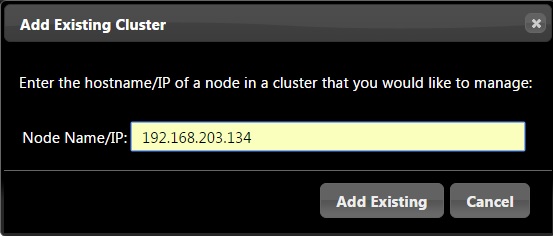
Same way you can add N number of clusters to the single Web UI. So that you can manage all the clusters from one place.
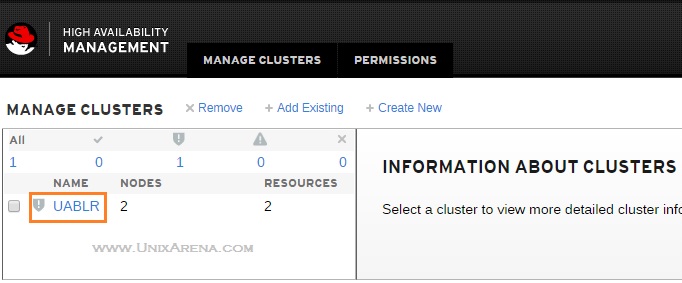
8. Select the cluster which you would like to manage using Web UI.
9.By default , it will take you to the “Nodes” tab.
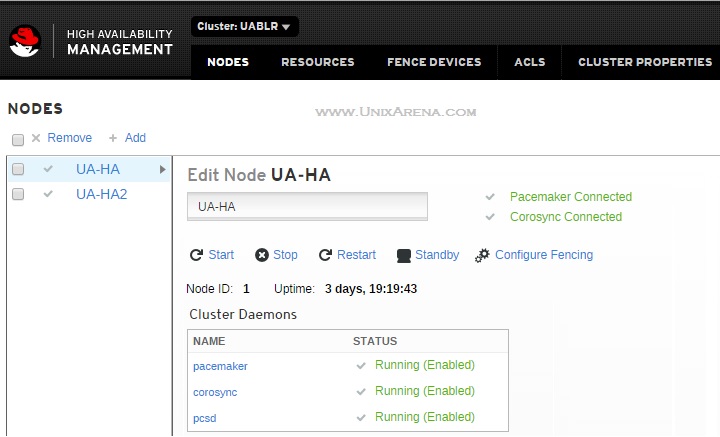
Here you could see the following options.
- Stop/start/restart the cluster services on specific node
- Move the node in to standby mode.
- Configure Fencing.
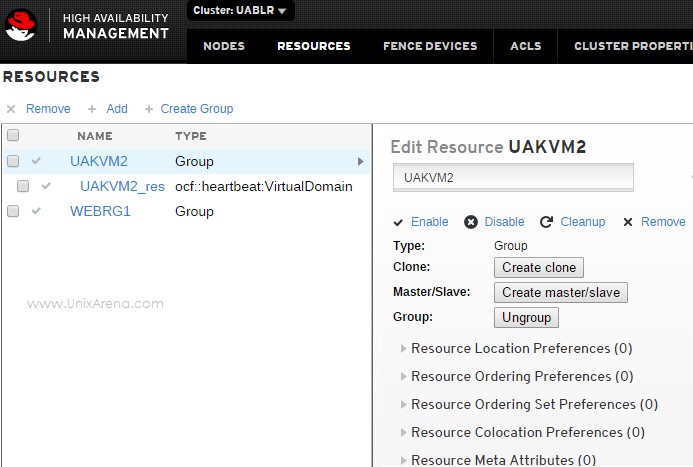
10. Have a look at the resource management tab.
11. Next tab is exclusively to configure & manage the fencing.
12. ACLS tab provides an option to create the rule with custom rules. (Providing read only access to set of users / group)
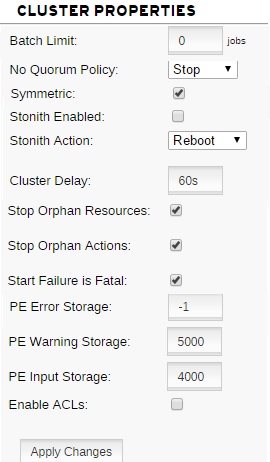
13. In “cluster properties” tab, you can find the following options.
14. The last tab is will take to you (screen “step 8” ) cluster list.
I personally felt that pacemaker web UI is limited to perform specific work. The pacemaker (pcs) command line looks simple and powerful .
Hope this article is informative to you. Share it ! Comment it ! Be Sociable !!!
Lidor says
is there a way to receive notification , for example to email , when resource is failed?
I’m using the WEB UI (GUI) high availability pacemaker interface but I didn’t find their a way to do that.
Rakesh Sindhu says
RHEL 7 cluster article awsum “`
This is very useful for us…