

This article will demonstrate that how to launch the first Openstack instance. In the previous articles ,we have setup the openstack software and gone through the openstack dashboard functionalities. In an order to launch the openstack instances, first we need to create the network security group, rules & key pairs to access the instances from other network. In the security rule , I will make the port 22 and ping protocol to allow in the firewall. Note that once you have download the key pair , there is no way to download it again due to security reason. Let’s create the first openstack instance.
Create the Network security group & Configure the Rules:
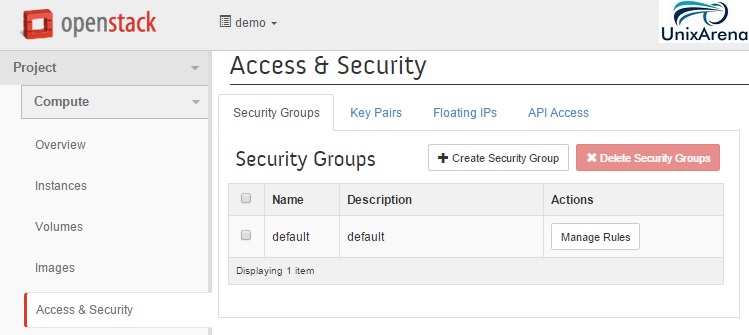
1. Login to Openstack Dashboard as normal user. (demo)
2. Navigate to Access & Security . Select the tab called “Security Groups”.
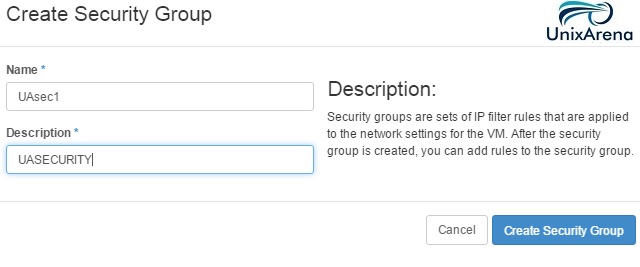
3. Click on “Create Security group”. Enter the name and description for the security group.
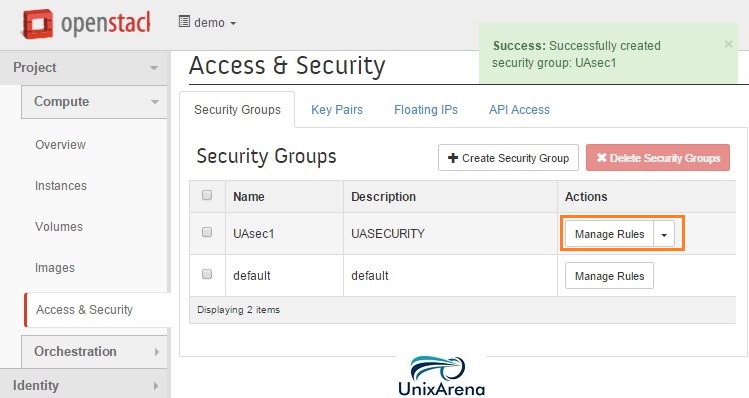
4. Once the group has been created successfully, Click on “Manage Rules” .
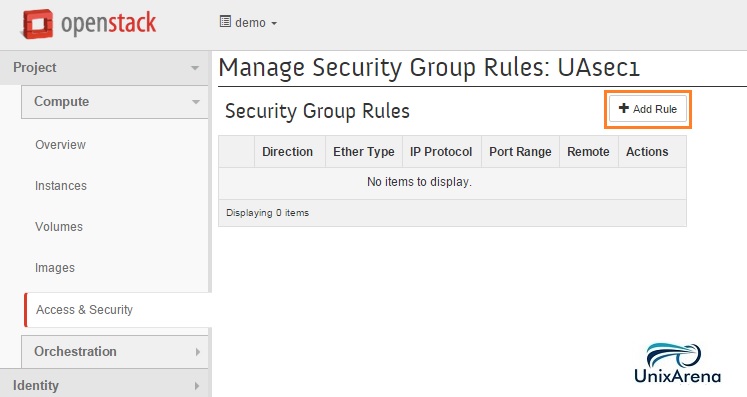
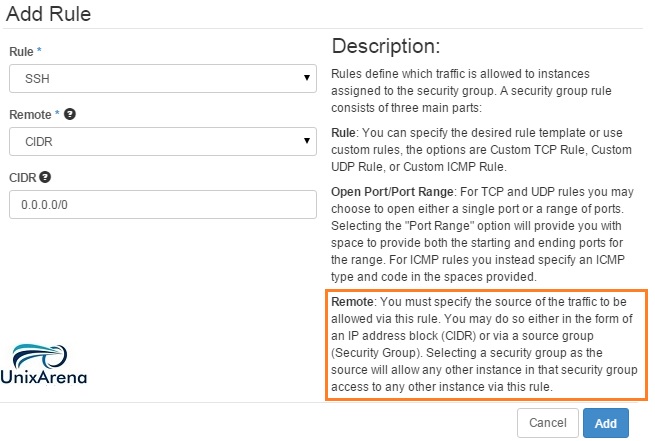
5. Click on “Add Rule” .
6. Allow ssh from anywhere to the instances.
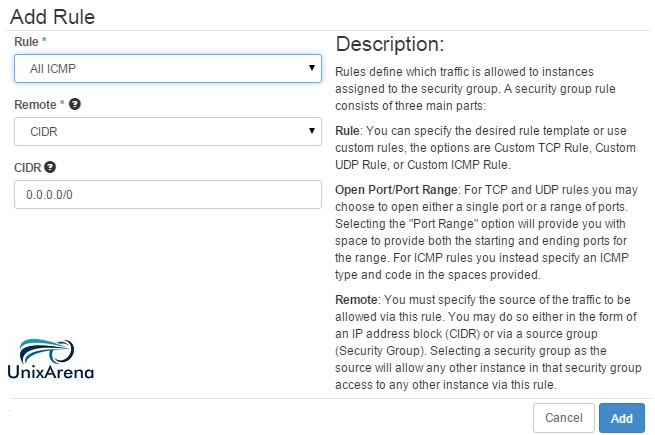
7. Similarly , allow “ping” as well to this host from anywhere.
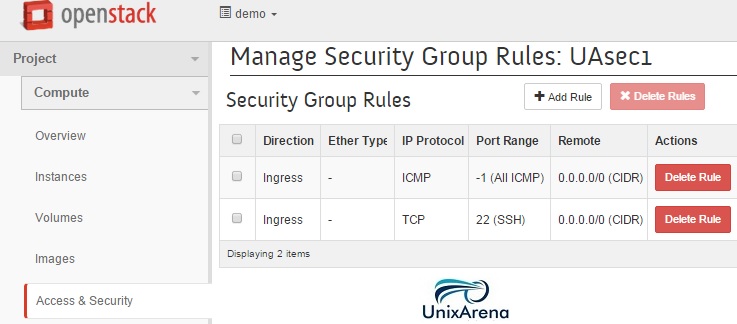
Once you have added those rules to the security group, it will look like below.
Create the key-pair to access the instance:
1. Login to Openstack Dashboard.
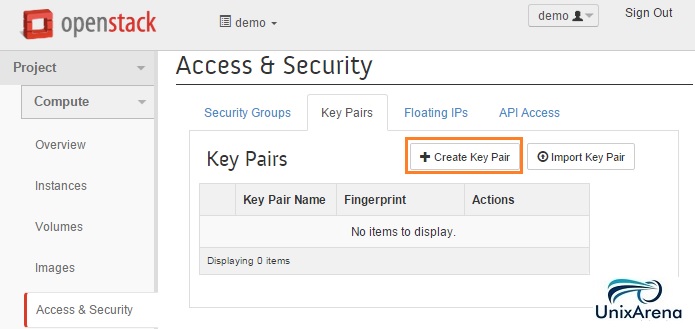
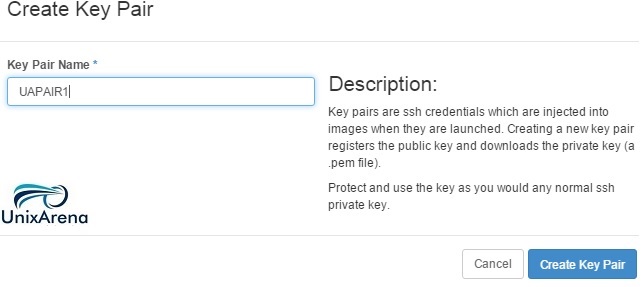
2. Navigate to security & access. Click the tab called “Key Pairs” and click on “Create key Pair” .
3. Enter the Key pair name. (Keep Some meaning full name). Click on “Create key Pair”
4. The key pair will be automatically downloaded to your laptop. If it didn’t download, click the link to download it. Keep the key safe since you can’t download it again.
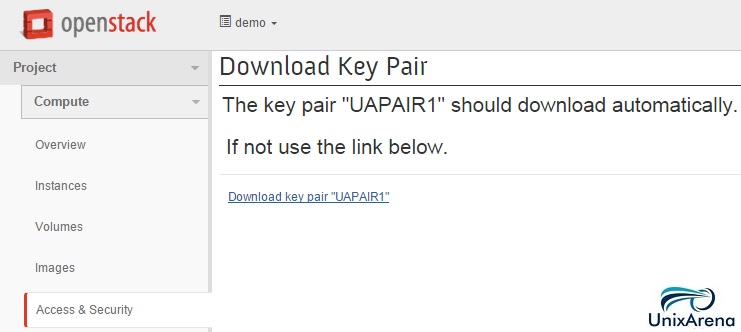
In-case if you have lost the key ,then you need to re-create the new key pair & use it.
At this point , we have created the new security group and key pair. The security group will allows “ssh” & ping from anywhere.
Launch the New Openstack Instance :
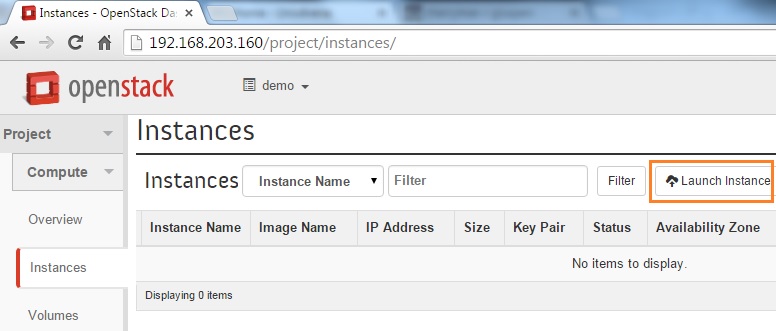
1. Login to Openstack Dashboard.
2. Click on “Launch Instance ” tab.
3. Select the instance details like below.
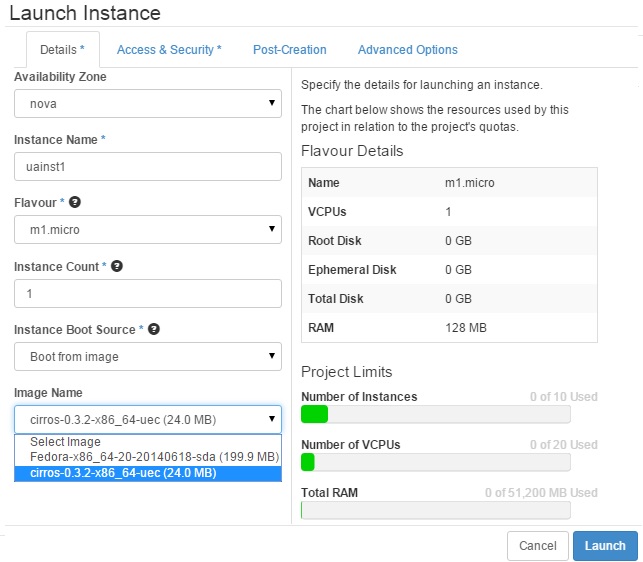
- Availability Zone – nova . (Need to select your compute node). In our case control node & compute nodes are same.
- Instance Name – Enter the desired instance name
- Flavour – Select the available flavour according to your need. (See the details in right side)
- Instance Count – Enter the instance Count
- Boot Source – Select boot from pre-defined image.
- Image Name – select “cirros” since its very small Linux foot print for testing openstack.
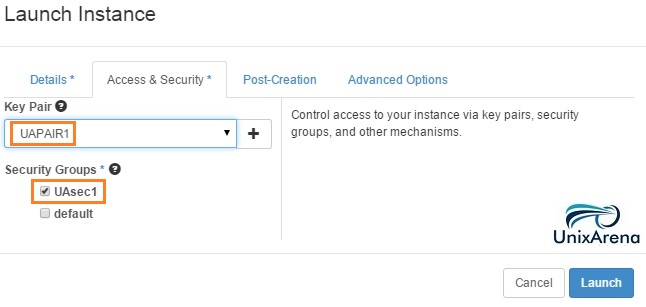
4. Click on Access & security tab for the instance. From the drop down box , select the key pair “UAPAIR” which we have created earlier. Also select the security group which we have created. Click “Launch” to launch the new instance.
5. Here you can see that instance has been launched. It will take few minutes to boot the instance depends on the image size which we have selected.
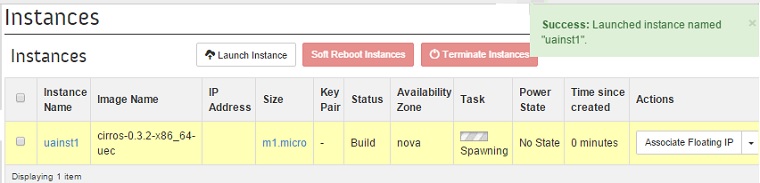
6. Once the instance is completely up , you can see the screen like below.

In the IP address tab , you can get the private IP address for the instance. Using this IP , You should be able to access the instance.
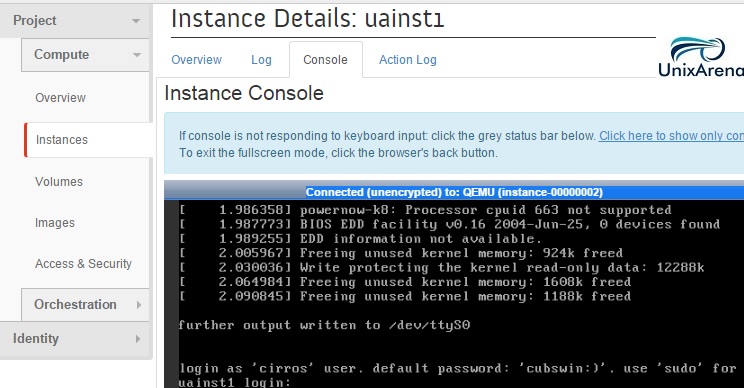
7. If you would like to see the instance console , click the instance name and select the console tab. You should be able to access the instance here as well by double clicking the console bar.
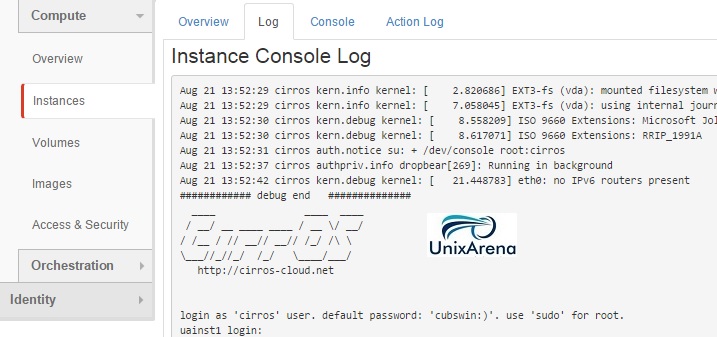
In Openstack’s kilo branch, console may not load properly if you didn’t add the below parameter in the local.conf file during the installation.
“enable_service n-cauth”
8. You can also check the log to know the instance is booted or not . (If console is not working due to above mentioned issue).
You should be able to access the instance within the private IP range (If you didn’t allocate the floating IP). Here I am accessing the instance from control node.
stack@uacloud:~$ ssh cirros@192.168.204.2
cirros@192.168.204.2's password:
$
$ sudo su -
# ifconfig -a
eth0      Link encap:Ethernet  HWaddr FA:16:3E:A6:81:BE
          inet addr:192.168.204.2  Bcast:192.168.204.255  Mask:255.255.255.0
          inet6 addr: fe80::f816:3eff:fea6:81be/64 Scope:Link
          UP BROADCAST RUNNING MULTICAST  MTU:1500  Metric:1
          RX packets:114 errors:0 dropped:0 overruns:0 frame:0
          TX packets:72 errors:0 dropped:0 overruns:0 carrier:0
          collisions:0 txqueuelen:1000
          RX bytes:14089 (13.7 KiB)  TX bytes:8776 (8.5 KiB)

lo        Link encap:Local Loopback
          inet addr:127.0.0.1  Mask:255.0.0.0
          inet6 addr: ::1/128 Scope:Host
          UP LOOPBACK RUNNING  MTU:16436  Metric:1
          RX packets:0 errors:0 dropped:0 overruns:0 frame:0
          TX packets:0 errors:0 dropped:0 overruns:0 carrier:0
          collisions:0 txqueuelen:0
          RX bytes:0 (0.0 B)  TX bytes:0 (0.0 B)

# route
Kernel IP routing table
Destination     Gateway         Genmask         Flags Metric Ref    Use Iface
default         192.168.204.3   0.0.0.0         UG    0      0        0 eth0
192.168.204.0   *               255.255.255.0   U     0      0        0 eth0
If you want to access the instance through the key pair, please check it here.
Hope this article informative to you . More interesting stuff to come about Openstack. Stay Tuned with UnixArena.