


This article will help you to understand the functionality of the openstack dashboard. Dashboard will be used by administrators and tenant. For tenant or user , it will act like a self service portal where they can launch the instance , allocate the storage and configure the network resource within the limits set by administrator. Administrator can control the projects (tenant), user management, hypervisor management and images. Dashboard is a web-based graphical user interface to access, provision and automate cloud resources. It supports the plugins where the third party products(Ex: Management tools, Billing , Monitoring ) and services can be integrated quickly. Horizon service is responsible to provide the dashboard along with Apache.
At the time of installation , there will be two users created by default.
- demo – Demo user is part of demo project . Its a sample user for tenant .
- admin – Administrator user which is part of admin group.
We will login as admin user & explorer the available tabs and options.
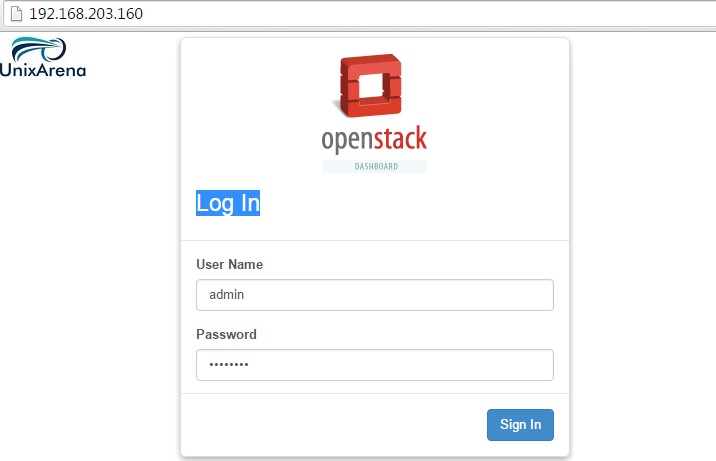
1. Open the browser and enter the Openstack host URL .
2. Once you have logged in to the dashboard, you will get screen like below by default.
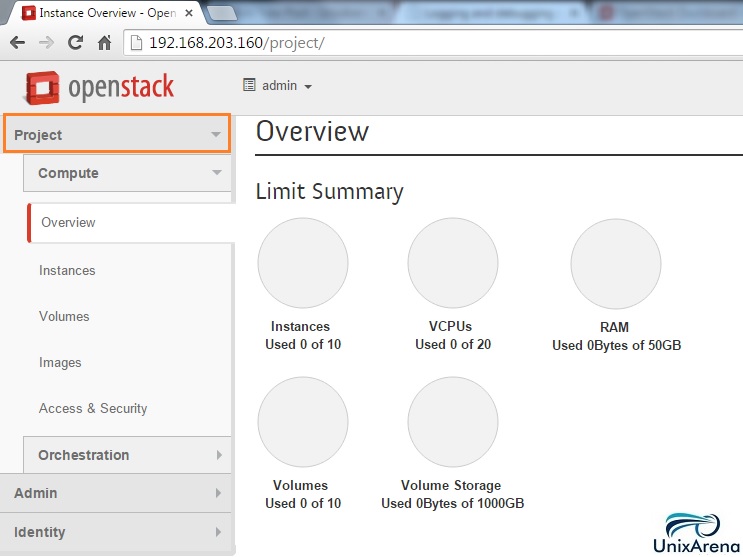
- “Project” tab is exclusively for the users(tenant). But still as a administrator , you will be able to use the project tab to launch the new instance. (Next article show you the demonstration of instancing new instance)
- Orchestration will help you to perform automation.
3. Let’s move forward to admin tab. As administrator , you will be spending most of the time on this tab. The below screenshot shows the usage summary for selected period.
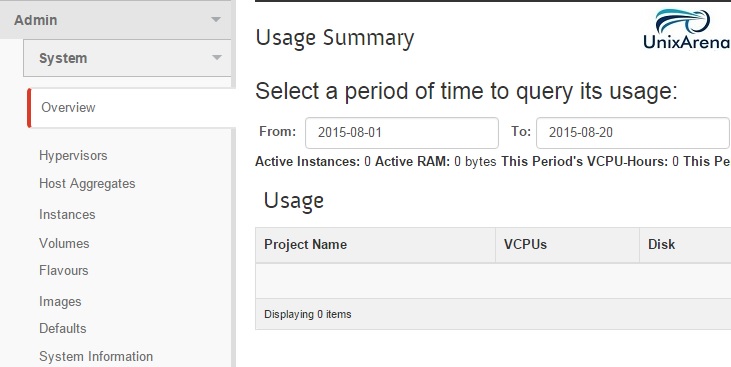
.
4. Click on hyper-visors to see the connected hypervisor on the system.
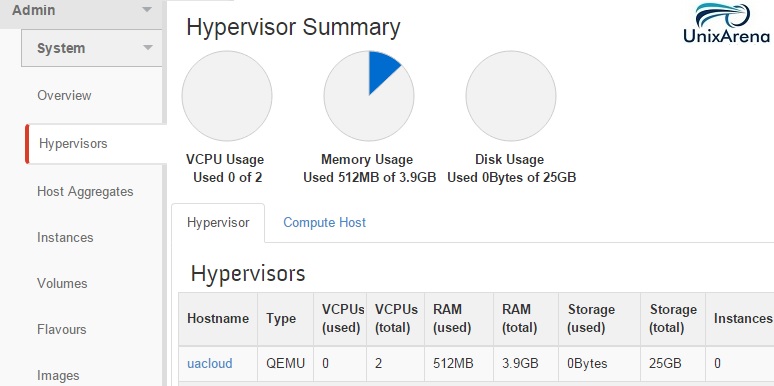
- Hypervisor are used to create the virtual instance for users or tenant. Openstack will support all the hypervisors in the world. (KVM,Xen , VMware ESXi , Hyper-V etc..)
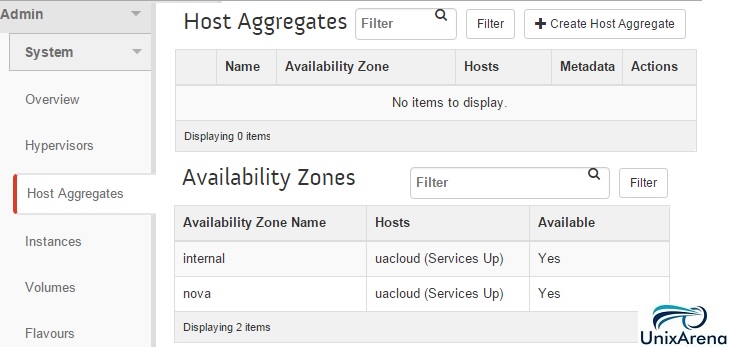
5. Host aggregates is a mechanism to further partition an availability zone. At this point , we didn’t create any host-aggregates .
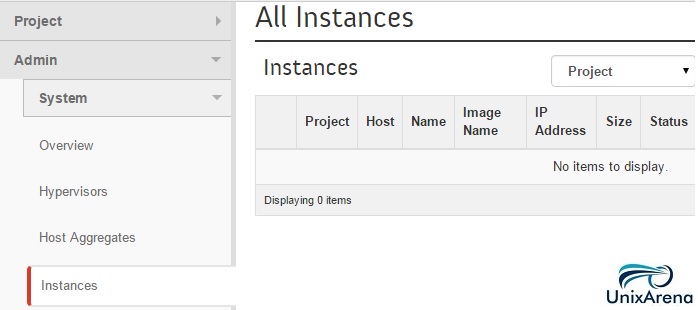
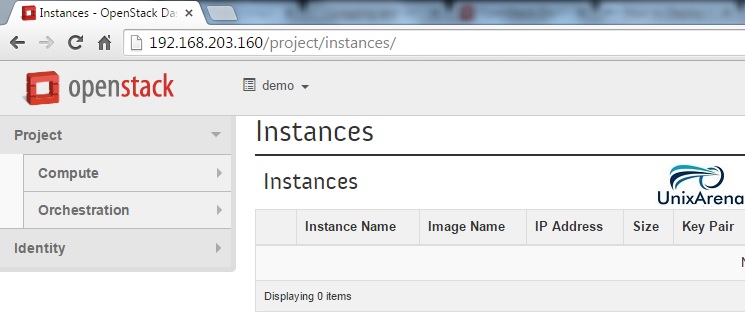
6. As administrator , you will be able to see the all instances. At this time ,we don’t have anything.
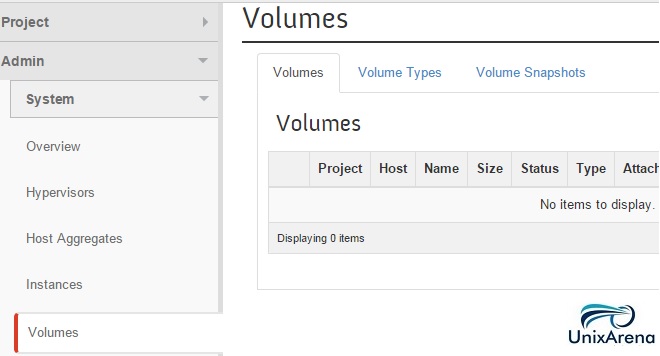
7. Here you can get the list of volumes.
8. In the flavours, you can see the pre-configured instance types.

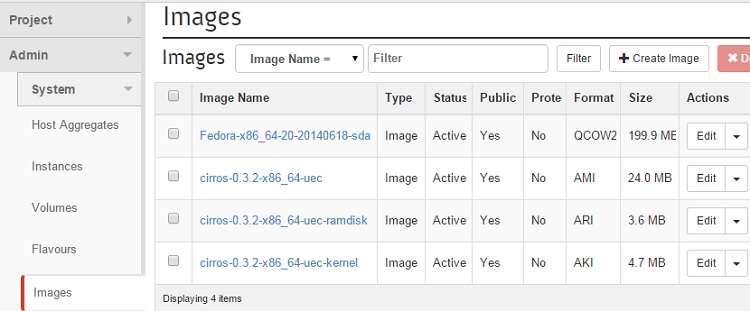
9. In Images tab, you see the pre-configured images . (which are used to start the instances).
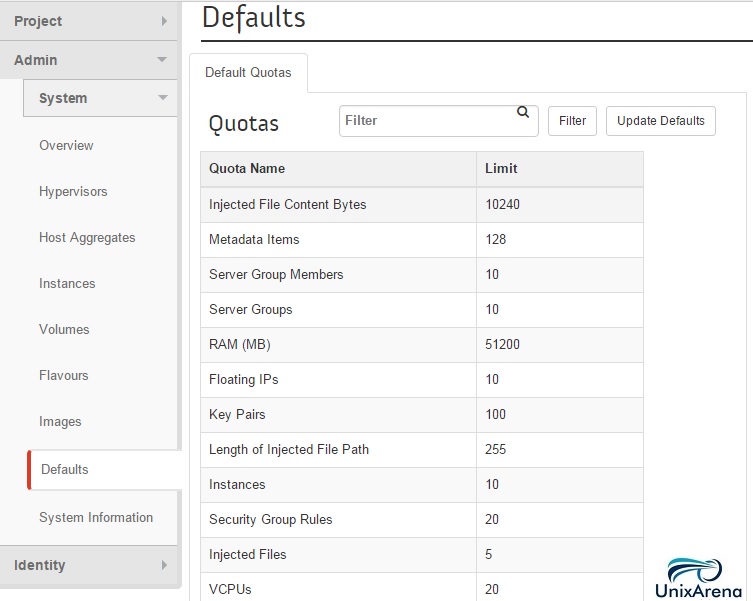
10. In Default tab ,you will find the default quota’s for each resources.
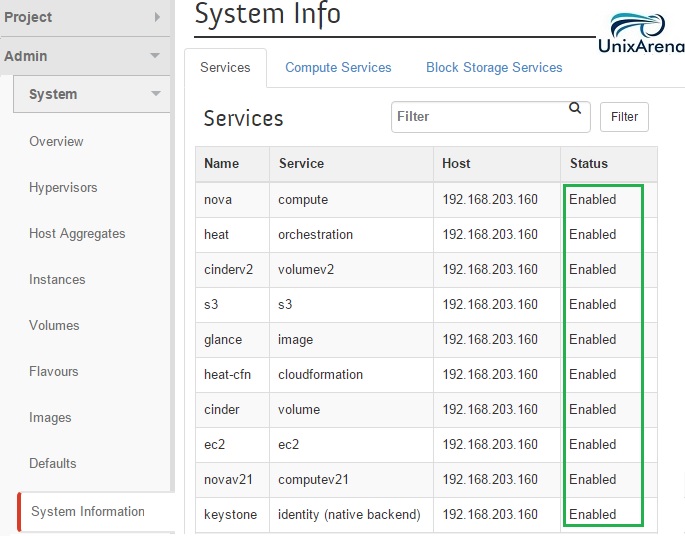
11. To know the openstack service’s current status , click on “System information” tab.
12. Identity tab holds projects and users. Here is the preconfigured projects in openstack.
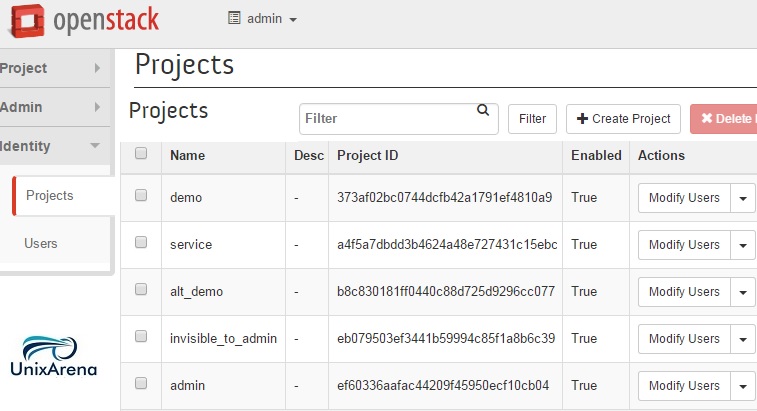
13. Openstack’s users are maintained in “Identity-> Users” tab.

If you login as demo user, you will not be able to see the “admin” tab. Identity tab will just show the assigned projects in read only mode.
In this article ,we have seen the various openstack’s tab and the difference between admin user to demo user. (tenant). In the next article , we will launch the first openstack instance.
Hope this article is informative to you . Share it ! Support Openstack !! Be Sociable !!!