

Veeam Backup & Replication is one of the leading backup software for VMware vSphere/Hyper-v environments.Compare to other traditional backup softwares, Veeam is very fast to recover the guest OS irrespective of guest filesystem type on VMware vSphere environment. In last weekend ,one the Guest OS was removed accidentally but we had good veeamZip backup file for that guest and that saved our life. Veeam is not just restored the data. It had restored the complete Guest VM.The article is going to explain how to take the Veeamzip back from the Veeam Console and how to restore the destroyed VM using that backup.
Assumption : Veeam Backup & Replication is installed on configured on windows 2003 server and its connected with VMware vCenter server.
Guest OS – Solaris operating system
In the first page , we will see how to take full backup of Guest Oracle Solaris backup and in second page , i will demonstrate the complete restore of the guest OS(From the VM build).
1.Open the Veeam Backup & Replication.

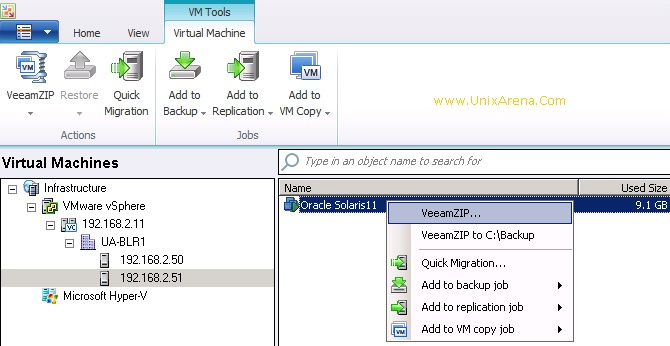
2.Navigate to the VM host which needs to be backup.

3.Right click on the VM guest and select Veeamzip for backup.
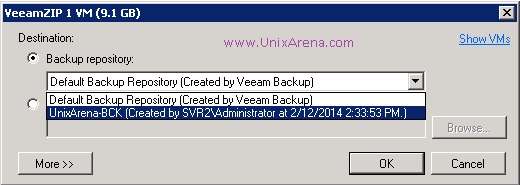
4.Select the backup repository to store the VM backup.
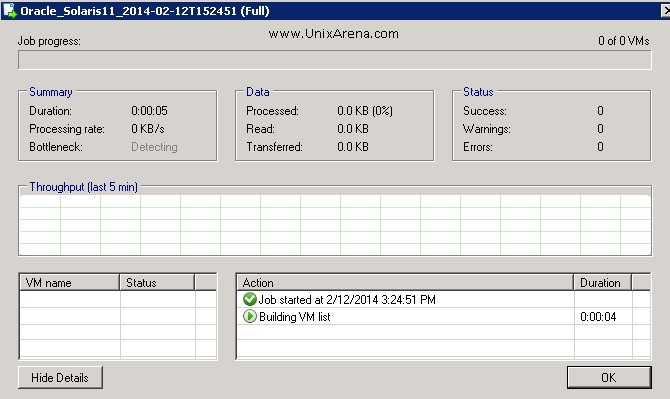
5.Here you can see the VM backup status.
6.You can also monitor the activity like below .
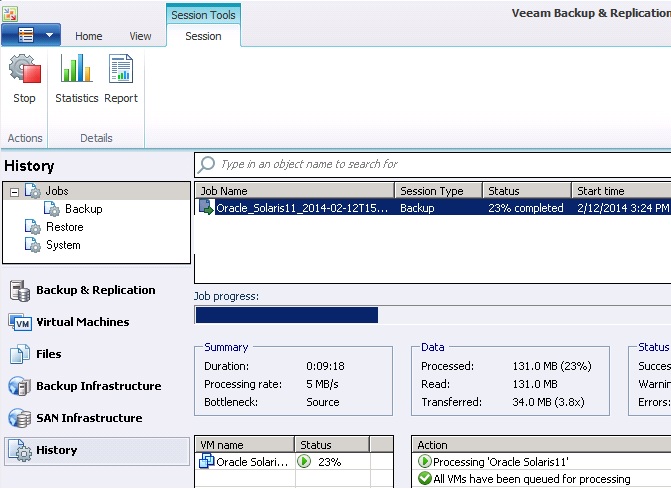
- VeeamZIP Backup Job monitoring
7.Oracle Solaris VM full backup has been completed successfully.
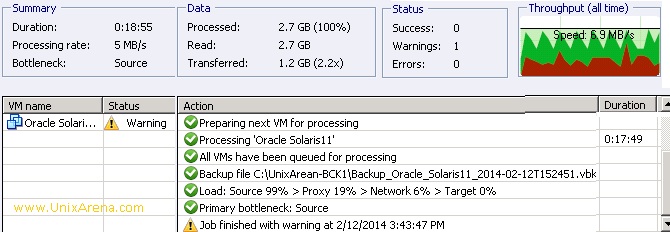
We have successfully taken the full backup of Oracle Solaris guest OS . In this case , full backup has been stored as Backup_Oracle_Solaris11_2014-02012T152451.vbk file. This file can be used to restore the VM even if the VM has been removed from VMware vcenter inventory.
Click Page to 2 continue to reading about restoring the VM.
In this second part of article, we will see how we can restore the complete VM from scratch using the full backup which we have took earlier.In my case, i don’t even having VM on vcenter server inventory.
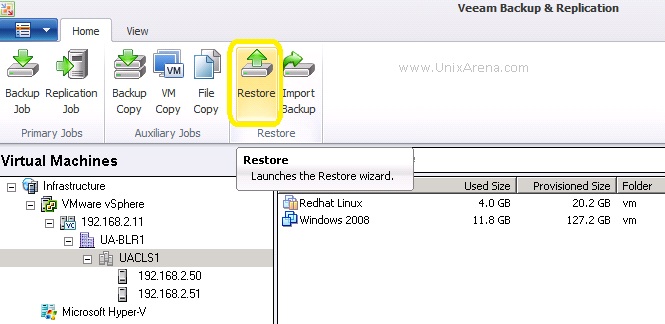
1.open the Veeam Backup and Replication.
2.Click on the restore to launch the wizard.
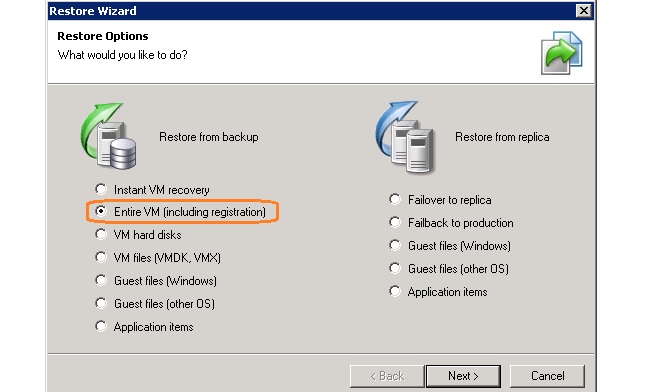
3.Select the Entire VM (including registration) option.
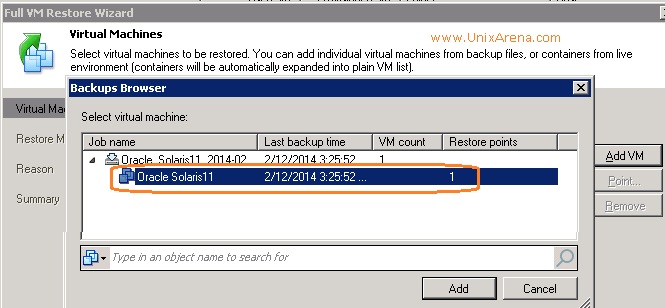
4.Select the VM from backup which needs to be restore.
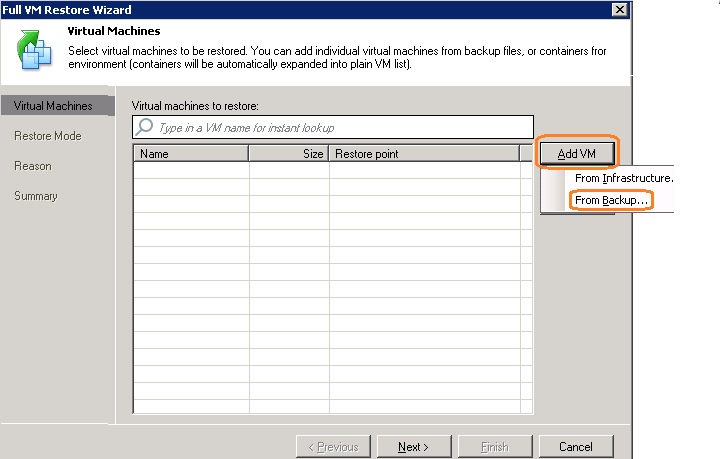
5.I had browse the backup repository and selected the VM backup file.
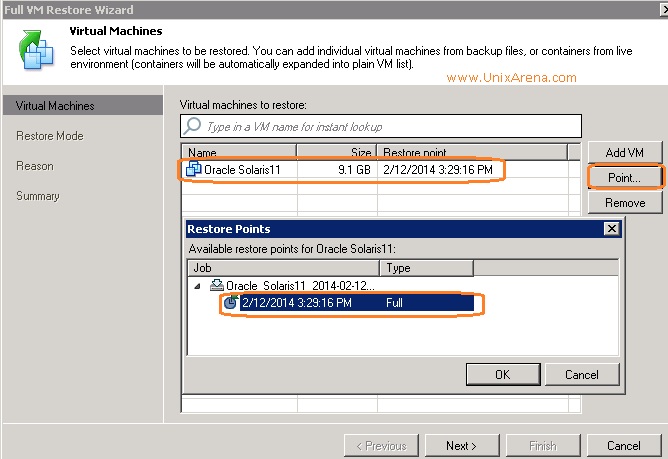
6.click on “point” to see what are the restore point you have for that VM.
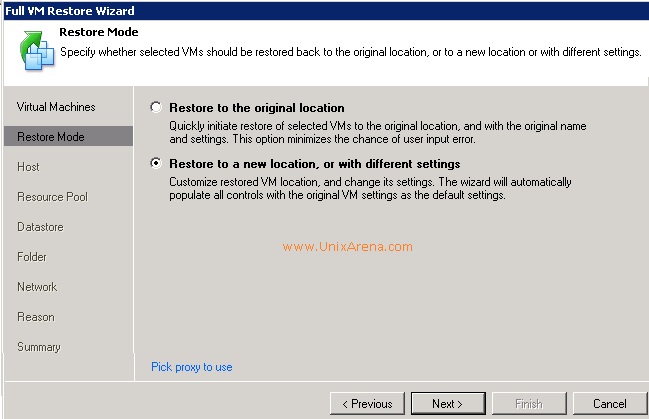
7.Select the new location to restore the VM. Sometimes original location may not be available.
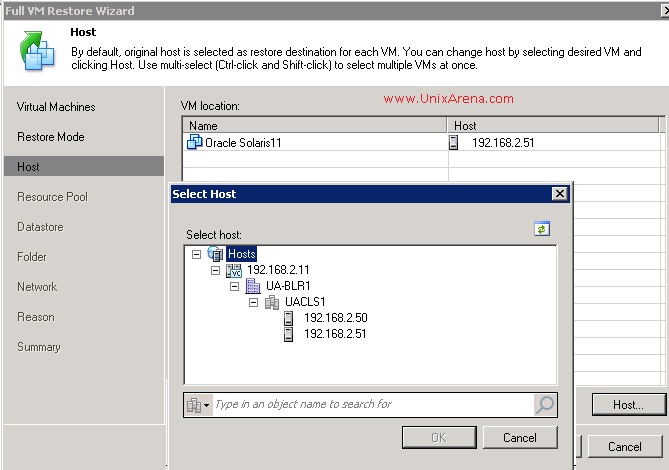
8.Select the VMware ESxi host where the VM guest needs to restore.
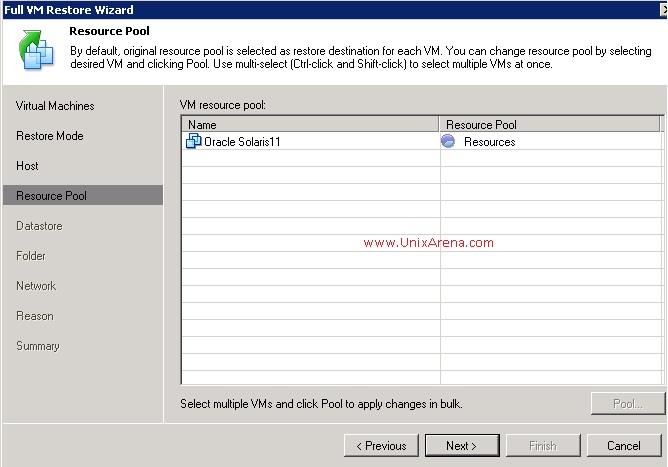
9.Select the resource pool for restore.
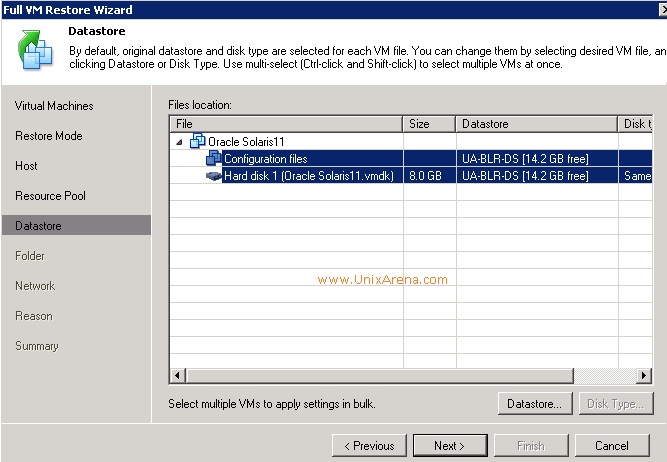
10.Select the datastore to restore.
11.You can also choose the folder where the VM needs to be created.

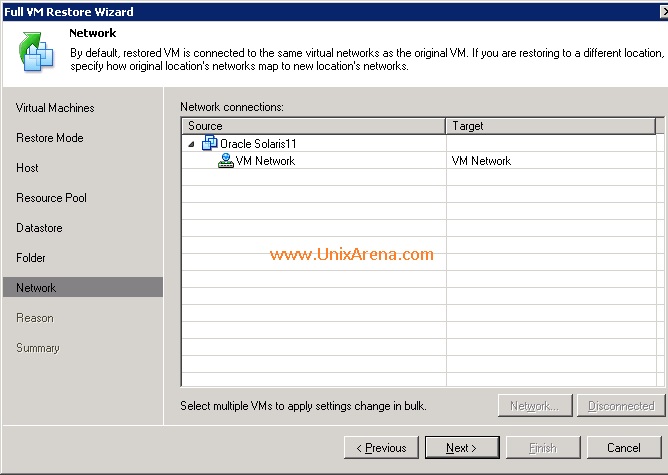
12.Select the Vm network for restore.
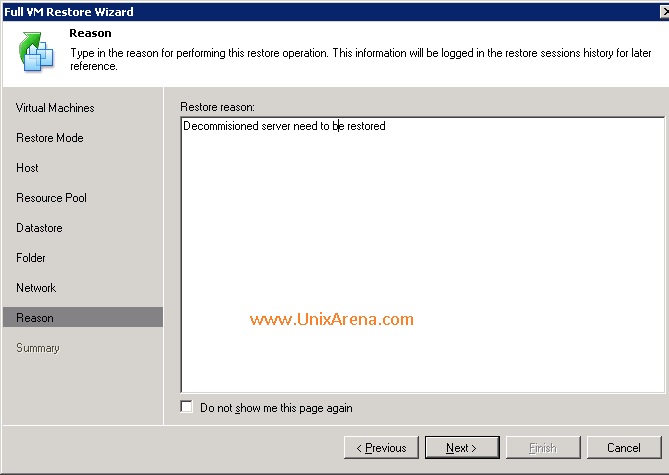
Enter the reason for restore of the VM.
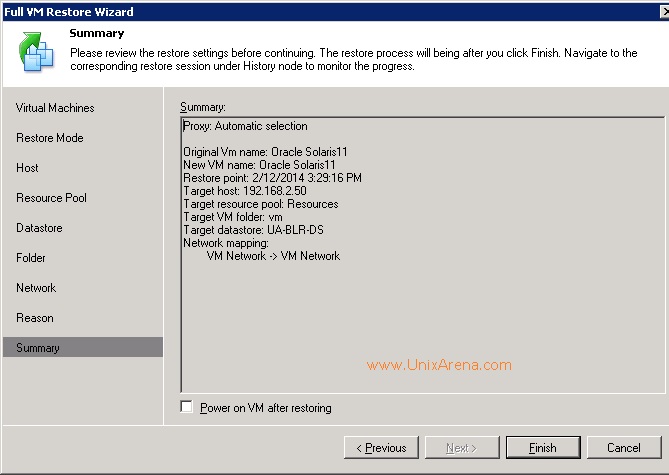
13.Here is the summary of the VM.
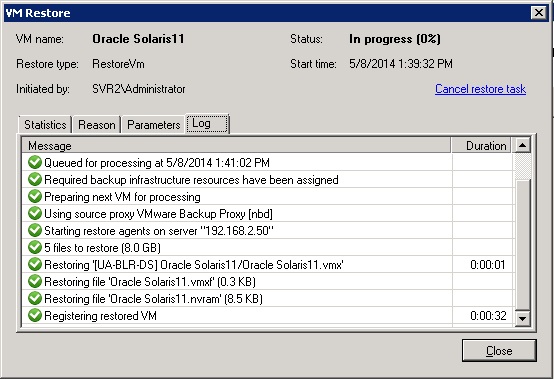
Here is the logs of the VM restore.
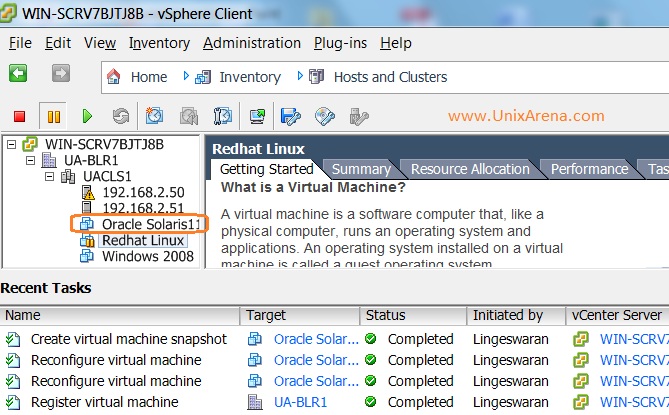
After the restore, You can see Oracle Solaris guest OS has been created.
Veeam is amazing backup software for virtualization environment. It has really helped us to restore the destroyed VM in quick time.
Hope this article will help of Veeam beginners to backup and restore the guest using veeam zip.
You can download a free trial Veeam Backup and replication7 from Veeam website.
Share it ! Comment it !! Be sociable !!!