In this post we will see how to install Solaris 10 OS with ZFS root filesystem using the DVD.I will be installing Solaris 10 X86 on a vmware workstation .Create a virtual machine like the one we have configured here.
Power on the virtual machine.It will boot from Solaris DVD.


Power on the virtual machine.It will boot from Solaris DVD.

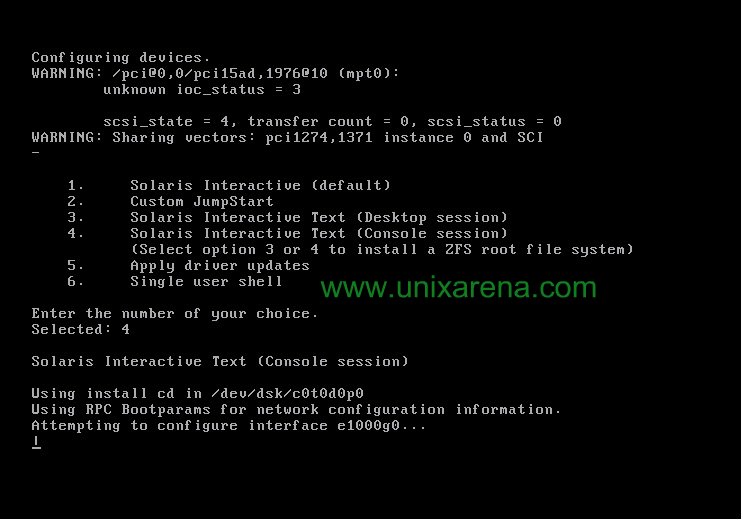
Your installation begin here.

Select 4 for ZFS root filesystem.
Select the keyboard layout.

Select the language.Here I have selected ENGLISH

Just Press F2 to continue

Just Press F2 to continue

Select Networking

Select DHCP option.If you are going static IP select No here

Enter the unique hostname

Enter the static IP address for this host.

Select YES and continue.

Select the sub-net for this host.

we are using IPV4 and we don;t want IPV6 now.So select No continue

Verify the information and continue

If you don’t want to configure security,select NO and continue

Select None and continue if you don’t have name server configured


Select the TIMEZONE


Select data and time


Enter the root password for this machine


Just leave it blank and continue

Select standard and continue


Don’t select anything,Just continue here.


Select your root filesystem type.Here i have selected as ZFS


OS installation has been completed. Rebooting

Now your OS is booting


You can login as root and play on Solaris .
Thank you for reading this article.
Please leave a comment if you have any doubt ,i will get back to you as soon as possible.
Pavan Rallabhandi says
Thanks for this nice screen shot. It was really helpful to quickly revise 🙂