• Skip to primary navigation
  • Skip to main content
  • Skip to primary sidebar

UnixArena

  • Home
  • kubernetes
  • DevOps
    • Terraform
    • Jenkins
    • Docker
    • Openshift
      • OKD
    • Ansible engine
    • Ansible Tower
      • AWX
    • Puppet
  • Cloud
    • Azure
    • AWS
    • Openstack
    • Docker
  • VMware
    • vCloud Director
    • VMware-Guests
    • Vcenter Appliance 5.5
    • vC OPS
    • VMware SDDC
    • VMware vSphere 5.x
      • vSphere Network
      • vSphere DS
      • vShield Suite
    • VMware vSphere 6.0
    • VSAN
    • VMware Free Tools
  • Backup
    • Vembu BDR
    • Veeam
    • Nakivo
    • Azure Backup
    • Altaro VMBackup
    • Spinbackup
  • Tutorials
    • Openstack Tutorial
    • Openstack Beginner’s Guide
    • VXVM-Training
    • ZFS-Tutorials
    • NetApp cDot
    • LVM
    • Cisco UCS
    • LDOM
    • Oracle VM for x86
  • Linux
    • How to Articles
    • Q&A
    • Networking
    • RHEL7
  • DevOps Instructor-led Training
  • Contact

How to create Solaris virtual machine in vmware workstation

July 26, 2012 By Cloud_Devops Leave a Comment

Many of them want to become Unix expert  but they won’t get opportunity to play on it. But if you have a desktop or laptop, you can learn everything using vmware workstation.It’s just amazing the you can install most of the operating systems under vmware workstation and here we are going to see about how to setup Solaris 10 virtual machines.You know that i had setup veritas two node cluster using vmware workstation and that will tell you lot.what else you want as UNIX admin to practice ?   

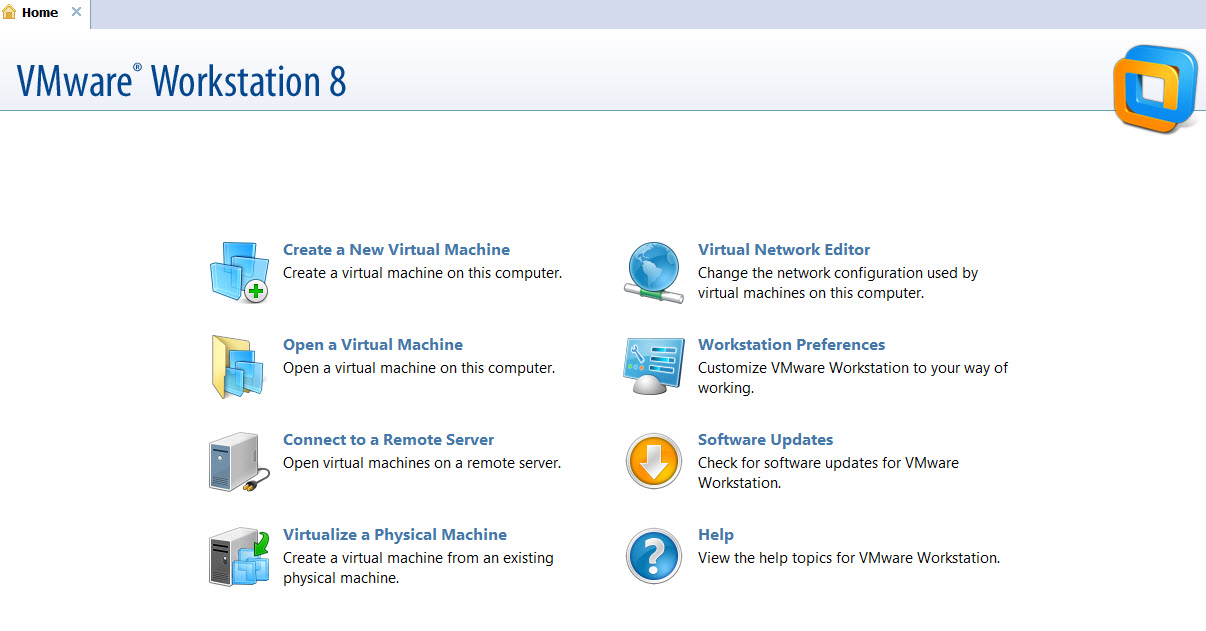
Please see the below screenshot of creating the Solaris virtual machine in vmware workstation.

1. Open VMWARE workstation.Click on create New Virtual Machine

2.Select Custom


3.Select the Solaris 10 OS image 


4.Select the location where you want to store the virtual machine 


5.Select number of Processor and cores (Recommend is one).


6.Choose memory size for virtual machine. (Minimum 700MB)


7.Select the networking (Local access NAT,host only).Bridged networking useful when you want to access the VM from other systems.


8. Select the I/O controller type. Go with default .


9.Create a new virtual disk


10.Click Next to select the disk type.


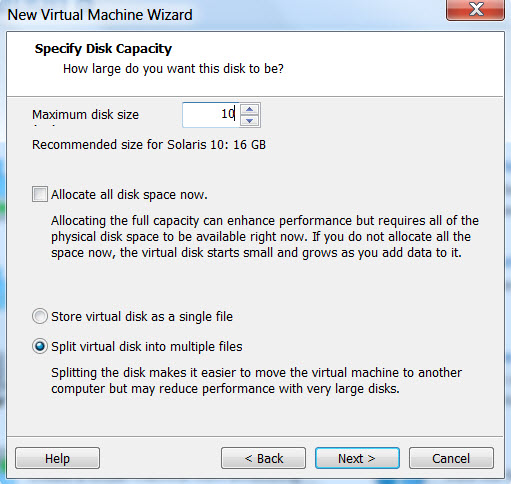
11.Specify the Disk size (10GB)


12.Specify where you want to save the diskfile


13.Click finish to complete the wizard. 


14.Now your virtual  machine is ready.


15.If you want to remove or modify the devices,click on “Edit virtual machine settings”

16.If you want to set OS type, click on Options which is next to hardware tab.

 For cluster setup,please make sure you have select Solaris 64bit.

Power on the machine and continue the OS installation.You can install Solaris operating system and play on it .


Thank you for reading this article.Please leave a comment if you have any doubt ,i will get back to you as soon as possible.

Filed Under: VMWARE-WORKSTATION

Reader Interactions

Leave a Reply Cancel reply

Your email address will not be published. Required fields are marked *

Primary Sidebar

Follow UnixArena

  • Facebook
  • LinkedIn
  • Twitter

Copyright © 2025 · UnixArena ·

Go to mobile version