


How to deploy Veeam Backup for the AWS solution? Veeam Backup for Amazon Web Services is a solution developed to protect Amazon Elastic Compute Cloud (EC2), Amazon Relational Database Service (RDS), and Amazon Elastic File System (EFS) environments. The same product can able to handle disaster recovery tasks with ease by leveraging cloud native snapshots. Adding to that, Veeam Backup for AWS also allows you to back up and restore Amazon Virtual Private Cloud (VPC) configurations which is core for the AWS environment. Let’s see how to deploy veeam Backup for AWS.
Pre-requisite:
- Active AWS account
- AWS access key with admin privileges
Deployment – Veeam Backup for AWS
1. Login to AWS console with administrative privileges.
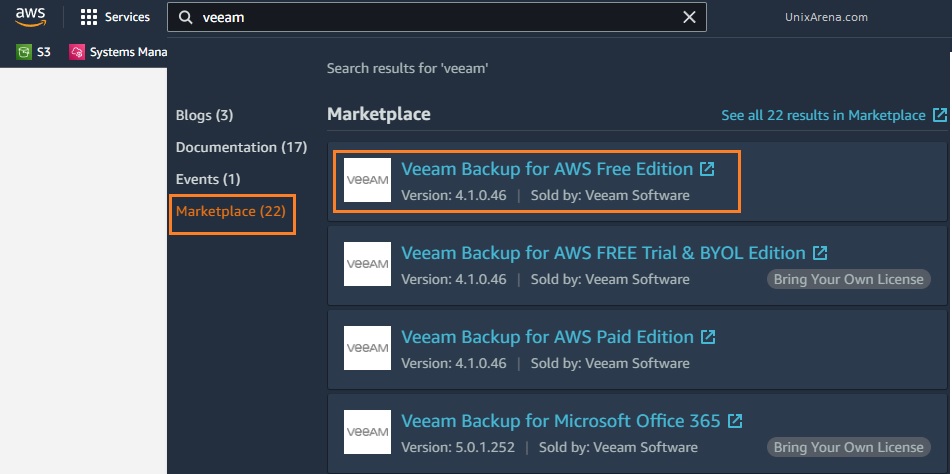
2. In the search bar, type “veeam” and click on Marketplace to subscribe to the product. I have selected the “Free Edition” since it’s for testing. In the paid version, you will get premium support from Veeam.

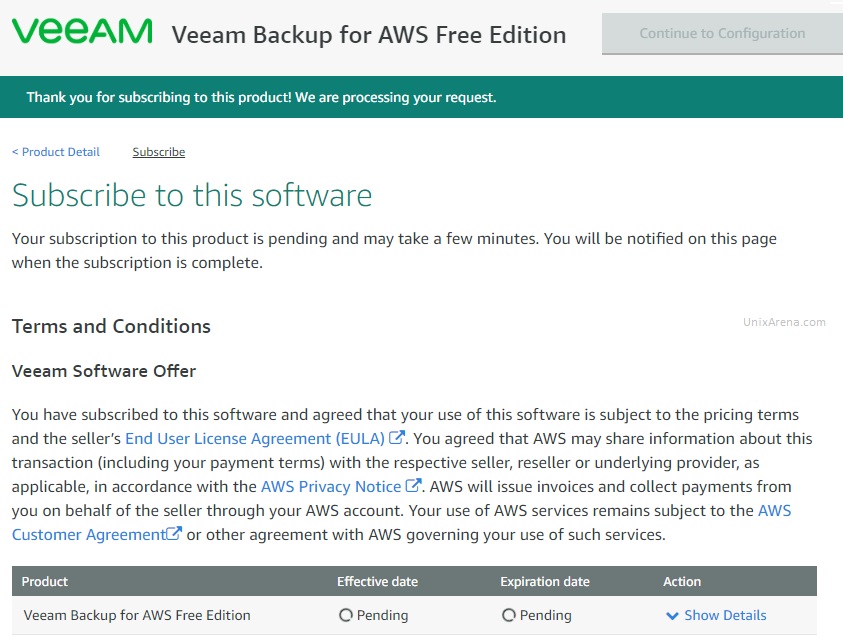
3. Subscription will take a few minutes.

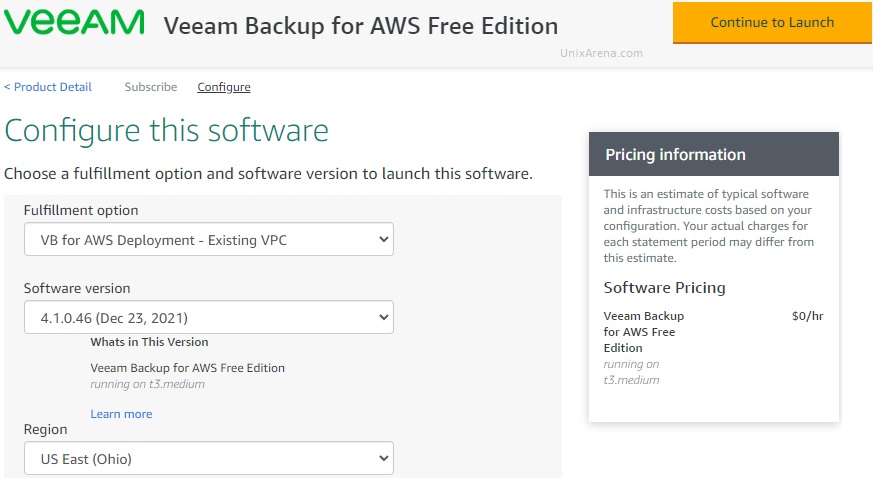
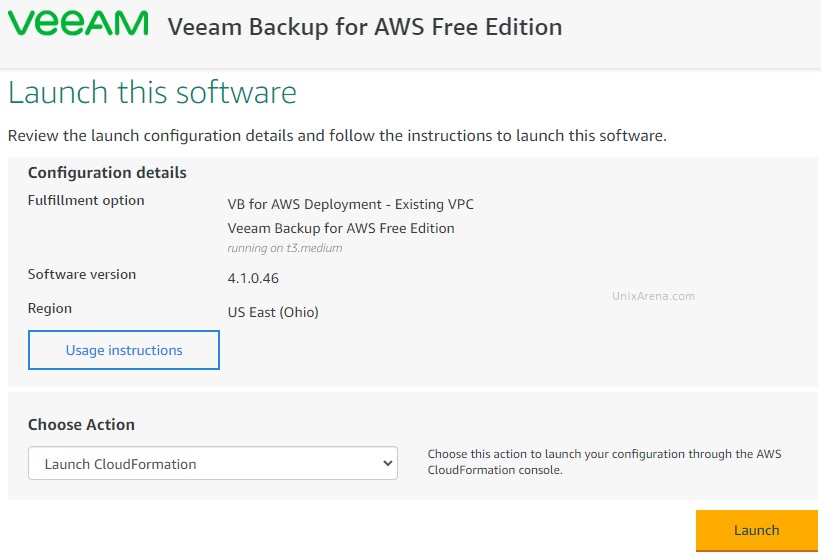
4. Once you have successfully subscribed, you will get the below screen to launch the product. Here you will get an option to choose a veeam software version. You will get a limited number of AWS regions to choose from.

5. Choose action – > I have selected “cloud formation” for the automated deployment. The readymade cloud formation stack is available for quick deployment. Click on “Launch”

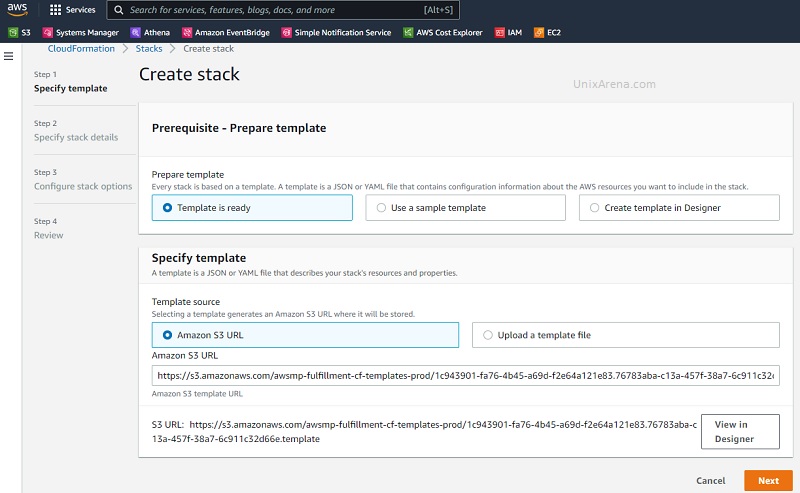
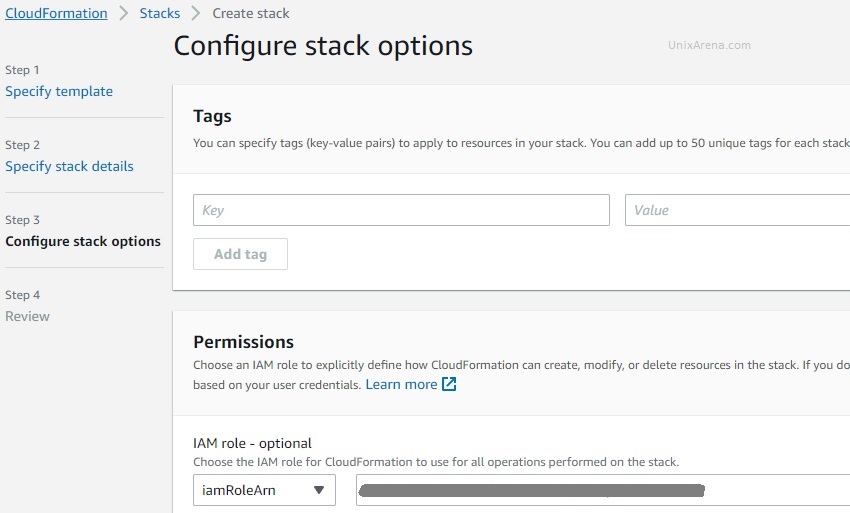
6. You need to prepare the cloud formation template for the deployment. This deployment wizard will ask you to enter stack name, instance size, etc..

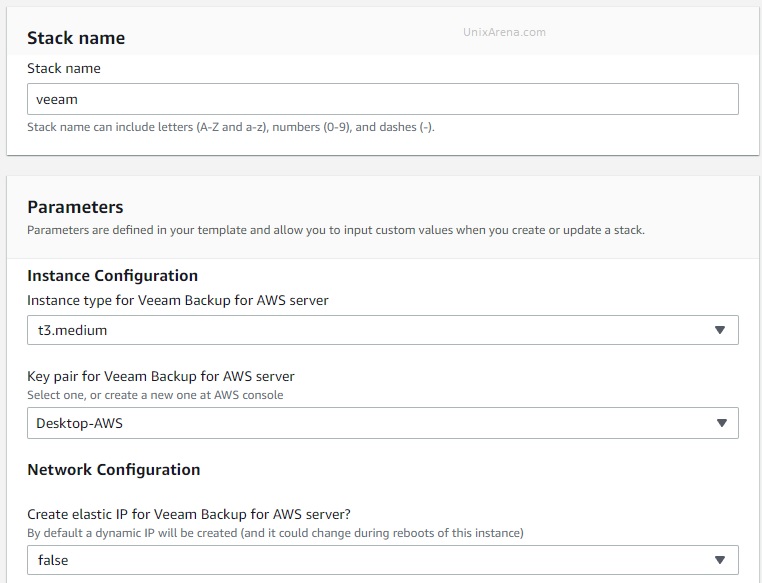
7. Enter the stack name, instance size, and existing key pair for the deployment. If you are deploying for testing and would like to access from the internet, then select “true” for elastic IP.

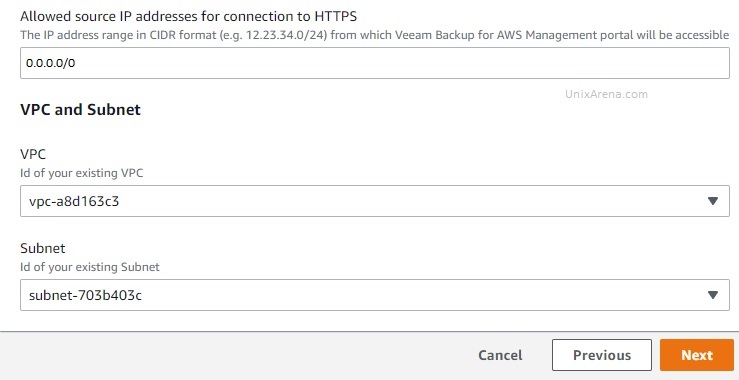
8. Select the VPC & subnet for the veeam EC2 instance. I have allowed traffic from anywhere since it’s for testing. You can configure the subnet according to your environment.

9. Select the IAM role which has access to deploy the cloud formation stack.

10. Click on “Create stack” to initiate the veeam backup appliance deployment.

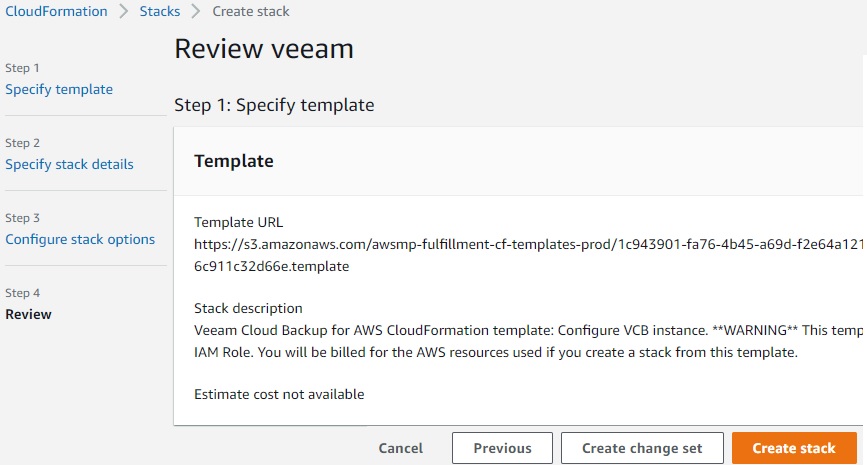
Once the stack deployment is completed. You can try to access the veeam webpage using the public IP.
Configuring – Veeam Backup for AWS
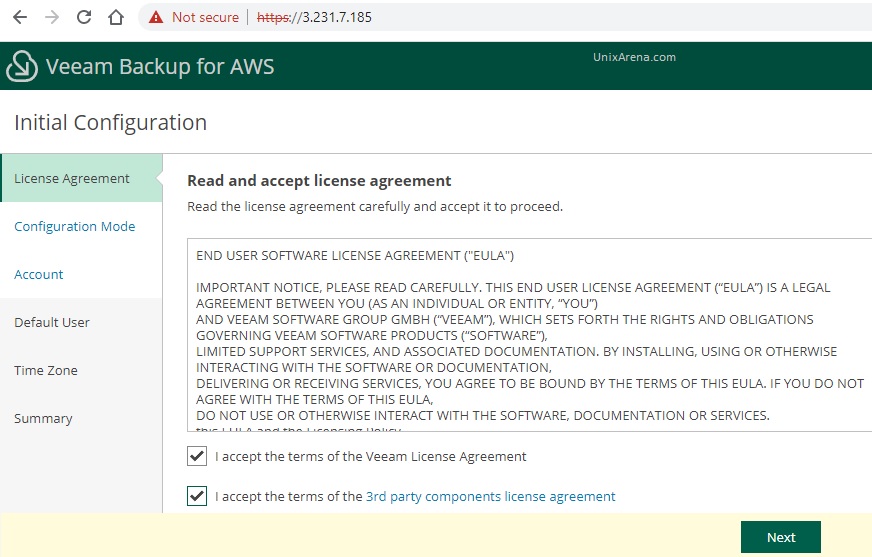
1. Here is the initial web page you will get after the successful deployment.

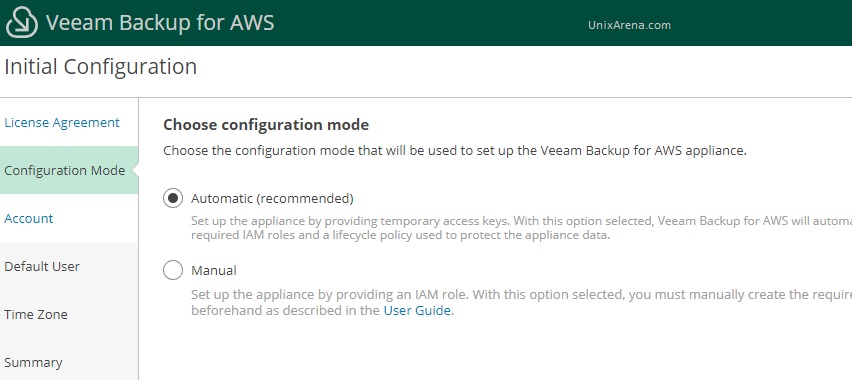
2. Choose the configuration mode. I have selected the “automatic” mode to set up the required IAM roles and create lifecycle policies to protect the appliance data.

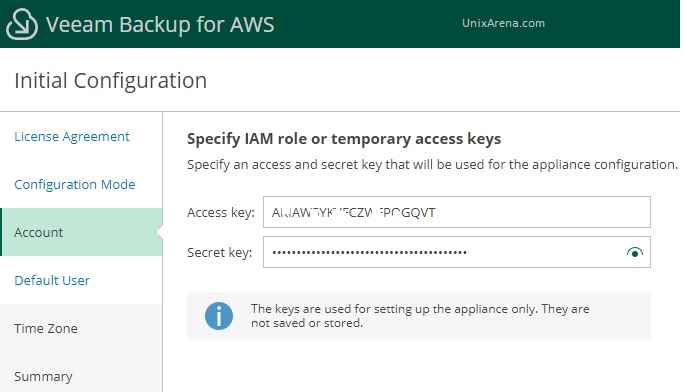
3. Provide the access keys and secret keys.

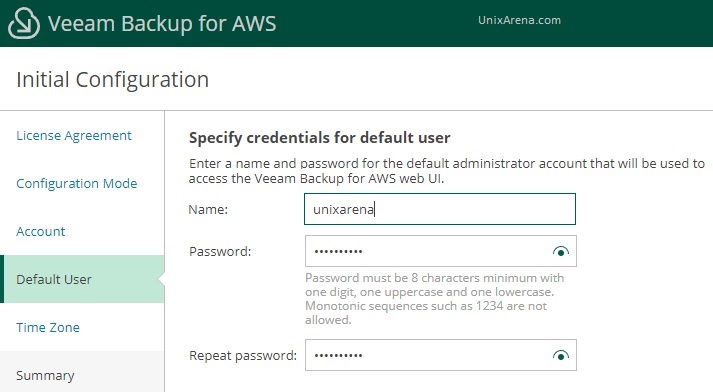
4. Enter the default user name and credentials. You can’t create an “admin” user as the default user.

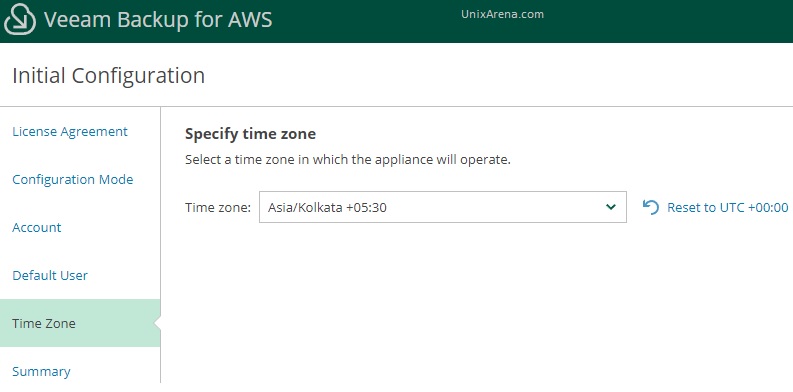
5. Selected the desired timezone.

6. Review the summary before applying the settings.

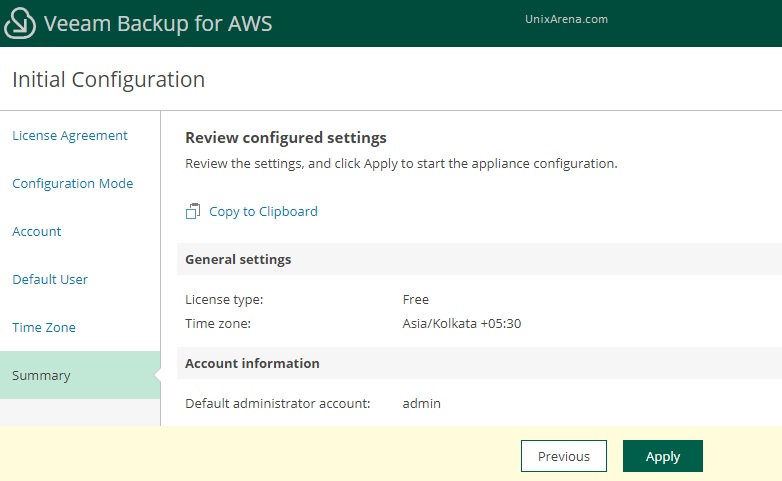
Initial settings configuration will take less than a minute.

7. On successful Veeam configuration, you will get a login screen like below. Login using the default user which you have created during the initial configuration wizard.


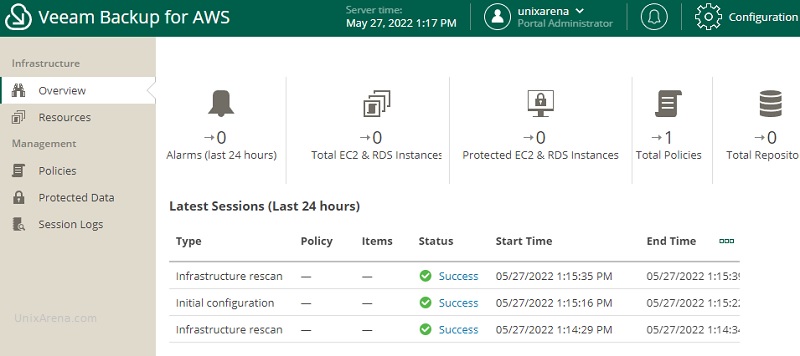
Here is the overview console of veeam Backup for AWS.

Conclusion:
We have successfully subscribed to Veeam Backup for AWS and deployed using the AWS cloud formation template. The deployment is smooth and only a few options need to be selected. The initial configuration wizard is a very slick and quick configuration to get the login screen of the “Veeam Backup for AWS” console.
In the upcoming article, we will see how to configure the veeam Backup policies. Hope this article is informative to you.