


AWS Systems Manager State Manager is a secure and scalable configuration management service that automates the process of keeping your Amazon EC2 and hybrid infrastructure in a state that you define. In our solution, we will use a state manager for running custom scripts for monitoring and alerting through the Event Bridge + SNS solution. For most of the automation tasks, AWS has created SSM documents and maintains them. If we have custom requirements, we can create our own SSM document and publish it.
Custom SSM document:
Let’s create a custom SSM document to monitor the CPU usage on windows servers. Create the document in such a way that we should be able to define the CPU threshold and document timeout values. SSM document supports JSON & YAML format. If you have PowerShell code, you need to bring it under JSON.
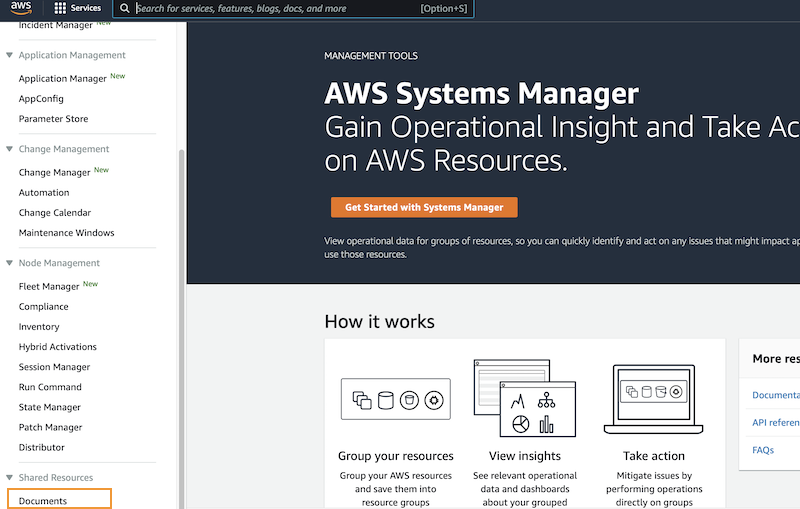
1. Navigate to AWS SSM and select the document.

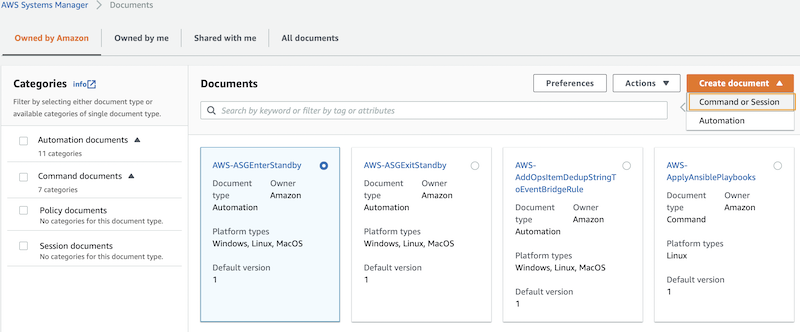
2. Create SSM document – command or session.

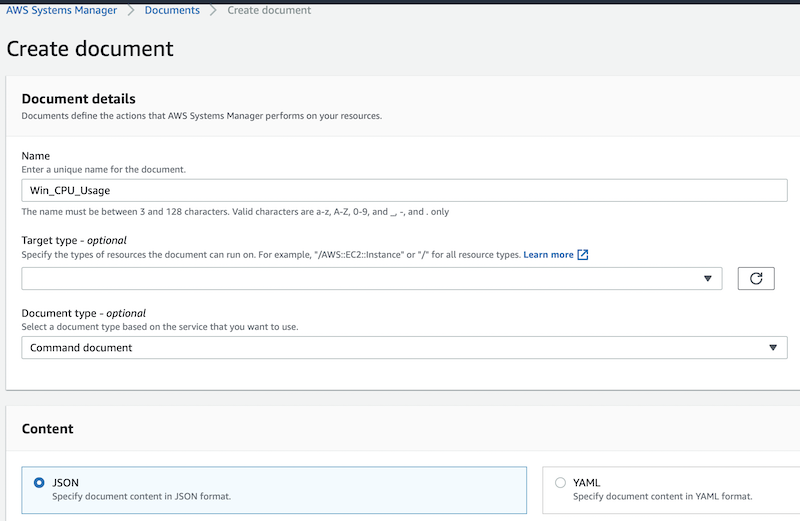
3. On the new window, Enter the SSM document name.

4. In the content section, copy & paste the below content. Click on create the document. This RUN document helps to get the system CPU usage. If the CPU usage is more than the threshold value will be marked as Non-complaint. If the CPU usage is less than the threshold value, it will be marked as compliant.
{
  "schemaVersion": "2.2",
  "description": "Command Document to check the CPU usage",
  "parameters": {
    "CPUThreshold": {
      "type": "String",
      "description": "(Required) CPU threshold",
      "default": "90"
    },
    "executionTimeout": {
      "type": "String",
      "default": "3600",
      "description": "(Optional) The time in seconds for a command to be completed before it is considered to have failed. Default is 3600 (1 hour). Maximum is 172800 (48 hours).",
      "allowedPattern": "([1-9][0-9]{0,4})|(1[0-6][0-9]{4})|(17[0-1][0-9]{3})|(172[0-7][0-9]{2})|(172800)"
    }
  },
  "mainSteps": [
    {
      "action": "aws:runPowerShellScript",
      "name": "runPowerShellScript",
      "inputs": {
        "timeoutSeconds": "60",
        "runCommand": [
          "$CPUAVG=Get-CimInstance win32_processor | Measure-Object -Property LoadPercentage -Average | select Average; $AVG=$CPUAVG -replace '[^0-9.]';if ($AVG -lt \"{{ CPUThreshold }}\" ) { write-host(\"Complaint\") } else { throw (\"NonComplaint - CPU usage percentage is = $AVG \")  }"
        ]
      }
    }
  ]
}
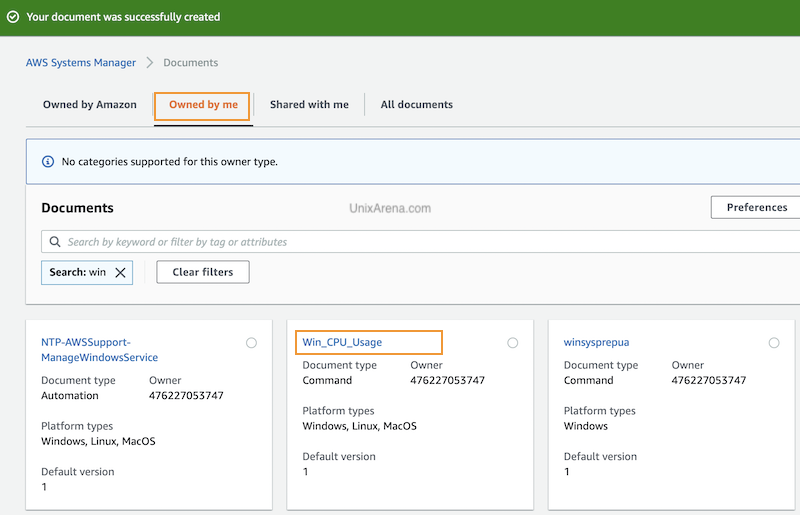
5. You can locate the document by clicking “document owned by me”. Click the document and click “RUN”

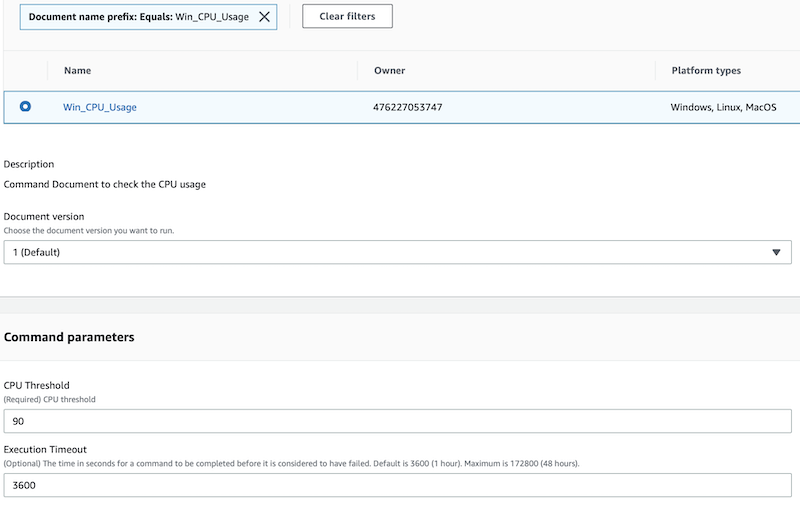
6. Invoke the run document for testing.

7. Select the target. It’s good to group the resources in resource groups and target a specific resource group. For more information, check AWS documentation.

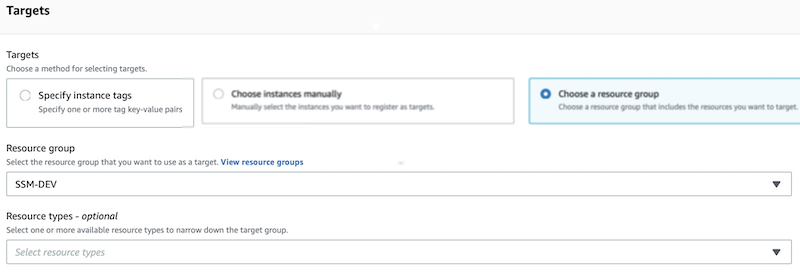
Click on RUN to start the document. This document will execute against all the windows EC2 instances that fall under the SSM-DEV resource group.
Once the execution is completed, you could able to see the document result like the following.
Job Result:
- > If the CPU utilization is less than the defined threshold value – Complaint
- > If the CPU utilization is more than the defined threshold value – Non-Complaint.
This data can be fed into the event bridge for further notification.
In the next article, we will see how to schedule this document in “SSM state manager” and how to send the events to the event bridge and receive them from SNS on our email.