


Kubernetes is a container orchestration platform and helps to automate application deployment, scaling, and management. Kubernetes platform services are offered by all the major cloud providers. Kubernetes was originally designed by Google (Borg system) and donated to Cloud Native Computing Foundation (CNCF). Google offers Kubernetes services in the name of GKE (Google Kubernetes Engine). When you run a GKE cluster, you also gain the benefit of advanced cluster management features that Google Cloud provides.
- Google Cloud’s load-balancing for Compute Engine instances
- Node pools to designate subsets of nodes within a cluster for additional flexibility
- Automatic scaling of your cluster’s node instance count
- Automatic upgrades for your cluster’s node software
- Node auto-repair to maintain node health and availability
- Logging and monitoring with Google Cloud’s operations suite for visibility into your cluster
GKE clusters have two modes of operation.
- Autopilot: GCP Manages the entire cluster and node infrastructure for you.
- Standard: GCP Provides you with node configuration flexibility and full control over managing your clusters and node infrastructure.
This post will show you how to quickly get started with a standard Kubernetes cluster in GCP. In the end, you will have a Kubernetes cluster ready to support a basic containerized app.
Register a GCP account
Please go ahead and register for a GCP account if you haven’t already. Google offers a 3-months free trial of the platform that includes USD 300 in credits. This offers plenty of room for creating simple clusters and deploying apps.
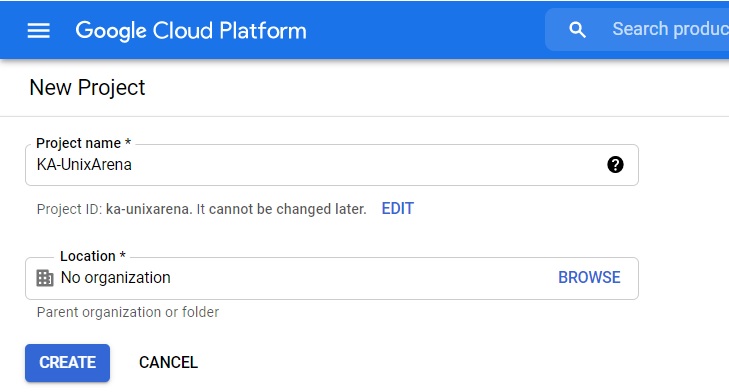
GCP – Create a new project
- Login to GCP console and create a new project.

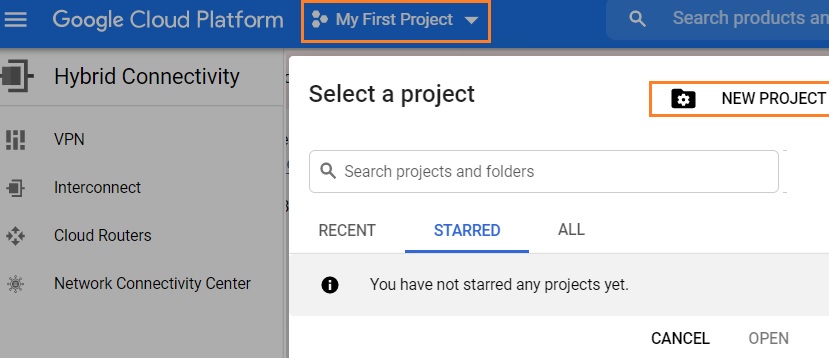
2. Enter the project name and select the organization.

Once the project is successfully created, kindly move on the next steps.
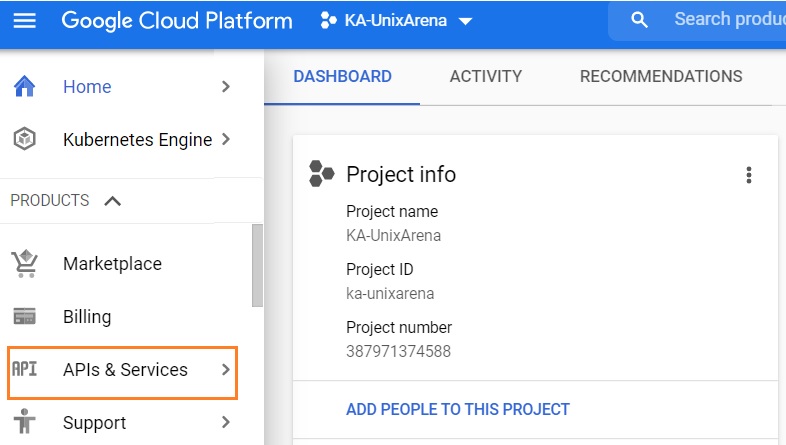
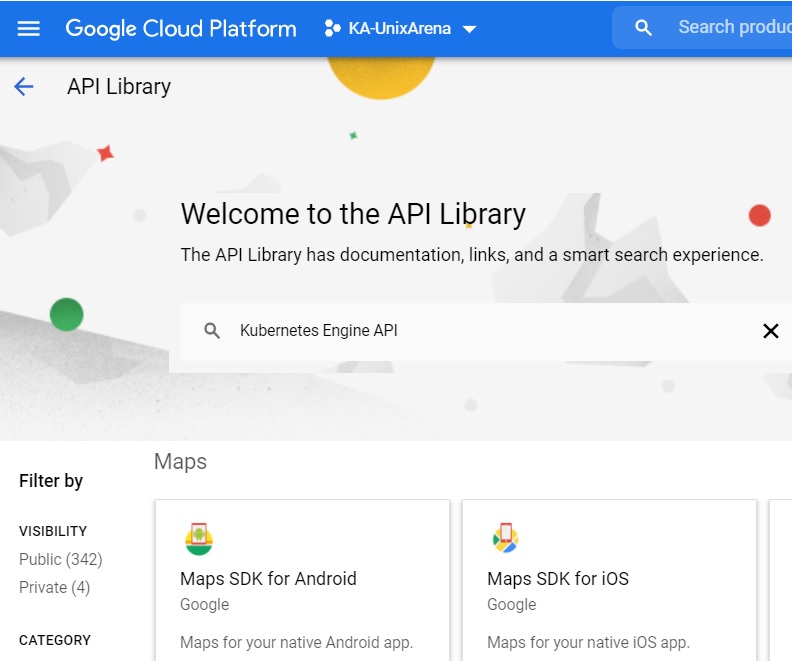
GCP – Enable APIs
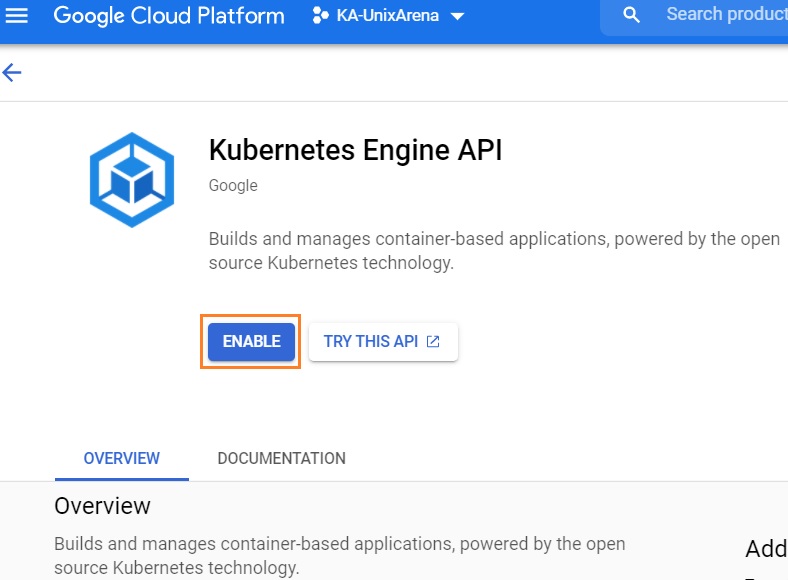
Enable three APIs for your Kubernetes Project: The Kubernetes Engine API, the Cloud Resource Manager API, and the Stackdriver API. These APIs provide the programmatic interface for your pipeline to create and update resources in your cluster.
- In GCP console, you can find APIs & services.

2. Search for the above-mentioned API names.

2. Enable “Kubernetes Engine API”.

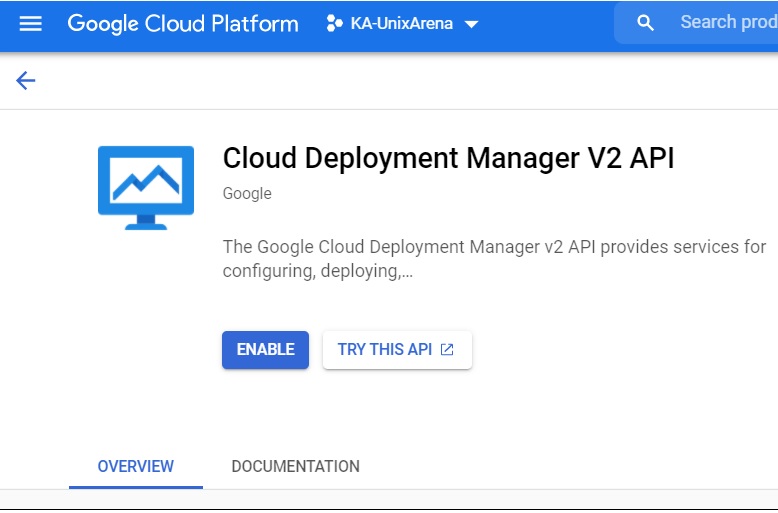
3. Go back to API search window and enable the remaining APIs.

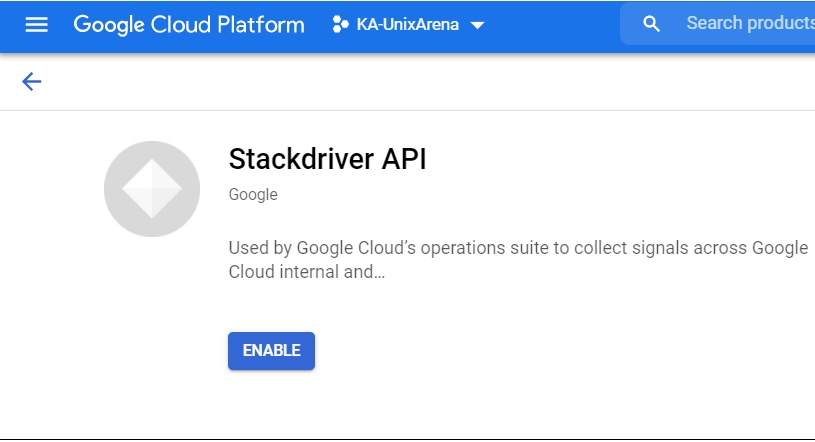
4. Enable stackdriver API

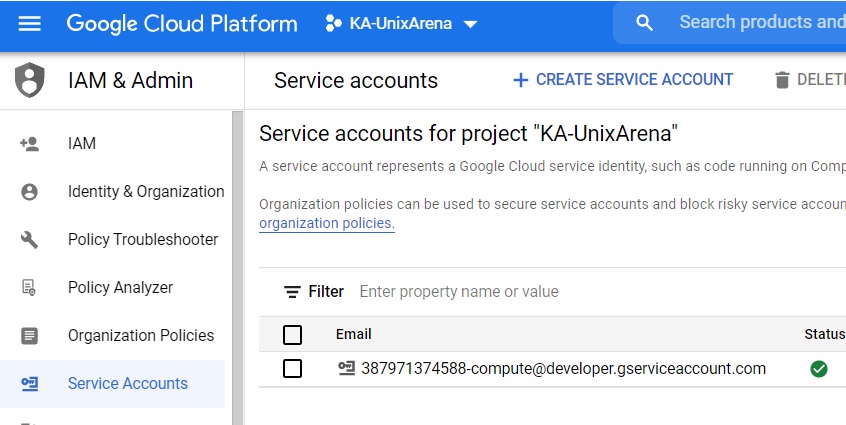
Service Account Keys
The service account will be created by default in the GCP project. You can navigate to the IAM service account and download the account key.
- Login to GCP console and navigate to IAM console.

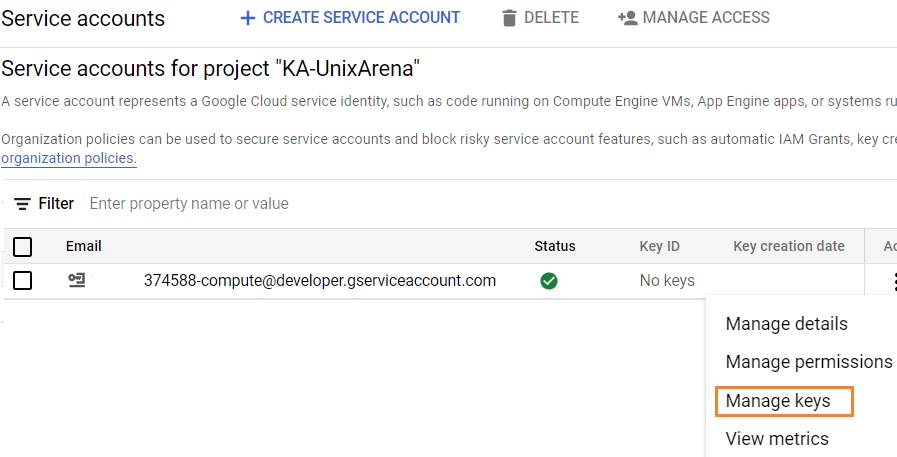
2. Click on the three dots in the account’s row and click on manage keys.

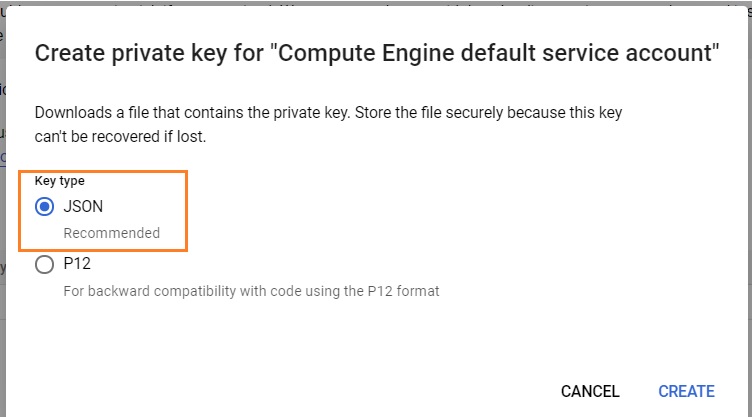
3. Click on “Add key” and select type as JSON. Key will be automatically downloaded to your laptop/desktop.


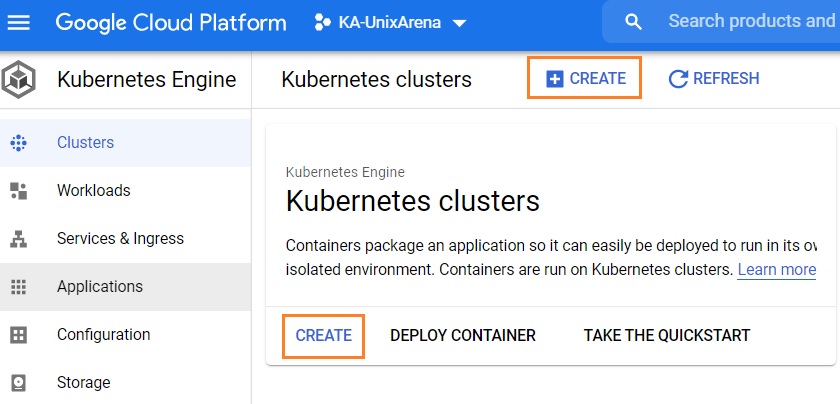
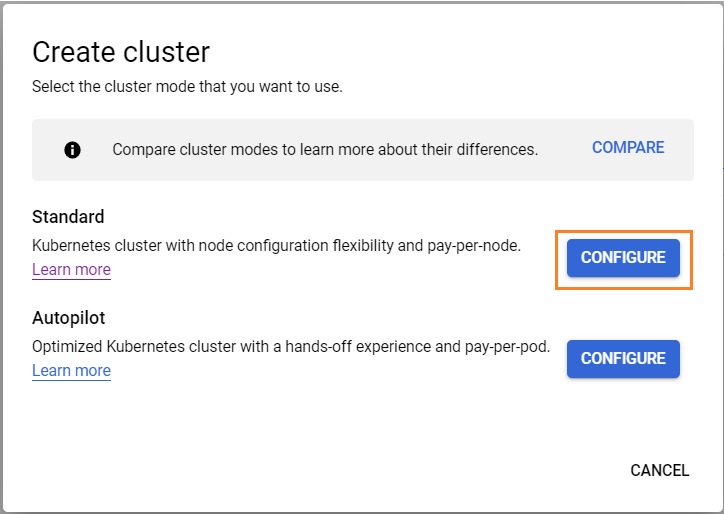
Create the cluster
GKE cluster is just a few clicks away.
- Login in to GCP console and naivgate to kubernetes engine page. Click on “Create”.

2. Let’s deploy a standard cluster. Click on “Configure”

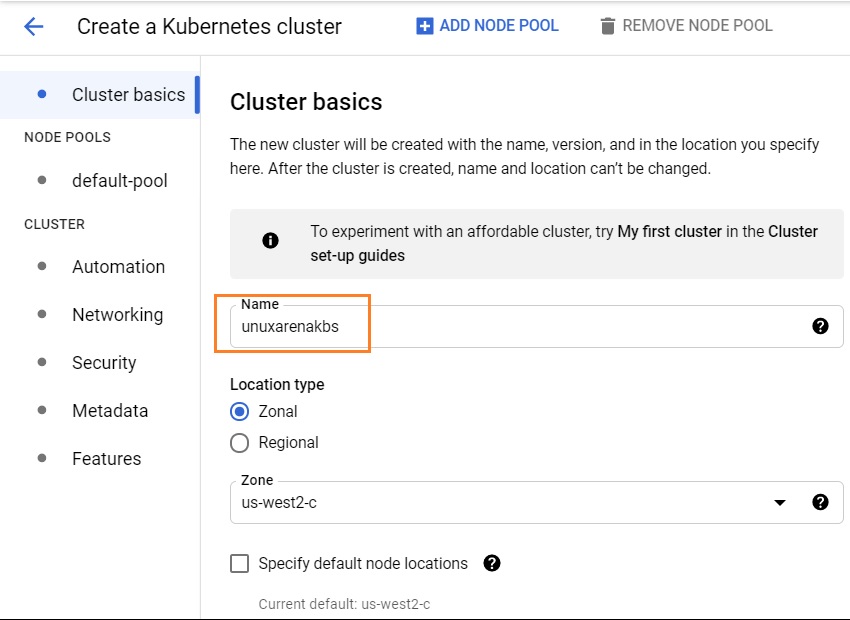
3. Enter the new cluster name in lower case without any special characters and space. Select the location type as per your need. For the lab environment, choose “Zonal”. Click on “Create” to begin the cluster deployment.

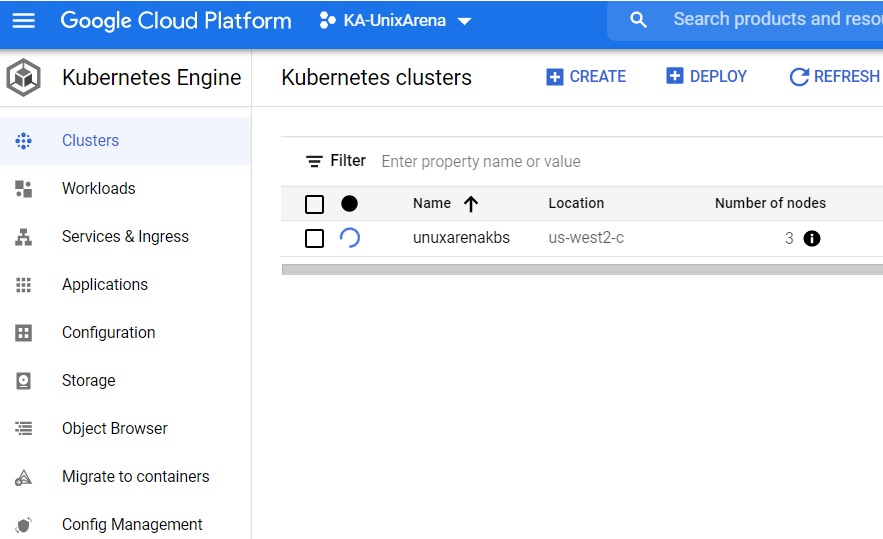
4. Cluster deployment is in progress. You can click the cluster name to see the cluster details.

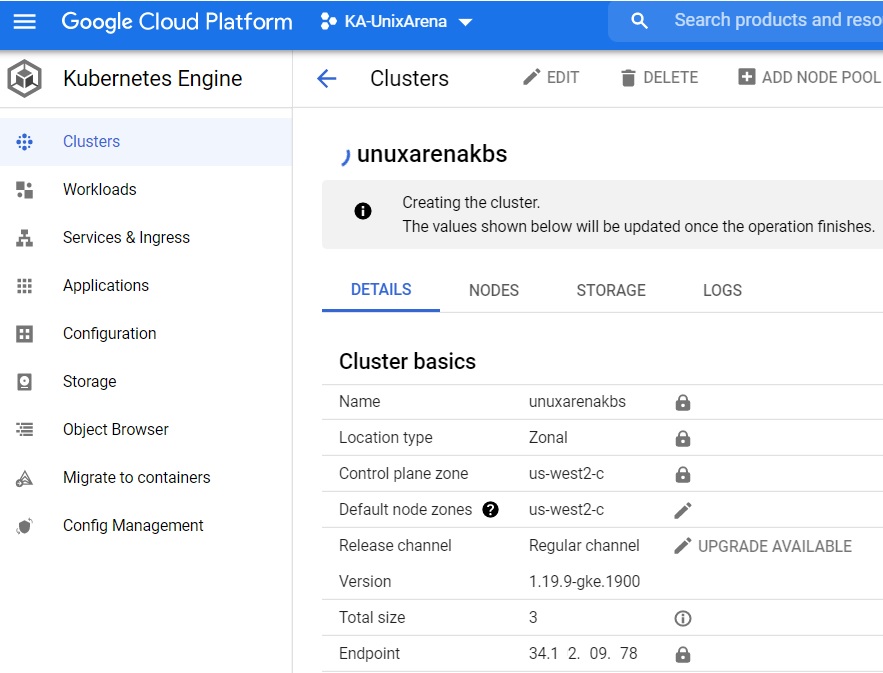
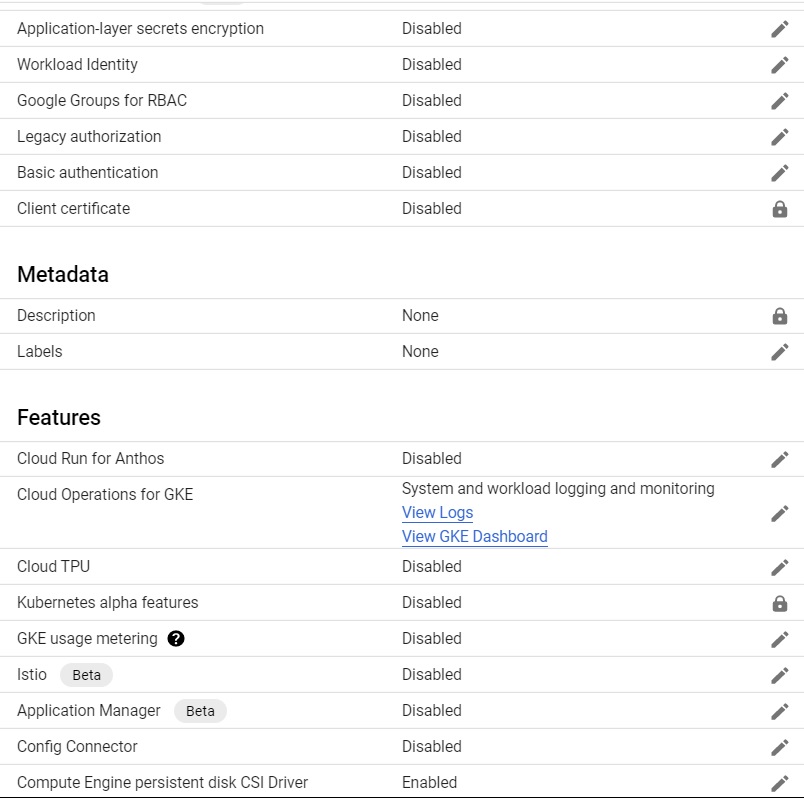
5. Here is the GKE cluster details.

6. Once the deployment is successful, you can see the green tick on the cluster name.


Click on the “connect” icon to get the command line to configure kubectl.

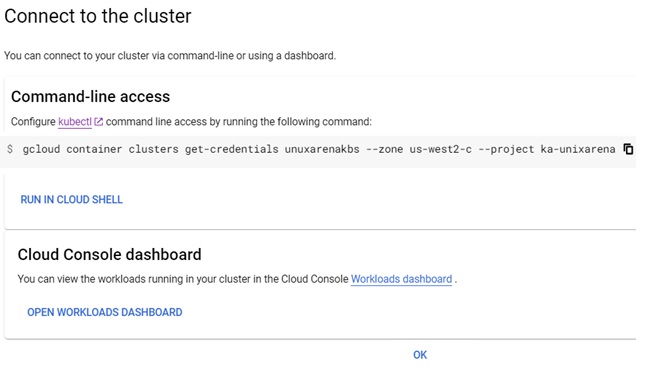
Let’s connect to cluster:
- It’s awlays easy to operate cluster through command line using kubectl. I have CentOS 7.x VM where i would like to manage the cluster using kubectl. Configure gcloud SDK.
2. Login to gcloud command line.
[root@kmaster ~]# gcloud auth login
 Go to the following link in your browser:
 https://accounts.google.com/o/oauth2/auth?platform+https%3A%2F%2Fwww.googleapis.com%2Fauth%2Fappengine.admin+https%3A%2F%2Fwww.googleapis.com%2offline&code_challenge=MCBD8V..........................IWHhiyYpB_0Nk3Iuyg33ovEZ90FqmNfOxc_b8&code_challenge_method=S2
 Enter verification code: 4/1AX4XfWhuGB................................mGTndQ
 You are now logged in as [lin.y@gmail.com].
 Your current project is [operating-rush-317405].  You can change this setting by running:
   $ gcloud config set project PROJECT_ID
 [root@kmaster ~]#
3. Configure GKE command line access.
[root@kmaster ~]# gcloud container clusters get-credentials unuxarenakbs --zone us-west2-c --project ka-unixarena
 Fetching cluster endpoint and auth data.
 kubeconfig entry generated for unuxarenakbs.
 [root@kmaster ~]#
We have successfully setup kubernetes command line access.
4. Let’s list the nodes using kubectl command.
[root@kmaster ~]#  kubectl get nodes
 NAME                                          STATUS   ROLES    AGE   VERSION
 gke-unuxarenakbs-default-pool-8c445995-5mv0   Ready       17m   v1.19.9-gke.1900
 gke-unuxarenakbs-default-pool-8c445995-g8pk   Ready       17m   v1.19.9-gke.1900
 gke-unuxarenakbs-default-pool-8c445995-m78j   Ready       17m   v1.19.9-gke.1900
 [root@kmaster ~]#
Deploy new application:
Create a new nginx pod and get the pod status.
 [root@kmaster ~]# kubectl run nginx --image=nginx --restart=Never --port=80
 pod/nginx created
 [root@kmaster ~]# kubectl get po nginx
 NAME    READY   STATUS    RESTARTS   AGE
 nginx   1/1     Running   0          11s
 [root@kmaster ~]#
We have successfully setup GKE cluster on google cloud platform.