

How to change VCSA (vCenter Server Appliance) 6.x IP address? VMware vSphere 6.7 U1 is the last version which offers Windows-based vCenter Server. Going forward, we must start adapting in-house vCenter appliance which runs on VMware Photon OS (Linux Variant). VMware doesn’t recommend to change the vCenter appliance IP address. If FQDN is set as an IP address during deployment, you can’t change the IP address. If you change from CLI or Linux console (editing network file), the vCenter page can’t be accessed due to broken SSO.
This article assumes that you have set the FQDN as a name during the deployment.
1. Login to VCSA Management page as root. By default, VCSA management portal listens on 5480 port.
https://VCSA_Hostname:5480


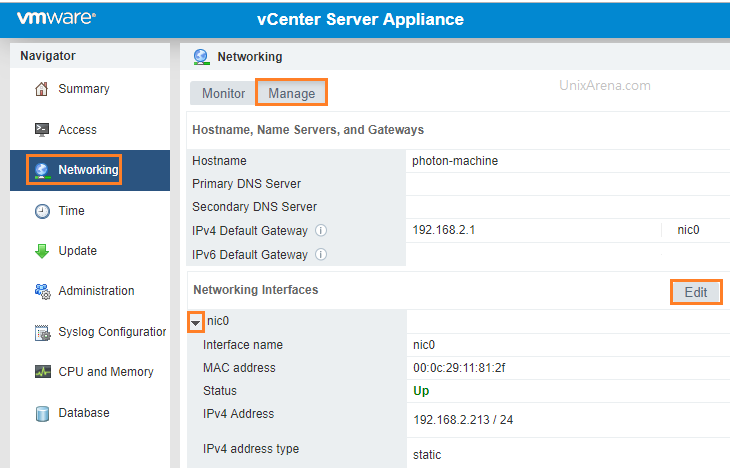
2. Navigate to the networking tab and click on Manage. Click on Edit to update the IP.

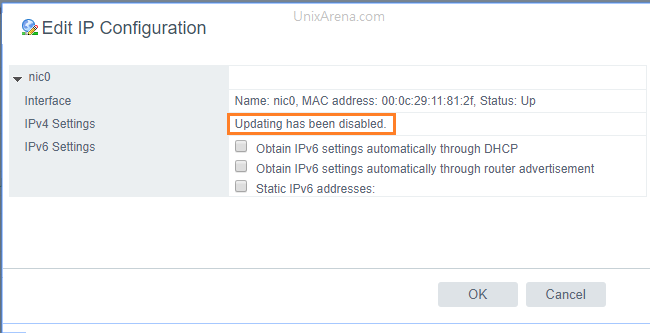
3. If you are unable to update the IP using VAMI (vCenter Appliance Management Interface), we can use the VAMI cli from the console or using SSH. This issue is more likely that you have deployed VCSA using IP address as FQDN.

4. Login to vCenter Appliance console directly as root user.
login as: root

VMware vCenter Server Appliance 6.5.0.12000

Type: vCenter Server with an embedded Platform Services Controller

root@192.168.2.213's password:
Connected to service

    * List APIs: "help api list"
    * List Plugins: "help pi list"
    * Launch BASH: "shell"

Command> shell
Shell access is granted to root
root@photon-machine [ ~ ]#
5. Invoke VAMI config cli utility to update the ipv4 IP address.
root@photon-machine [ /etc/systemd/network ]# /opt/vmware/share/vami/vami_config_net

 Main Menu

0)      Show Current Configuration (scroll with Shift-PgUp/PgDown)
1)      Exit this program
2)      Default Gateway
3)      Hostname
4)      DNS
5)      Proxy Server
6)      IP Address Allocation for eth0
Enter a menu number [0]: 0

Network Configuration for eth0
IPv4 Address:   192.168.2.213
Netmask:        255.255.255.0
IPv6 Address:
Prefix:

Global Configuration
IPv4 Gateway:   192.168.2.1
IPv6 Gateway:
Hostname:       photon-machine
DNS Servers:
Domain Name:
Search Path:
Proxy Server:


 Main Menu

0)      Show Current Configuration (scroll with Shift-PgUp/PgDown)
1)      Exit this program
2)      Default Gateway
3)      Hostname
4)      DNS
5)      Proxy Server
6)      IP Address Allocation for eth0
Enter a menu number [0]: 6
Type Ctrl-C to go back to the Main Menu

Configure an IPv6 address for eth0? y/n [n]:
Configure an IPv4 address for eth0? y/n [n]: y
Use a DHCPv4 Server instead of a static IPv4 address? y/n [n]:
IPv4 Address [192.168.2.213]: 192.168.2.212
Netmask [255.255.255.0]:
IPv4 Address:   192.168.2.212
Netmask:        255.255.255.0

Is this correct? y/n [y]:

Reconfiguring eth0...
6. Reboot the appliance to take effect the new IP address.
7. Login back to VAMI console to check the new IP of VCSA.


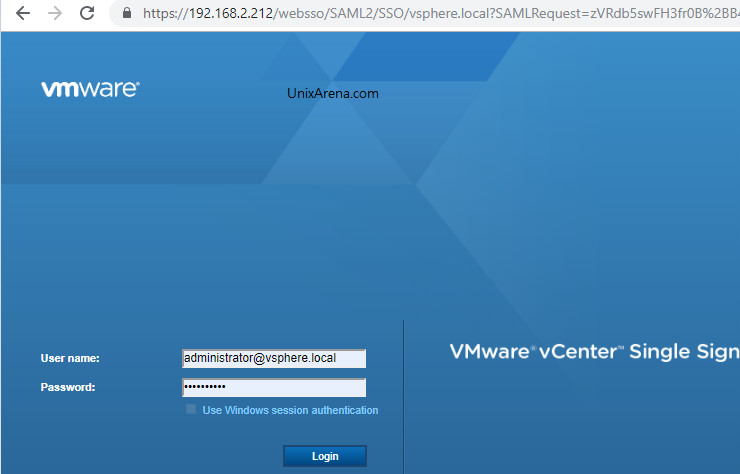
8. vCenter should be accessible using the new IP.

If you are more familiar with the Linux operating system, you could directly edit the system network configuration and reboot the appliance.
root@photon-machine [ /etc/systemd/network ]# cat 10-eth0.network

[Match]
Name=eth0

[Network]
Gateway=192.168.2.1
Address=192.168.2.212/24
DHCP=no

[DHCP]
UseDNS=false
root@photon-machine [ /etc/systemd/network ]#
Hope this article is informative to you. Share it! Be Sociable !!!