


This article will walk through to create the first AWS instance and launch it. We will also see that how to access the AWS instance from internet. Configure the virtual firewall to protect the instance from different external attacks by restricting the number of allowed ports. You could also protect the instance against the accidental termination. By adding more tags to the instances, you could easily determine the cost and department.
Let’s start the demonstration.
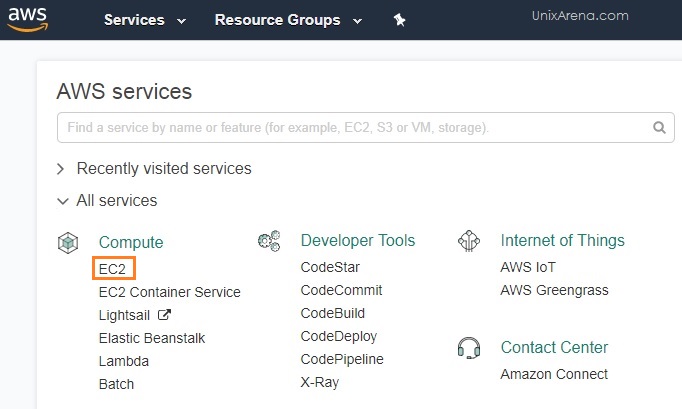
1. Login to the amazon AWS console.
2. From the AWS services , please click on EC2.

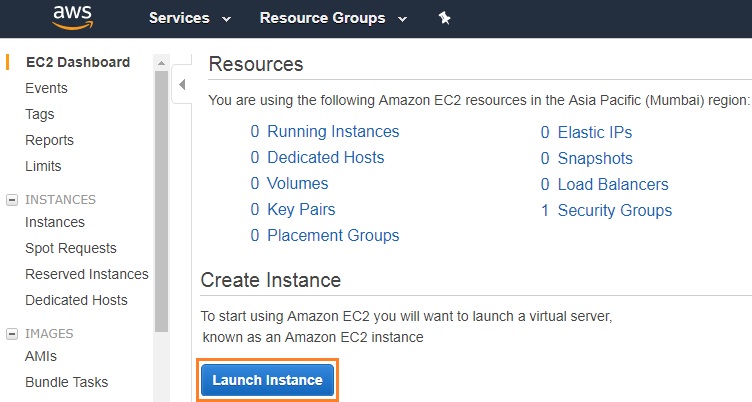
3. You could check the EC2 service status on your zone.

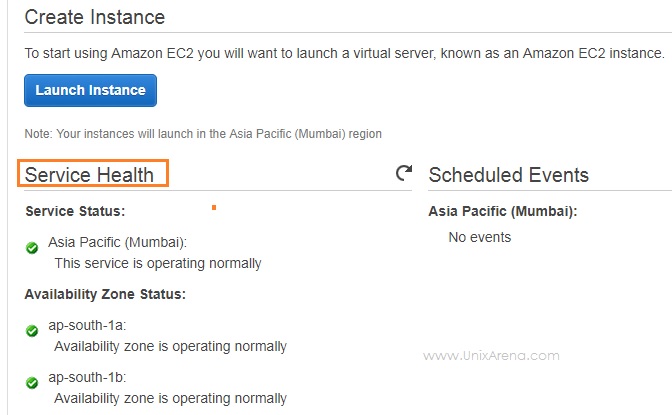
4. Click on “Launch instance” tab .

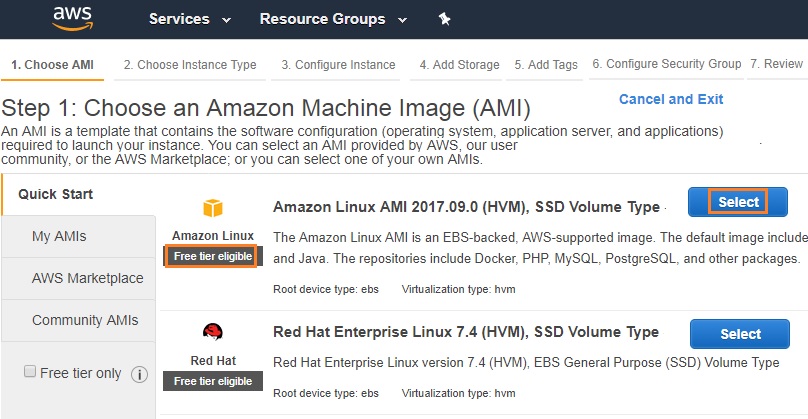
5. Select the any one of the Free Tier eligible image. (If you don’t want to be charged.)

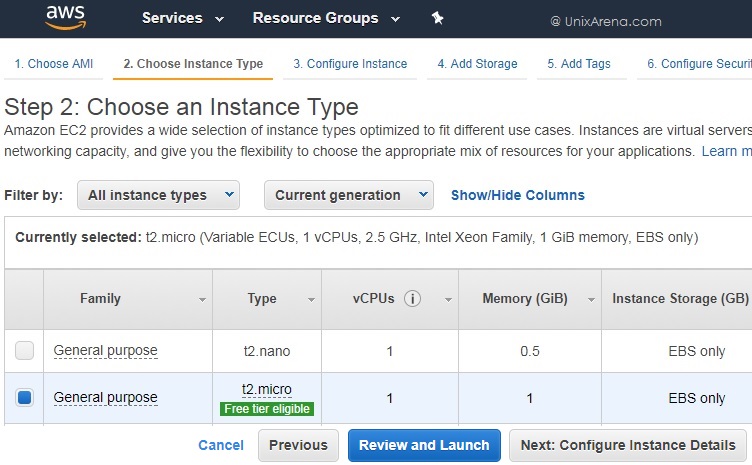
6. Choose an AWS EC2 instance type.

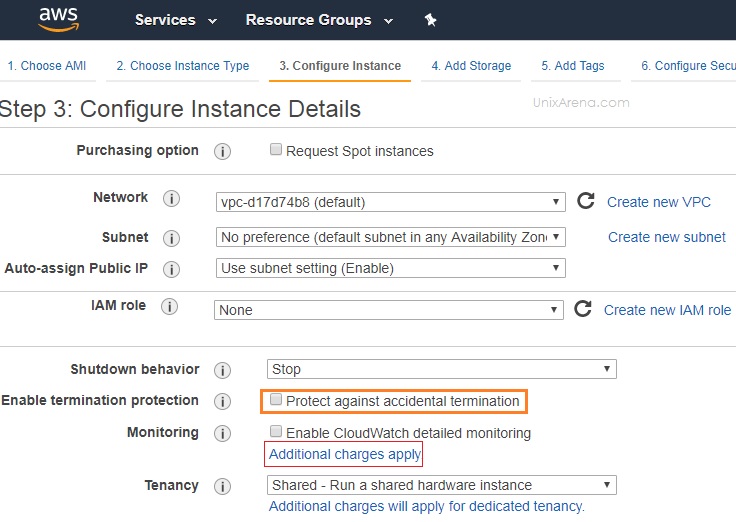
7. Configure instance details like network and other optional settings.

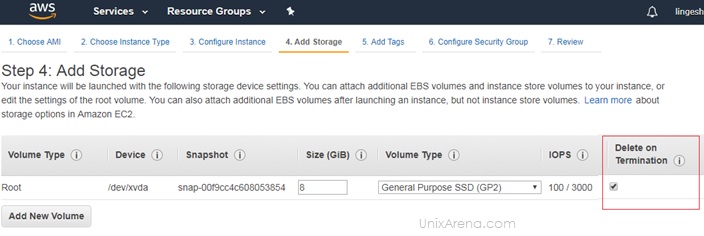
8.This section is required if you need to add additional storage.

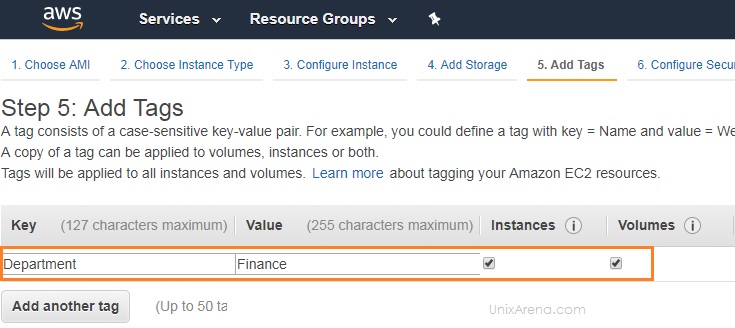
9. Add the required tags.

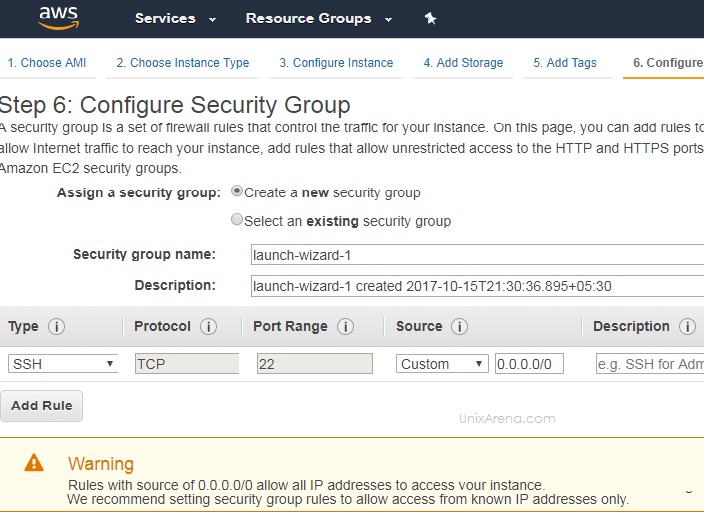
10. Configure the security groups. Since its first instance, I haven;t configure the additional security. It’s open to the internet on port 22.

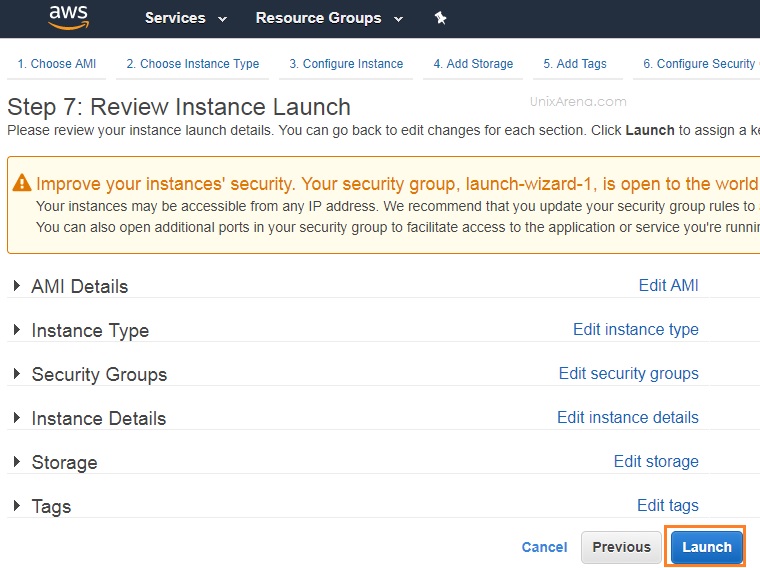
11. Review and launch the AWS EC2 instance.

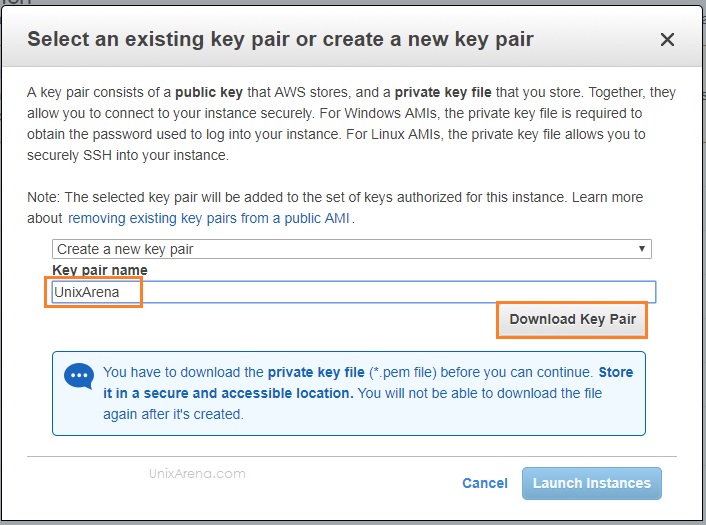
12. Create a new key pair and download it.

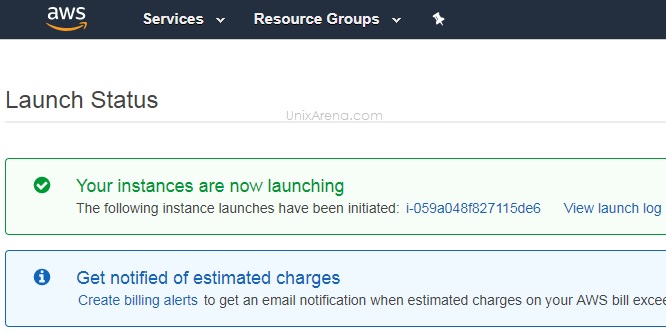
13. On the successful launch of the instance , you could see like below.

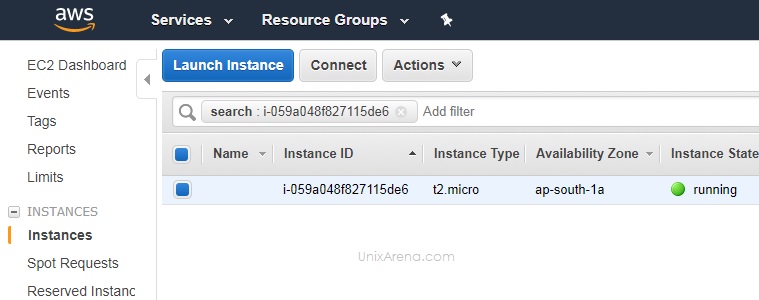
14. If you click that instance id , you can see the instance status.

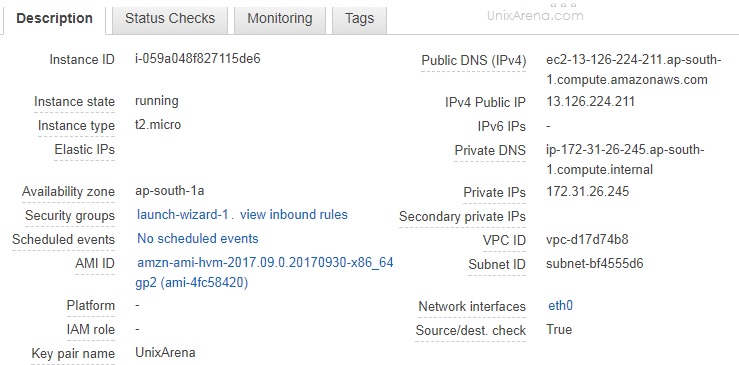
15. In the instance description section , you could see that public IP and DNS for the instance.

Using the Public IP, You should be able to connect the instance from internet. In the next article, we will see that how to connect to the instance using the private key from windows laptop.
Share it ! Comment it !! Be Sociable !!!