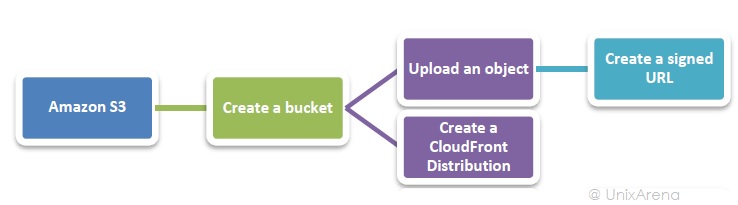
This article will walk through that how to create S3 object storage bucket in Amazon AWS portal. S3 is multipurpose object storage with plenty of features and storage options for as we discussed in last article. Buckets are globally unique containers for everything that you store in Amazon S3. That said you have to create the bucket with unique name. Otherwise, you will get an error stating that bucket is already exists in the global name space. Buckets have configuration properties, including their geographical region, who has access to the objects in the bucket, and other metadata, such as the storage class of the objects in the bucket. Once the bucket is created, you can upload the files to the bucket but by default files will be in private mode. You need to adjust the file permission based on your needs.
Let’s see that how to create the AWS S3 bucket and upload the file publicly accessible permission.
1.Login to Amazon AWS console.

2. Once you have singed to the AWS console , Please click on services.

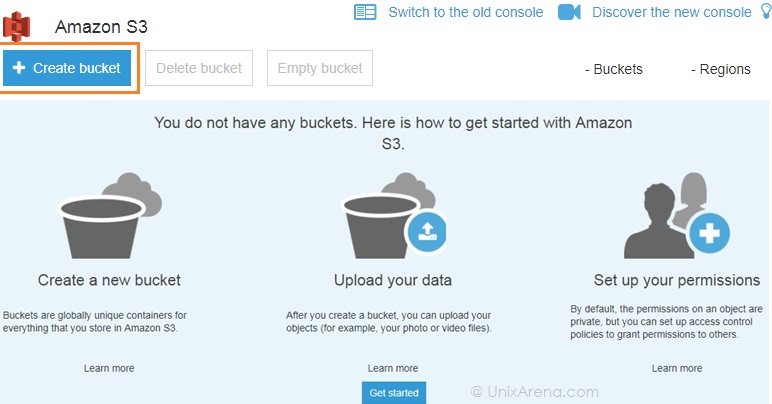
3. Click on Storage s3 to launch the storage management console.

4. Create a own & unique storage bucket.
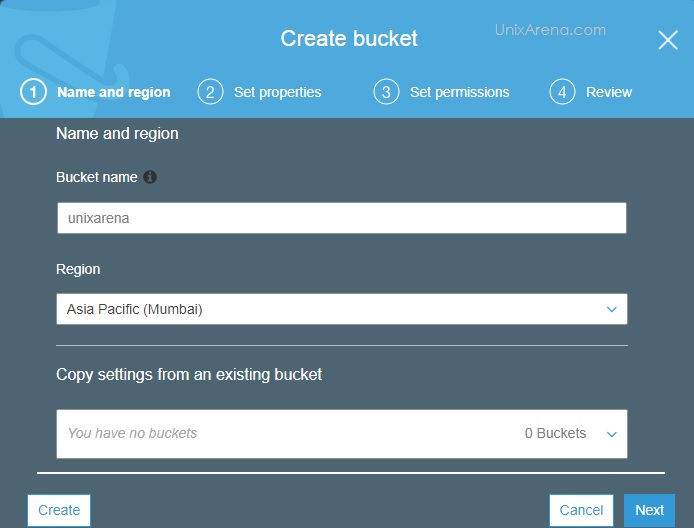
5. Enter the unique bucket name and select near by region for better performance.
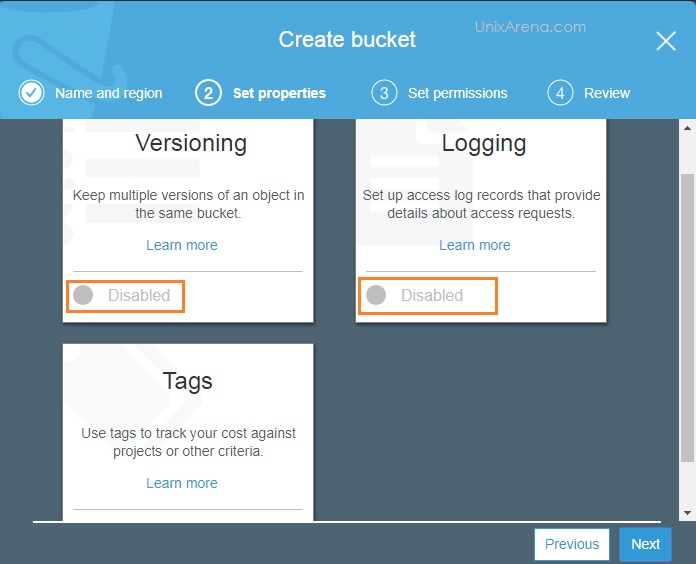
6. Set the S3 Bucket properties. In the wizard, you could enable versioning , logging for the bucket. You could also use tag to track the S3 bucket usage and cost.
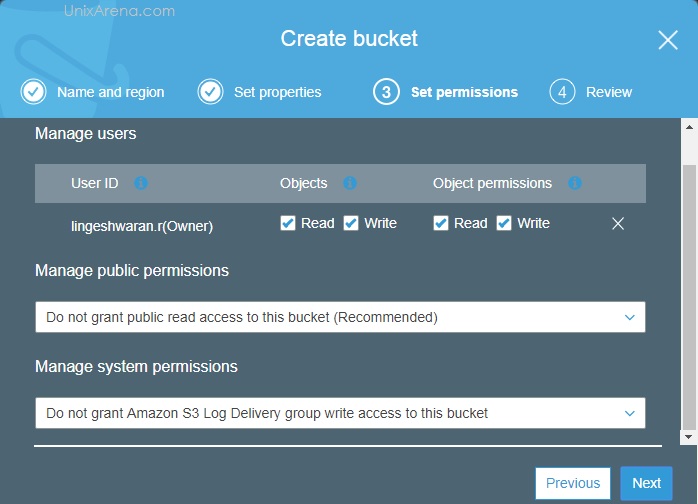
7. Set the s3 bucket object and object permission . You could also grant or deny access for public access.
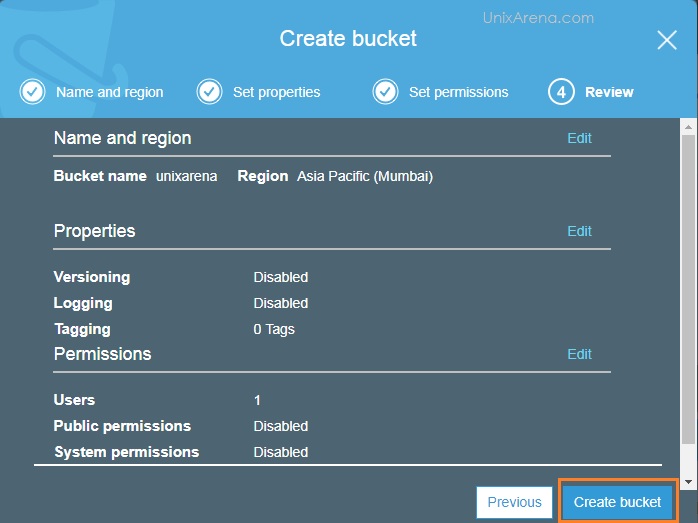
8. Review the new bucket permission and proprieties. Click on “Create Bucket”
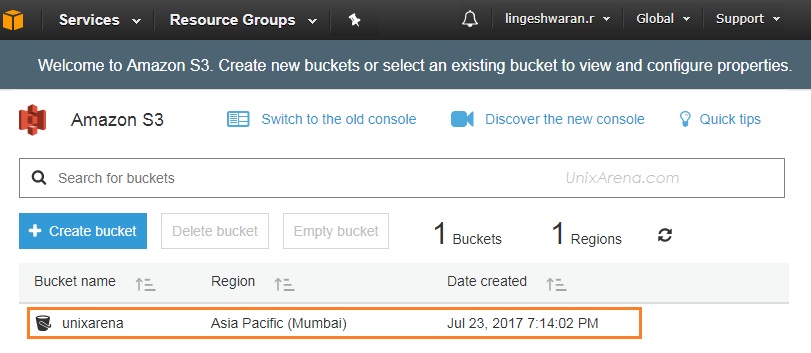
9. Once the bucket is created , you can see the bucket is listed in S3 console. Click on the bucket
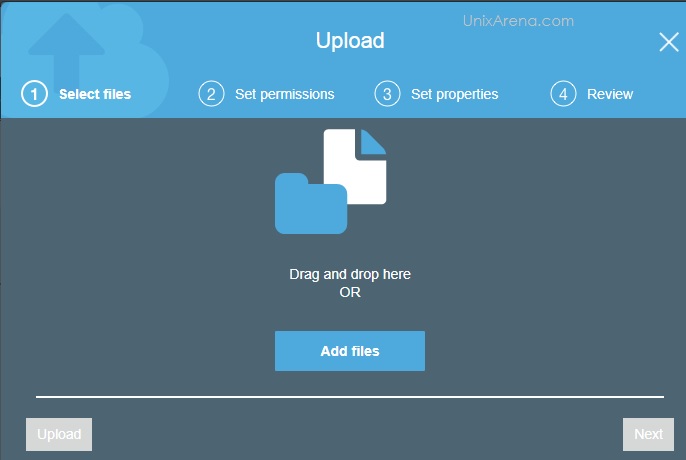
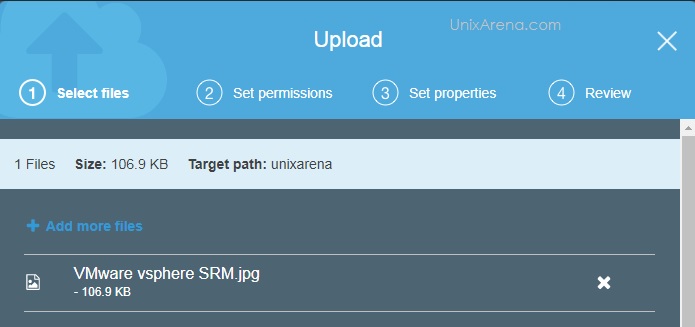
10. Add files to the newly created bucket.
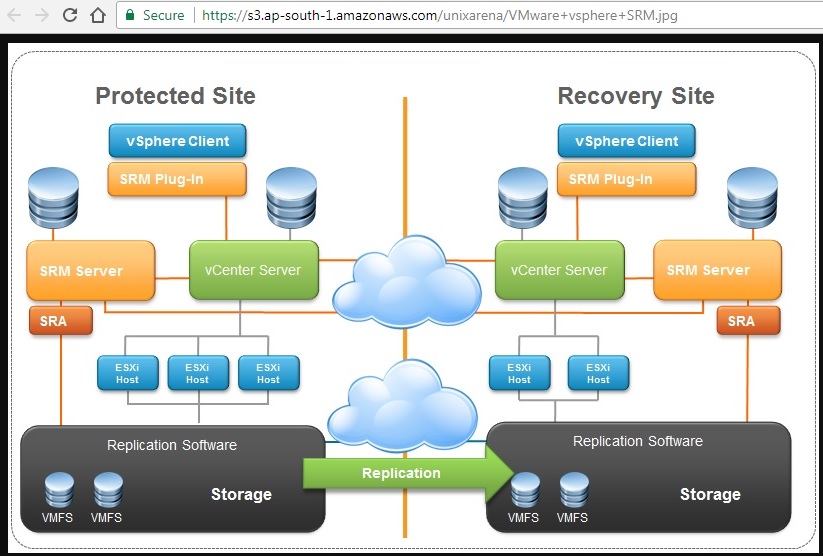
11. Here i have uploaded a image file called ” VMware vSphere SRM” .
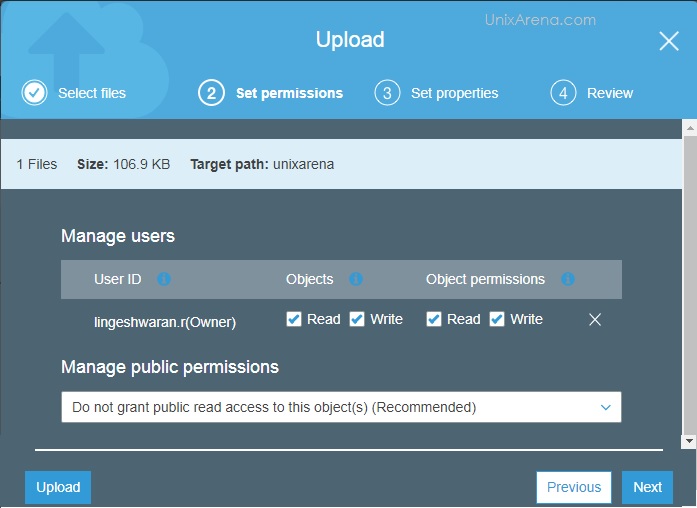
12. Manage the object permission. Here I haven’t granted the permission to the public.
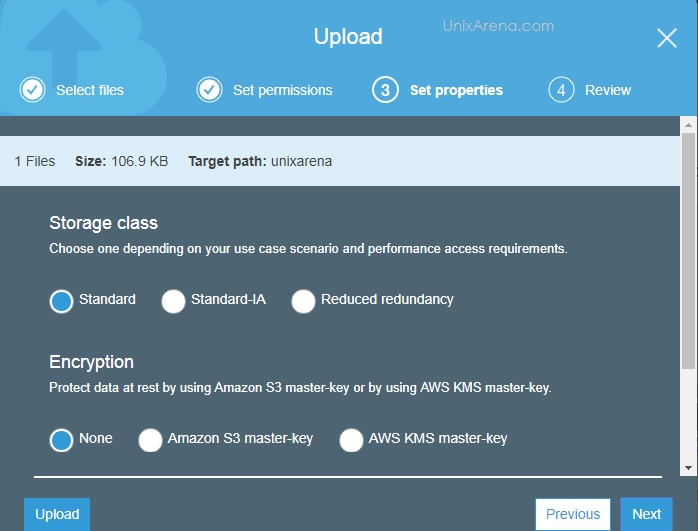
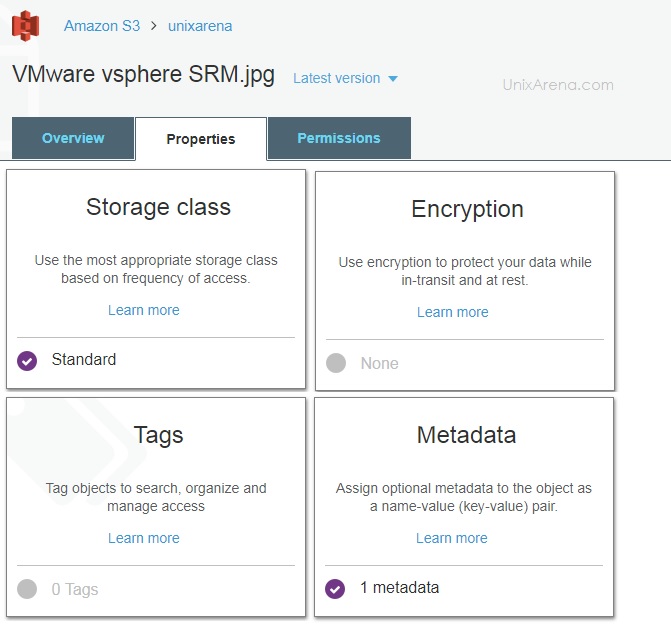
13. Select the storage type. We have already discussed about the various type of storage on this AWS series. You could also have option to enable the encryption for the object.
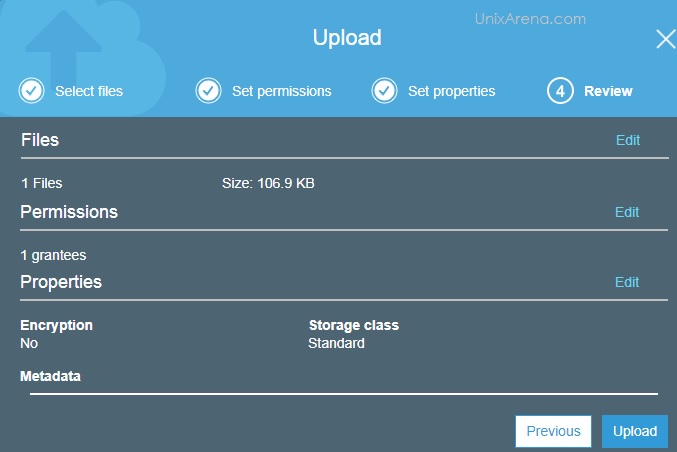
14. Review the object permission and upload it .
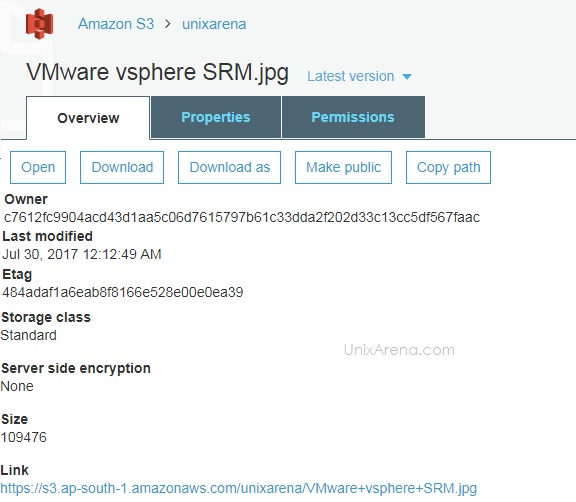
15. Here you can see that file has been uploaded successfully. Click on the image to check the URL for the object.

We have created new S3 Bucket and uploaded the file successfully.
Let’s do small test by accessing the file.
1. Once you have clicked the file, you can get the file URL .
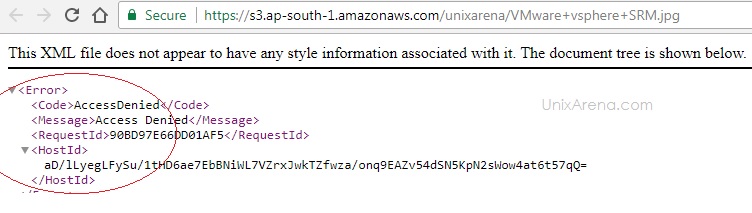
2. Access the file link. Since, we have deny the public access while uploading the file, nobody can view this file.
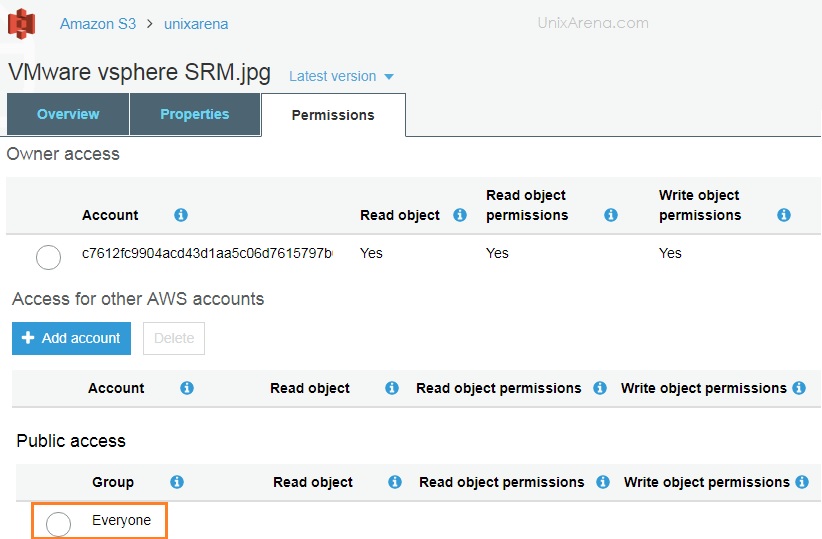
3. Let’s grant the access to the public to view the file. Select the permission tab and click on “everyone” in public access tab.
4. Select “Read Object” and save it .
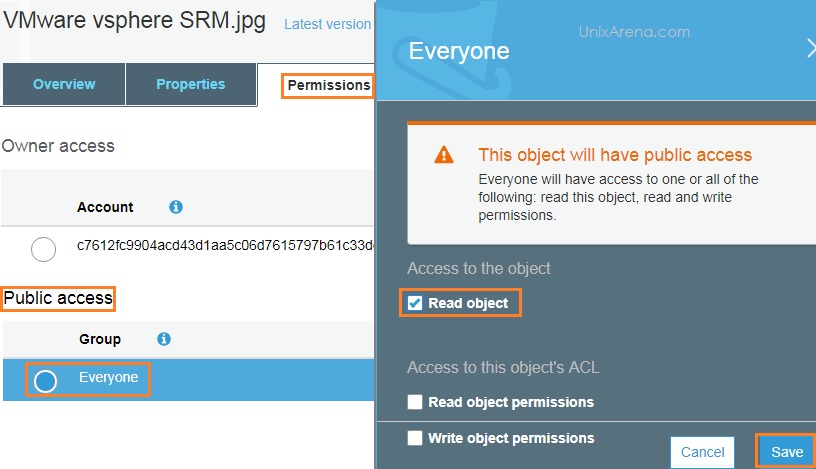
5. Go back to the browser and access the object link again. You can see that file is readable for public.
6. You could also encrypt the object anytime by accessing the properties tab.
Hope this basic AWS s3 demonstration help you to learn S3 yourself . In upcoming artciles, we will see more about Amazon AWS storage services .
Share it ! Comment it !! Be Sociable !!!
Suresh Nagarajan says
It ‘s very nice.
Can you prepare Oracle cloud. In future there will be big Competitor for AWS and they will provide the application and database support.