• Skip to primary navigation
  • Skip to main content
  • Skip to primary sidebar

UnixArena

  • Home
  • kubernetes
  • DevOps
    • Terraform
    • Jenkins
    • Docker
    • Openshift
      • OKD
    • Ansible engine
    • Ansible Tower
      • AWX
    • Puppet
  • Cloud
    • Azure
    • AWS
    • Openstack
    • Docker
  • VMware
    • vCloud Director
    • VMware-Guests
    • Vcenter Appliance 5.5
    • vC OPS
    • VMware SDDC
    • VMware vSphere 5.x
      • vSphere Network
      • vSphere DS
      • vShield Suite
    • VMware vSphere 6.0
    • VSAN
    • VMware Free Tools
  • Backup
    • Vembu BDR
    • Veeam
    • Nakivo
    • Azure Backup
    • Altaro VMBackup
    • Spinbackup
  • Tutorials
    • Openstack Tutorial
    • Openstack Beginner’s Guide
    • VXVM-Training
    • ZFS-Tutorials
    • NetApp cDot
    • LVM
    • Cisco UCS
    • LDOM
    • Oracle VM for x86
  • Linux
    • How to Articles
    • Q&A
    • Networking
    • RHEL7
  • DevOps Instructor-led Training
  • Contact

Post Deployment – NAKIVO Backup & Replication V6 for VMware – Part 2

July 11, 2016 By Cloud_Devops Leave a Comment

This article will explain more about the post deployment of NAKIVO Backup & Replication V6 for VMware. During the post deployment , you can configure the hostname , Backup Storage, Timezone.  NAKIVO console also provides as option to update the NAKIVO  software and monitor the system performance. Once you have done the basic settings like hostname, backup storage and timezone, you can launch the NAKIVO’s web-portal to add the vCenter server to configure the backup.

Post Deployment of NAKIVO v6:

1.Login to the VMware vSphere web-client .

2. Power on the NAKIVO Backup & Replication VA.
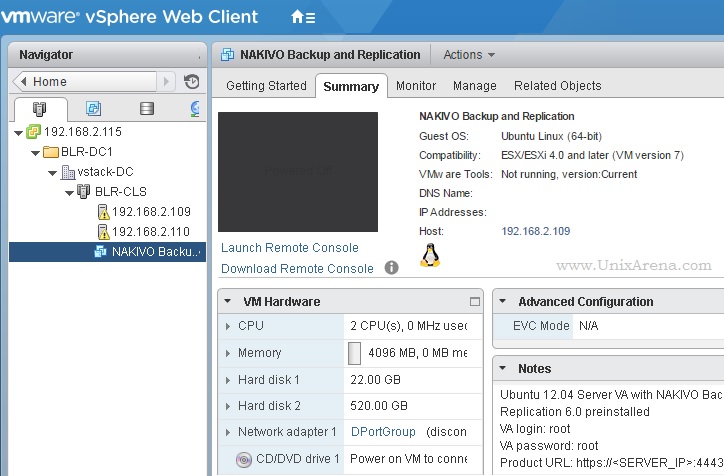
NAKIVO B&R VA
NAKIVO B&R VA


3.Once the appliance is up , you will get console like below. Just select “Network Settings” & press enter to modify the hostname & IP details.
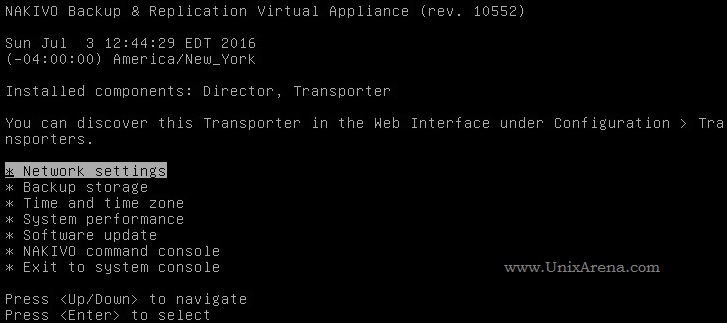
NAKIVO Backup & Replication VA


4. Navigate to the hostname and set the new hostname.  You can also modify the network settings. Here I have disabled the DHCP and set the static IP address.
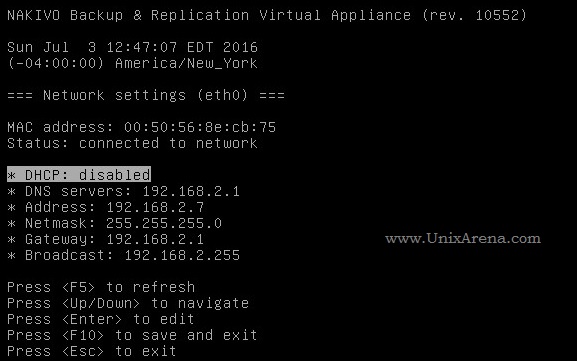
NAKIVO Backup & Replication set static IP


5. From the main menu, if you select backup storage , you will get screen like below. Here only one disk has been configured as backup repository. It provides option to add newly attached disks to the backup repository.
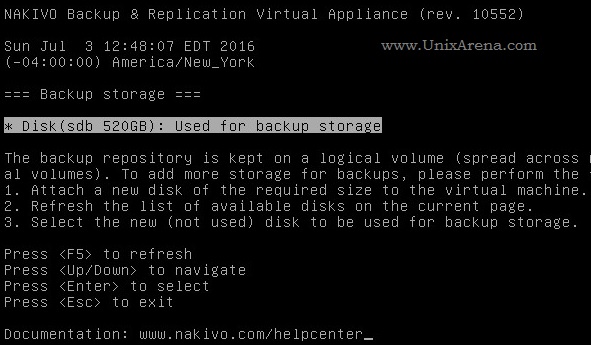
NAKIVO Backup & Replication - Backup Storage
NAKIVO Backup & Replication – Backup Storage


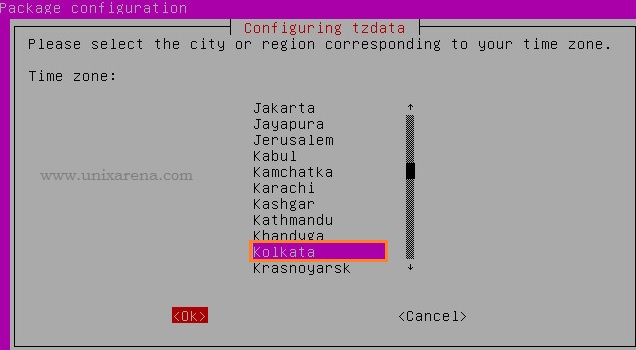
6. You can set the desired timezone. Select “Change time zone” to modify the timezone.
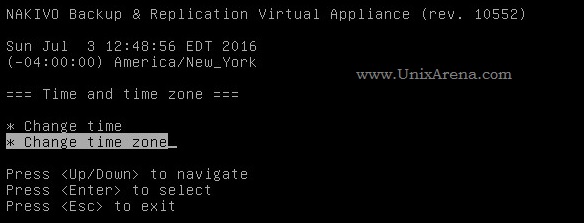
NAKIVO Backup & Replication Change Timezone


7. Select the appropriate geographic area.
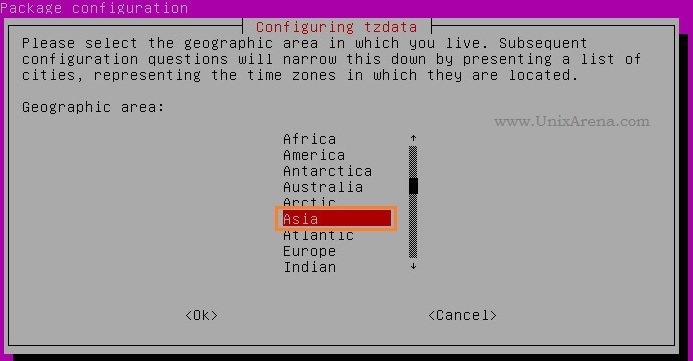
NAKIVO Backup & Replication - Timezone
NAKIVO Backup & Replication – Timezone


8.Select the timezone.

NAKIVO Backup & Replication - Timezone
NAKIVO Backup & Replication – Timezone


9. In the main console, you can find the NAKIVO’s System Performance.  It provides the VA’s performance statistics .

NAKIVO Backup & Replication - System Performanace
NAKIVO Backup & Replication – System Performance


Just select the “System Performance” and press enter to see the system performance.
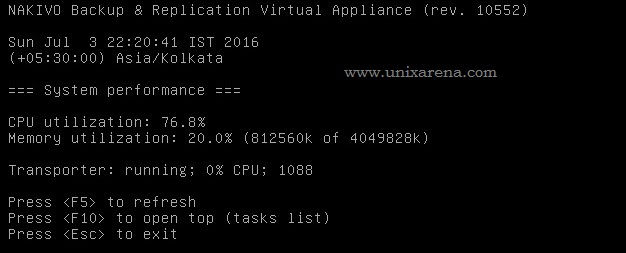
NAKIVO Backup & Replication - System Performance
NAKIVO Backup & Replication – System Performance


10. From the main menu, select “Exit to System console” to get the OS login prompt. You can login to the virtual appliance using root user credentials.

Exit the System console

Exit the System console


11. By default, NAKIVO’s web portal uses port 4443. (https://192.168.2.7:4443) . The initial web page login will allow you to configure new user name & password.
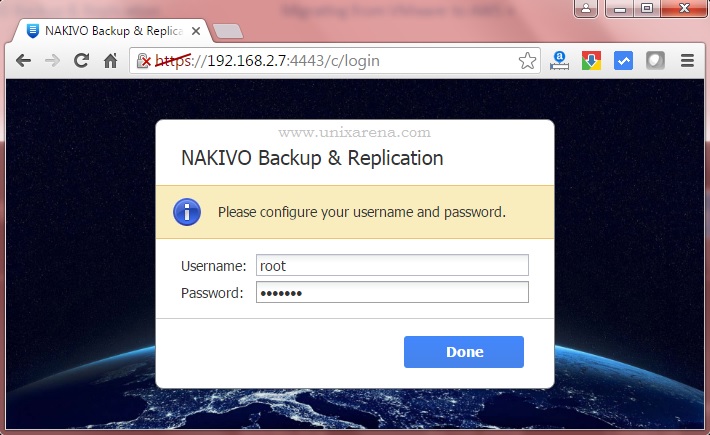
NAKIVO Backup & Replication - Webconsole
NAKIVO Backup & Replication – Web-console


We have successfully deployed NAKIVO  Backup & Replication. In the upcoming articles ,we will see that how to we can use NAKIVO to migrate the instance from VMware vSphere to Amazon EC2.

Filed Under: Nakivo Tagged With: NAKIVO

Reader Interactions

Leave a Reply Cancel reply

Your email address will not be published. Required fields are marked *

Primary Sidebar

Follow UnixArena

  • Facebook
  • LinkedIn
  • Twitter

Copyright © 2025 · UnixArena ·

Go to mobile version