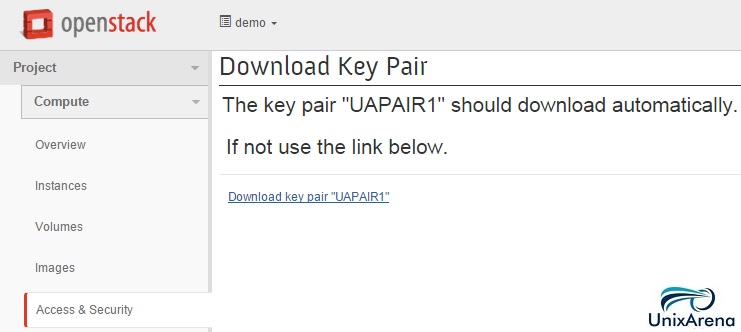
If you are new to the cloud environment, You should know that how to use the key pairs to access the instances. The procedure remains same when you go for the public clouds like Amazon EC2 or Private clouds like Openstack. The ssh keys consists two parts. The first one is public key which is pushed in to the instance in the name of authorized_keys. The other one is the private key which you have downloaded after creating the key-pair with extension of “.pem”. You can’t change the key pair for the instance once its launched because the key is copied into the instances table of the nova database.
If you lost the private key or forget to allocate the key pair to the instance, you need to recreate the instance using the snapshot feature.
Accessing the Instance using the key pair:
1. Keep the downloaded key in Linux box. Refer this article.
2. Change the key permission to 400.
stack@uacloud:~$ chmod 400 uapair.pem
3. Access the instance like below.
stack@uacloud:~$ ssh -i uapair.pem cirros@192.168.204.2
$
$ uname -a
Linux test 3.2.0-60-virtual #91-Ubuntu SMP Wed Feb 19 04:13:28 UTC 2014 x86_64 GNU/Linux
$ df -h
Filesystem                Size      Used Available Use% Mounted on
/dev                     21.3M         0     21.3M   0% /dev
/dev/vda                 23.2M      9.6M     12.5M  43% /
tmpfs                    24.9M         0     24.9M   0% /dev/shm
tmpfs                   200.0K     96.0K    104.0K  48% /run
$
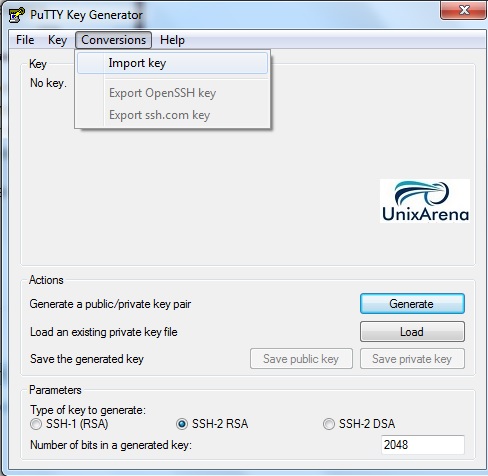
In-case if you need to access the instance from the window box, you can convert the *.pem file as *.ppk file using “puttygen.exe” utility.
1. Login to windows Laptop and download puttygen.exe from putty portal.
2. Open the puttygen.exe.
3. Once the key is loaded , you will get screen like below.
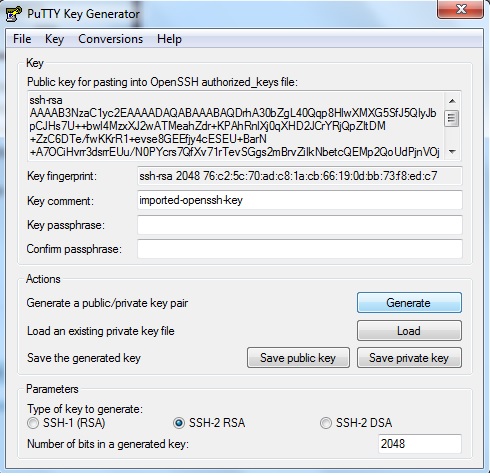
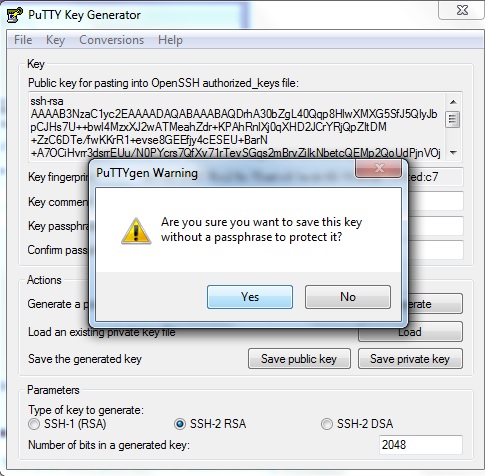
3. Click on “Save Private Key “.
4. Open putty.exe and enter the instance’s IP address .
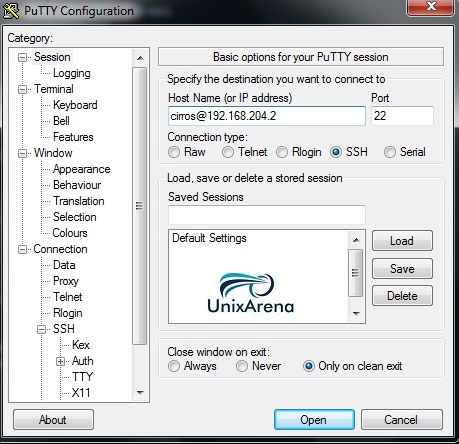
5. Navigate to Connection – > SSH – > Auth. Browse the private key file & select the file which you have generated using the puttygen.exe. Click on Open to access the instance.

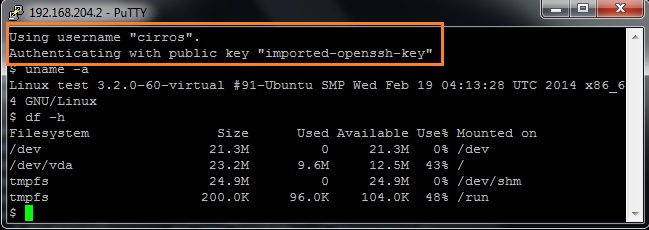
6. On the successfully authentication , you should be able to access the instance without password.
Hope this article is informative to you .
Leave a Reply