

NTP configuration is essential for any operating systems to display the accurate time. Cisco UCS also requires instance-specific time zone setting and an NTP server to ensure the correct time display in Cisco UCS Manager. Prior to perform the NTP configuration , you must open a incoming port 123/UDP to Cisco UCS domain. This article will show you how to configure Cisco UCS Manager Time zone and NTP. In the second part of article will explain about the UCS manager Configuration backup.
1. Login in to UCS Manager.
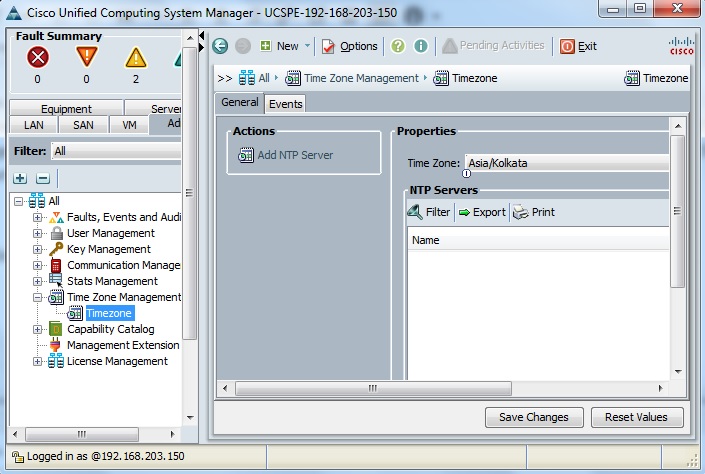
2. Navigate to “Admin” tab and select “Time zone Management” . Expand and select “Timezone” . In the right hand pane , You can see the Properties tab. Select the appropriate time-zone.
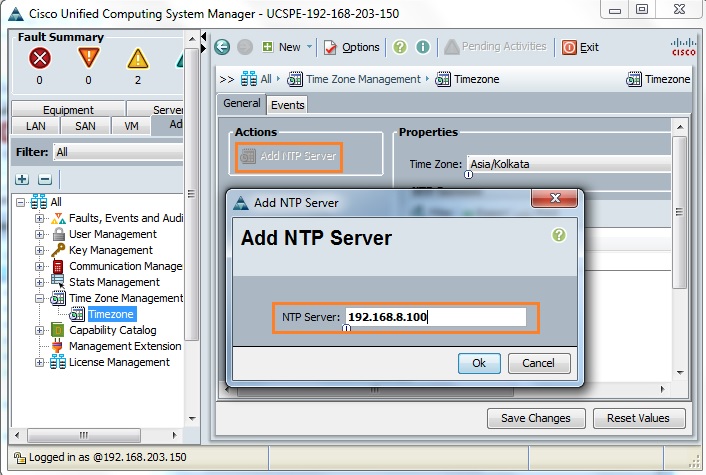
3. In the left size action tab ,Click on “Add NTP server”. In the pop-up window, specify the NTP server IP or Hostname.
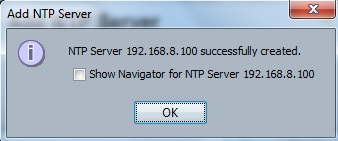
You will get pop-up like below on successful NTP server configuration.
4. Click on “Save Changes”.
Using CLI also , you can configure the NTP server using few commands.
1. Take the ssh session of UCS Manager.
login as: ucspe
ucspe@192.168.203.150's password:
Last login: Fri Jul 17 11:34:49 2015 from 192.168.203.1
 Cisco UCS Platform Emulator  3.0(2c)

Choose an option:

 a: Show  Status

 c: Login to  CLI shell

 n: Modify  Network Settings

 t: Modify  System Settings

 s: Restart UCSPE Processes

 f: Perform a  Factory Reset

 r: Reboot the VM

 x: Logout user

 z: Shutdown the VM

> c
Logging in ...
Cisco Nexus Operating System (NX-OS) Software
TAC support: http://www.cisco.com/tac
Copyright (c) 2009, Cisco Systems, Inc. All rights reserved.
The copyrights to certain works contained in this software are
owned by other third parties and used and distributed under
license. Certain components of this software are licensed under
the GNU General Public License (GPL) version 2.0 or the GNU
Lesser General Public License (LGPL) Version 2.1. A copy of each
such license is available at
http://www.opensource.org/licenses/gpl-2.0.php and
http://www.opensource.org/licenses/lgpl-2.1.php

ucspe# scope system
ucspe /system #
2. Navigate to the system services.
ucspe# scope system
ucspe /system # scope services
3. Set the NTP server .
ucspe /system/services # create ntp-server 192.168.8.100
ucspe /system/services* #  commit-buffer
ucspe /system/services #
ucspe /system/services # show NTP
NTP Servers:
    Name: 192.168.8.100
ucspe /system/services #
Configuration Backup on UCS Manager:
1. Login to UCS Manager .
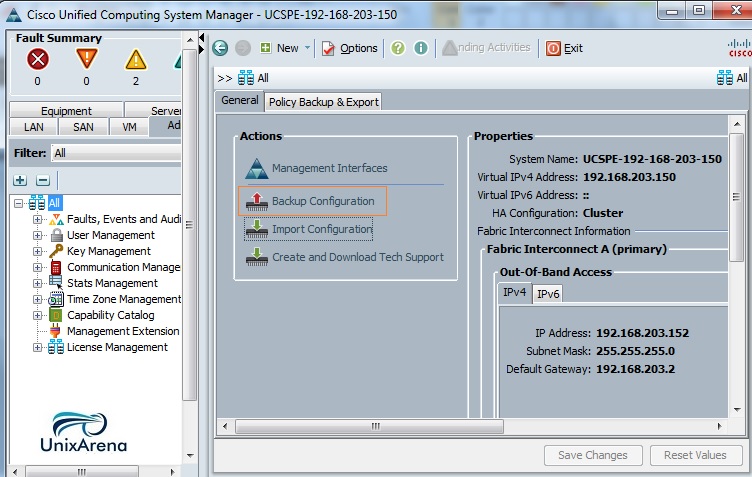
2. Navigate to the “Admin” tab and then “All”. In the right-hand pane, select “Backup Configuration”. From the “Backup Configuration” dialog box, choose “Create Backup Operation”.
3. Click on Create backup operation.
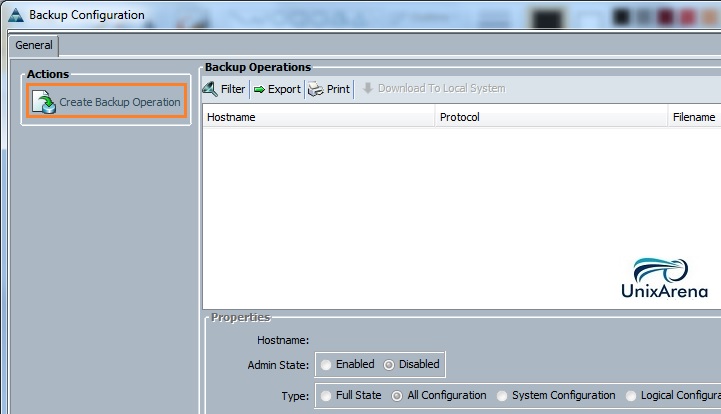
4. Select type as “full State” and location of the backup file as Local filesystem.

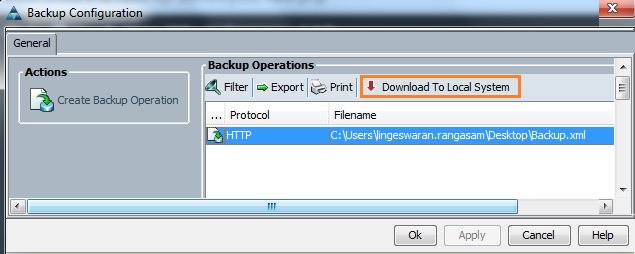
The complete UCS configuration backup will be stored in the local system. In Future , if you want to perform the similar operation , just re-run the job which we have saved.
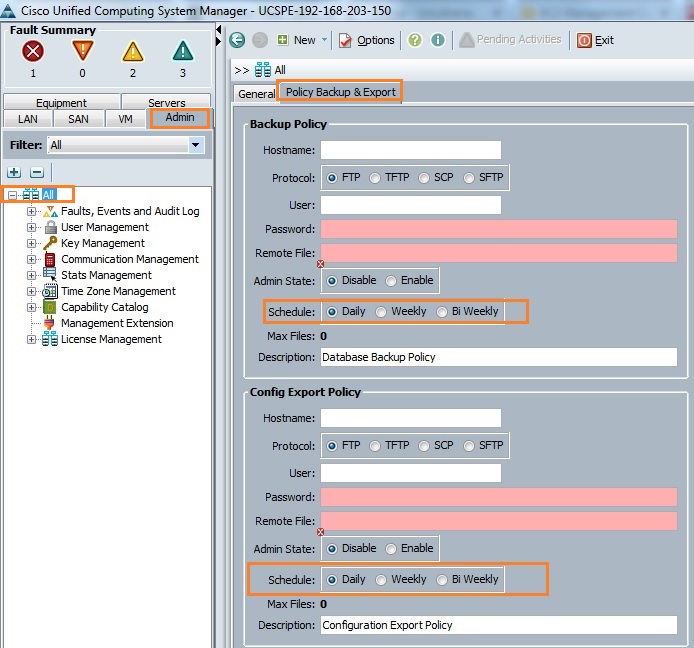
Cisco UCS also provides options to send the configuration backup periodically to the remote system.
Hope this article is informative to you.