

In Cisco UCS domain , we need to create WWNN (World wide Node names) and WWPN (World Wide Port Names) manually to use the Fibre Channel vHBAs . World Wide Node Name is assigned to the blades and World Wide Port Name is assigned to vHBA (Virtual Host Bus adaptor). According to the cisco notes, A WWN pool can include only WWNNs or WWPNs in the ranges from 20:00:00:00:00:00:00:00 to 20:FF:FF:FF:FF:FF:FF:FF or from 50:00:00:00:00:00:00:00 to 5F:FF:FF:FF:FF:FF:FF:FF. All other WWN ranges are reserved. Cisco recommend to use WWN prefix for all blocks in a pool: 20:00:00:25:B5:XX:XX:XX . In this article ,we will see that how to create WWNN pool and WWPN pool in the Cisco UCS Manager GUI.
Creating WWNN POOL :
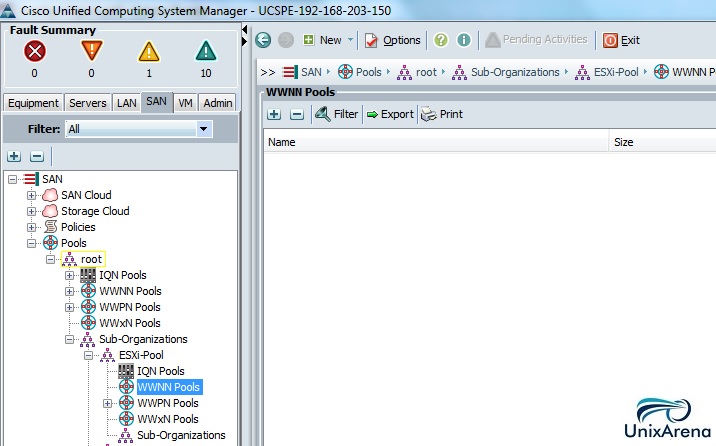
1. Login to Cisco UCS Manager
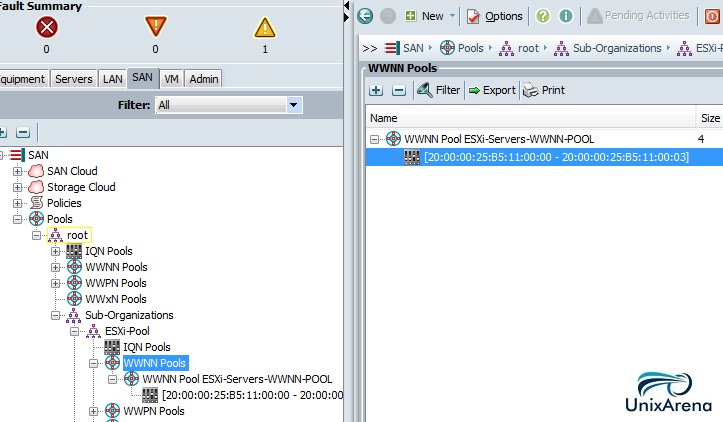
2. Navigate to SAN – > Pools – >root->Sub-Organization .
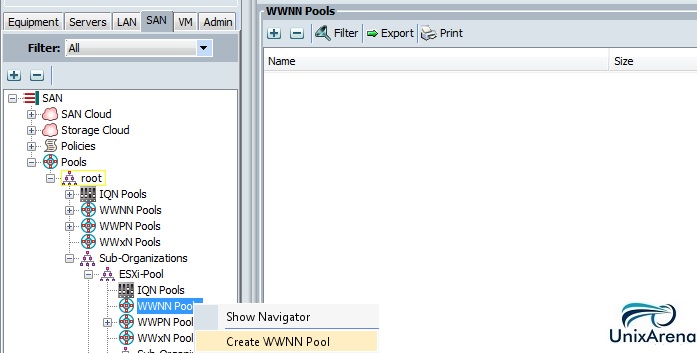
3. Right click WWNN pools amd right click “Create WWNN Pool” .
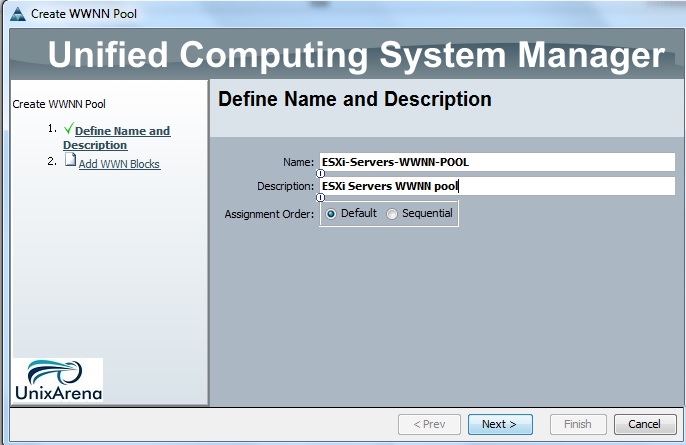
3. Enter the WWNN pool name and description.
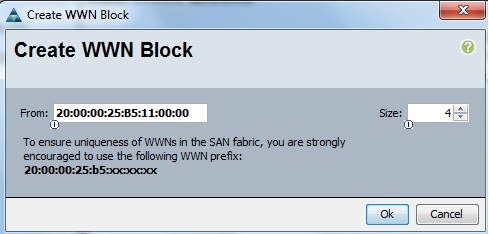
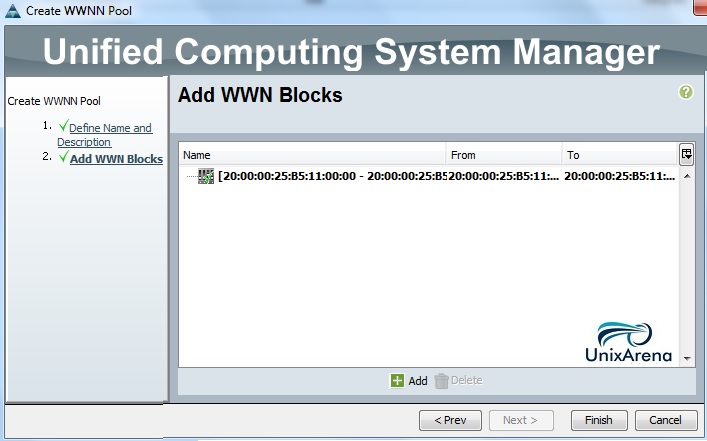
4. Click on “Add” icon.

5. Enter the Range of the WWNN blocks and size. Assume that if you want to have two servers on the same pool , so you need to create 2×2 WWN block.
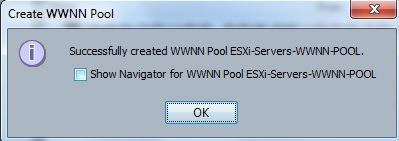
6. Click Finish to create the WWNN pool.
You will get the pop-up like below based on successful completion.
7. You can see the WWNN pool information like below.
Creating WWPN POOL : (For Fabric A)
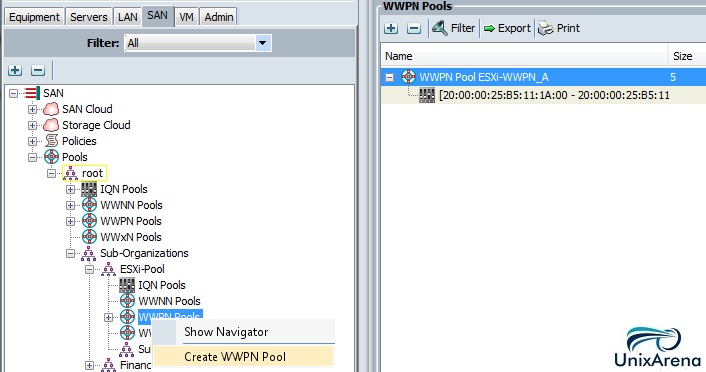
1. Navigate to SAN – > Pools – >root->Sub-Organization – > ESXi-Pool

Create WWPN pool
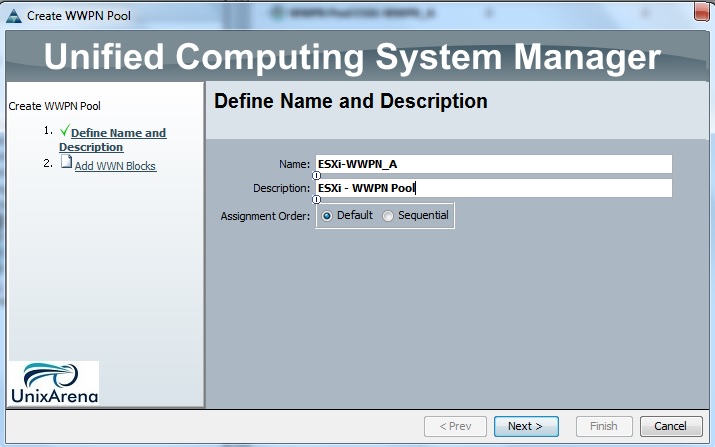
2. Right Click “WWPN Pool” and select “Create WWPN Pool” .

3. Enter the WWPN pool name (Add “A” in the end of the pool to represent Fabric A) and description.
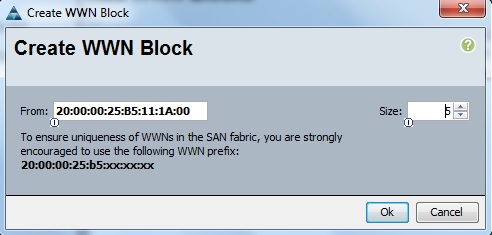
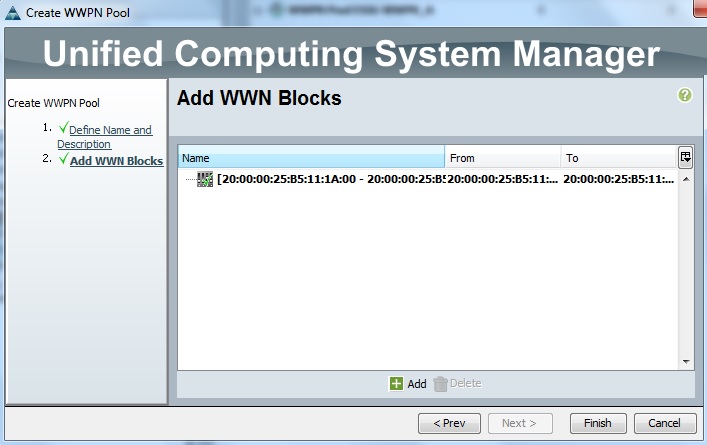
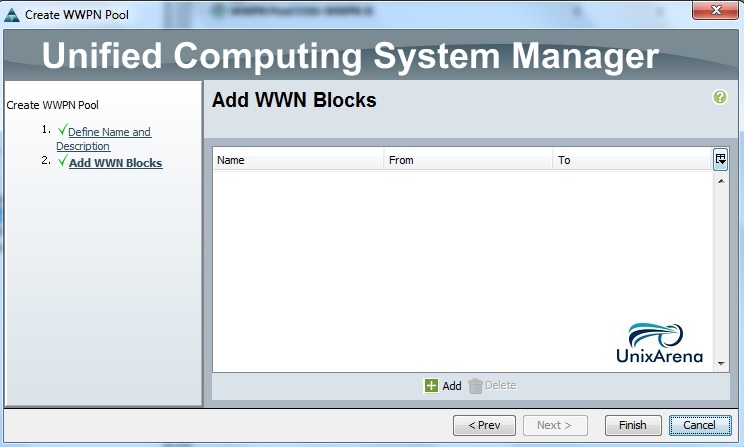
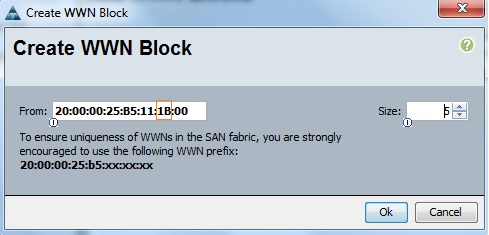
4. Select “Add ” and enter the first WWPN’s block and specify the size.
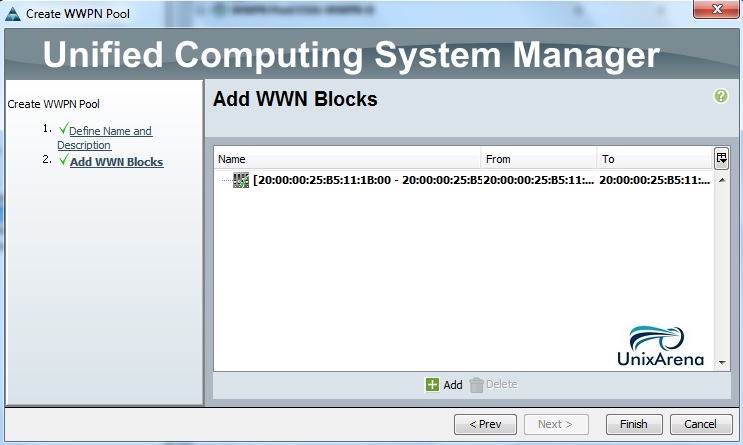
5. Click finish to complete the wizard.
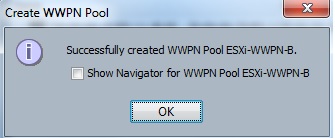
You will get pop-up like below based on successful completion.
Creating WWPN POOL : (For Fabric B)
Create an another pool for fabric B.
1. Right click the “WWPN Pools” and select “Create WWPN Pool” .
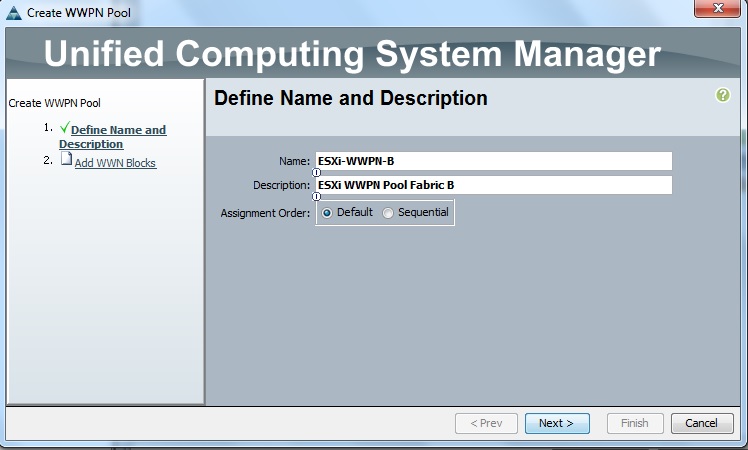
2. Enter the WWPN Pool name (Ending with “B” since it will be used for Fabric B) and enter description.
3. Click on “Add” .
Enter the WWPN first block and specify the size.
4. Click Finish to complete the wizard.
On successful creation of the WWPN pool, you will get pop-up like below.
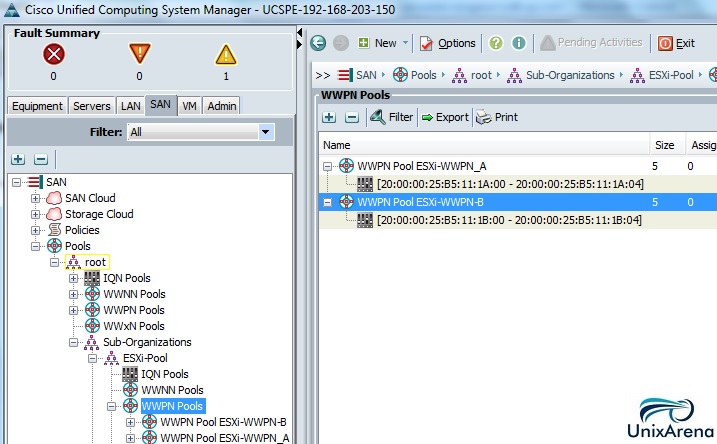
At the end of WWPN pools creation for Fabric A/B , you can see like below.
Hope this article informative to you .