VMware VCSA (vCenter Server Appliance) 6.0 has eliminated the previous releases limitations and issues. Now VCSA 6.0 is able to provide the all the features what the Windows vCenter servers is providing currently. In other words , there is no difference between Windows vCenter and VCSA. So it s up to the customer to choose what they need on their environment. VMware has changed the way of deploying the VCSA completely and its not straight forward to deploy in VMware workstation/Fusion. But its quite easy when you deploy as VM in VMware ESXi host. In this article ,we will see that how to deploy the VMware VCSA (vCenter Server Appliance) 6.0 on VMware workstation.
Task:1
1. Download the VCSA 6.0 from VMware website.

2. Use the power ISO to extract the ISO file or you can mount the ISO file on the virtual CD drive.
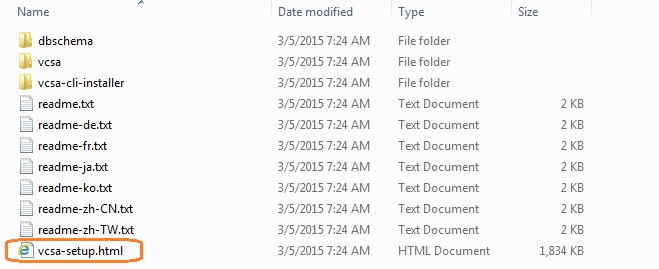
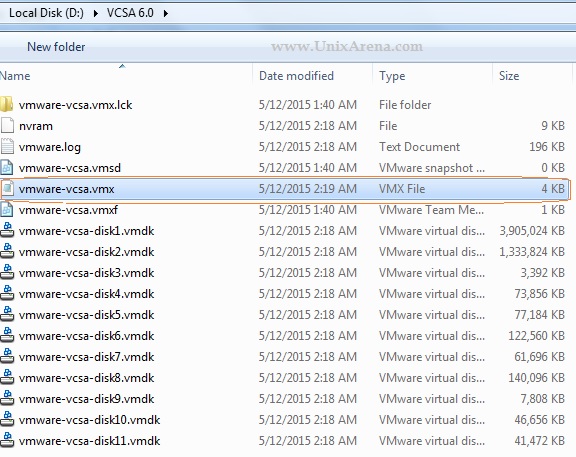
3. Navigate to vcsa directory.
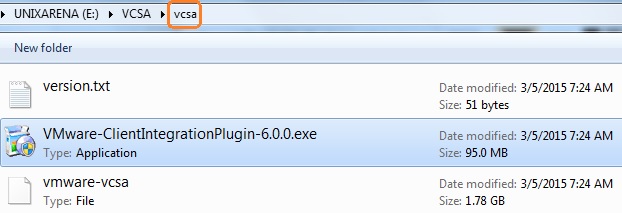
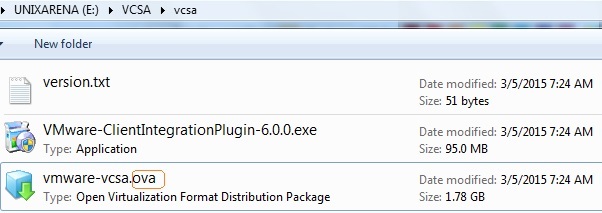
4. By Default, vmware-vcsa file be without extension of “.ova” . Just rename the file “vmware-vcsa” as “vmware-vcsa.ova”.
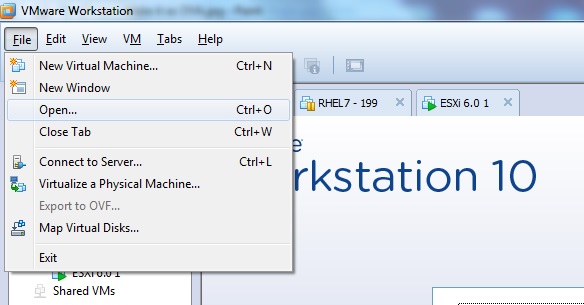
5. Open the VMware workstation 10 . Click on File -> Open .
6.Select the file “vmware-vcsa.ova”
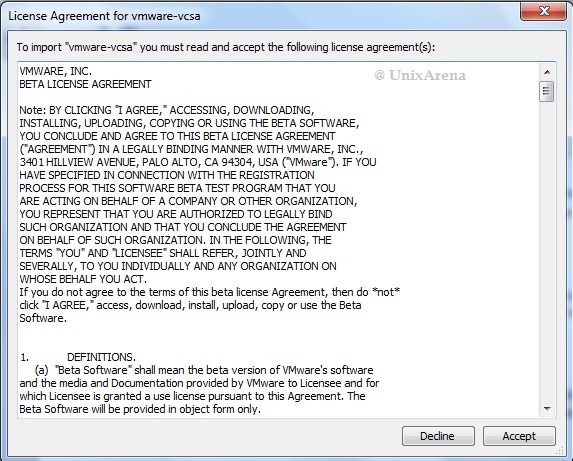
7.Accept the License.
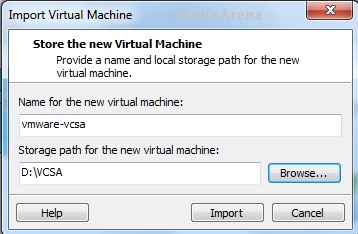
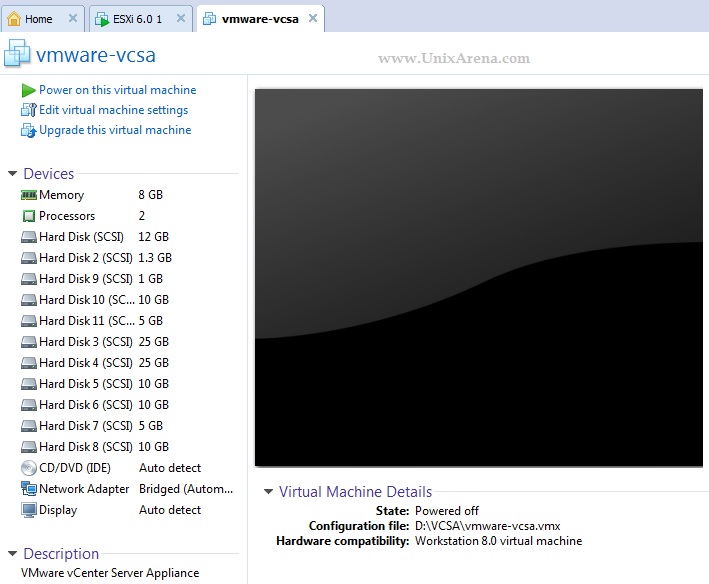
8.The new VM will be created like below. Do not power on the VM.
9.Edit the VM’s vmx file.
Add the below lines in the end of the vmx file and save it .
guestinfo.cis.appliance.net.addr.family = "ipv4"
guestinfo.cis.appliance.net.mode = "static"
guestinfo.cis.appliance.net.addr = "172.25.2.150"
guestinfo.cis.appliance.net.prefix = "24"
guestinfo.cis.appliance.net.gateway = "172.25.2.190"
guestinfo.cis.vmdir.password = "VMware1!"
guestinfo.cis.appliance.root.passwd = "VMware1!"
guestinfo.cis.appliance.time.tools-sync = "True"
guestinfo.cis.appliance.ssh.enabled = "True"
According to the above mentioned configuration, VM VCSA’s IP address will be “172.25.2.150” and gateway will be “172.25.2.190”. The root password will be set to “VMware1!” . Please change these information according to your environment in the vmx file.
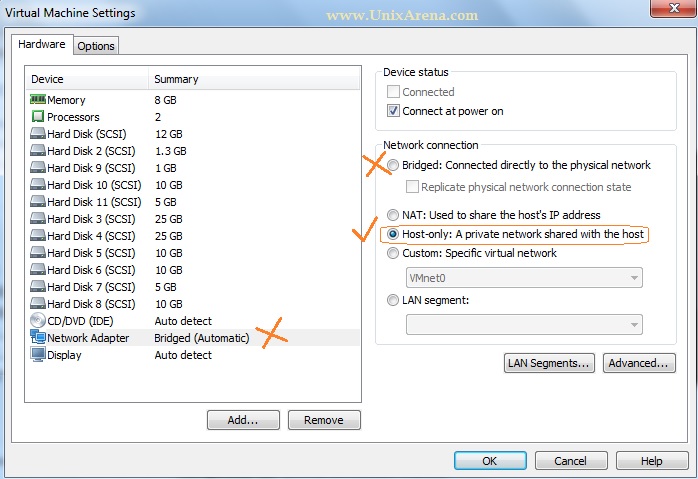
10. Edit the VM’s network settings to “host only” or “NAT” based on your requirement.
11. Power on the VM .
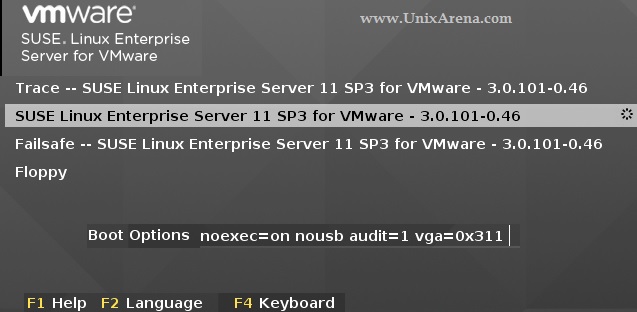
VCSA is booting .

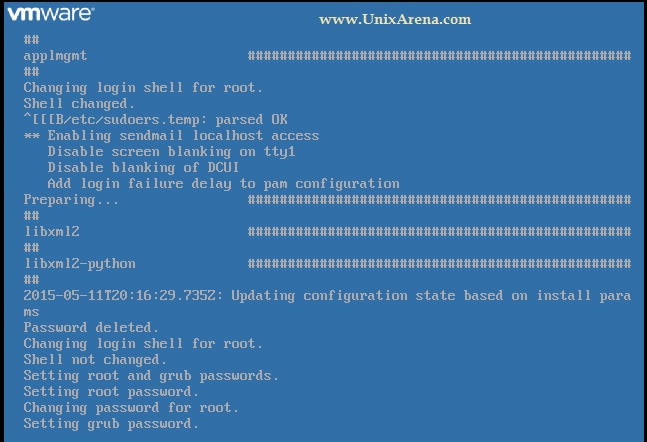
12. System performs lot of configuration automatically.
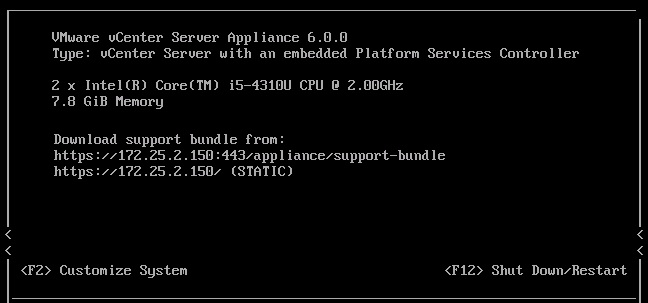
13. System is completely up now. The post configuration can be done by accessing the URL.
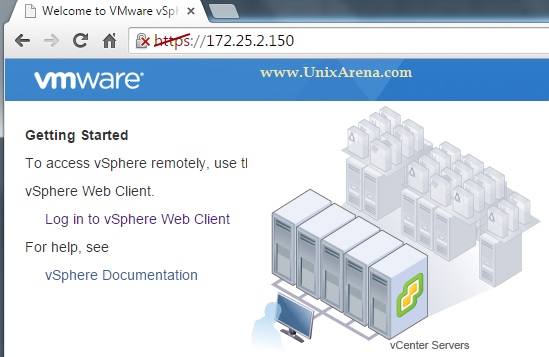
14. Access the Link from your Desktop/Laptop Browser. Click on “Login to vSphere Web Client” (Here the link is https://172.25.2.150/)
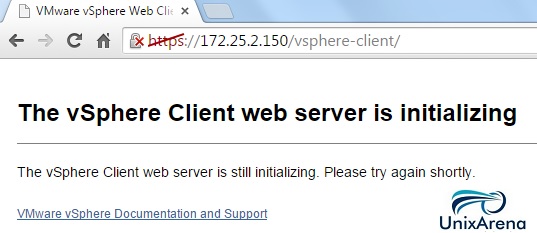
You need to wait for sometime to initialize the vCenter services to come up once VCSA 6.0 is up . Sometimes you will get black page or something like below. Be patience.
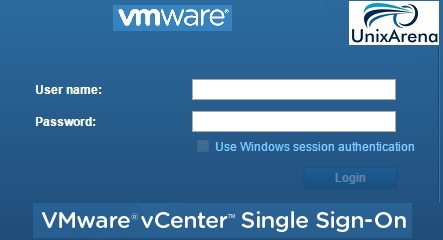
15. Once the vCenter services are up , you will get a login page like below .
Once you login to the webclient , you will get the screen like .
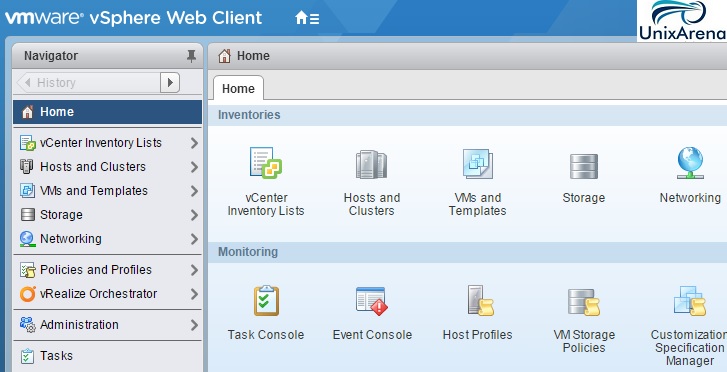
We have successfully deployed the VMware VCSA 6.0 on VMware workstation. Hope this article is helpful to you.
Bob says
Fantastic job! Very helpful article.
Naveed says
Excellent article. Very well written and easy to follow instructions.
Vijay says
This article gives the light in which we can observe the reality.
This is very nice one and gives in depth information.
Ravi says
Awesome,! was ale to deploy in single shot… thank you!