

In this article ,we will explore more about the Cisco UCS C-series server components and CIMC(Cisco Integrated Management controller). C-series are rack mounted servers and we need to manage using the CIMC unless you have the UCS manager installed on your environment. You have also option to opt the cisco UCS P81E virtual Interface card along with C-series server which can provide up to 128 vNIC’s and vHBA’s. Let’s login to the CIMC console.
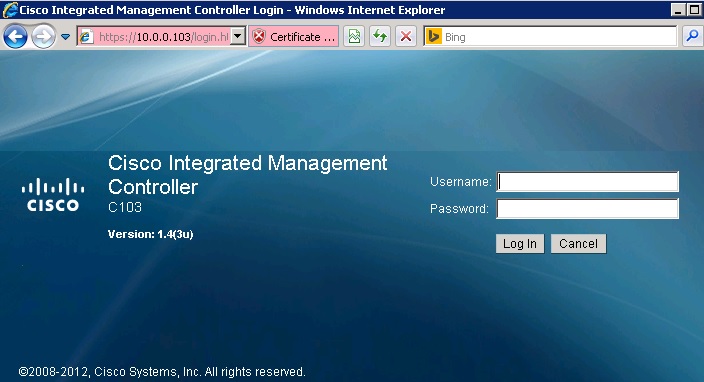
1. Open the browser and enter the CIMC IP address with secure http like below. Login with admin user.
2.Once you have logged in to the server , it will show the server summary and status like below.
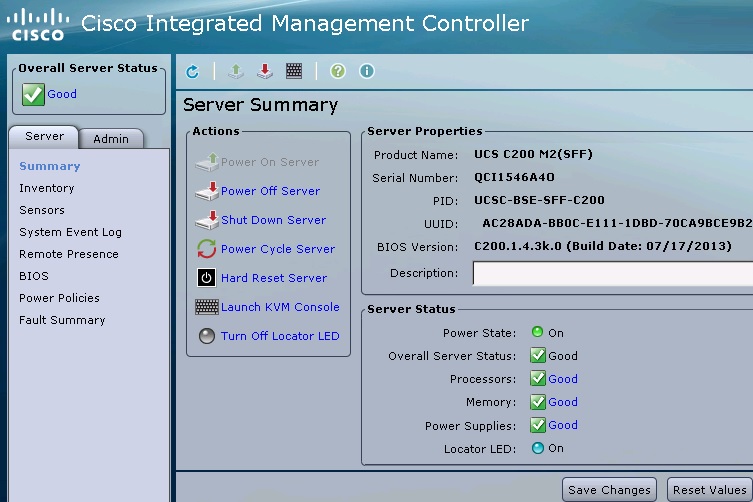
On the Actions tab , you will get the below things,
| Power On Server | Turns on the server and starts the boot process; this can be observed using the KVM Console |
| Power Off Server | Turns off the server (the CIMC is still accessible even when the server is off) |
| Shutdown the Server | The CIMC will attempt to gracefully shut down the server before turning it off |
| Power Cycle the Server | Turns the server off, followed by turning the server back on again |
| Hard Reset the Server | Resets the server in a fashion similar to pressing the physical Reset button on the server itself |
| Launch KVM Console | Launches the KVM Console which allows you to interact with the server as if you had a physical keyboard, monitor, and mouse connected to the server |
| Turn Off Locater LED | Turns off the blue blinking LED (the CIMC will NOT automatically turn it off, so don’t forget to turn it off after you have finished using it) |
| Turn ON Locater LED | Turns on a bright blue blinking LED on the physical server; useful for determining which physical server is currently being managed |
| Help | Opens a popup widow with context-sensitive help information |
| Info | Opens a popup window displaying the CIMC version number |
3. Once you have power on the system and “Launch KVM console”. You will get the below screen after the POST. (Power On Self Test). At this point , you have many options to select .
- F2- Enter to the BOIS
- F6 – Boot Order
- F12 – PXE Network Boot
- F8 – CIMC config

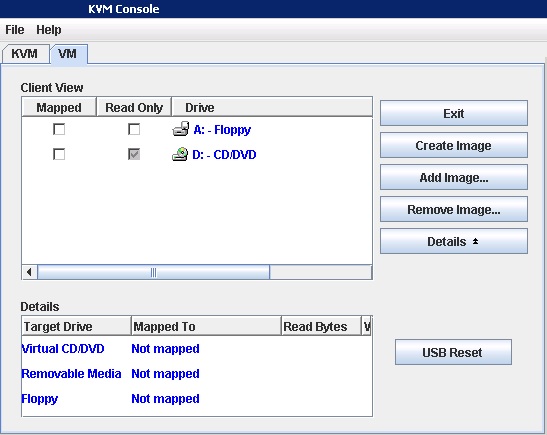
4.Click on the VM tab on the top of the KVM console. Here you can attach the ISO images for installation.
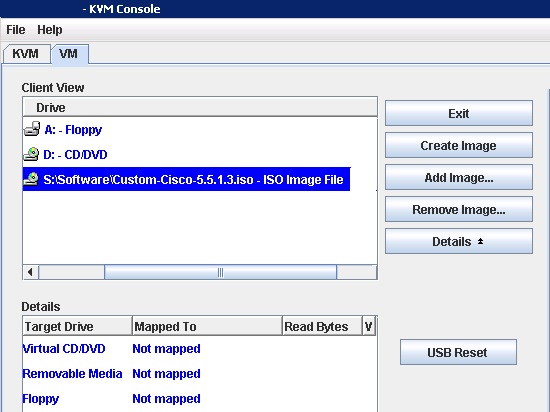
Click on the Add image to add the ISO image for OS installation. Check the map in the left side.
Boot order can be modified in the step 3 or in CIMC console (See the below pic)
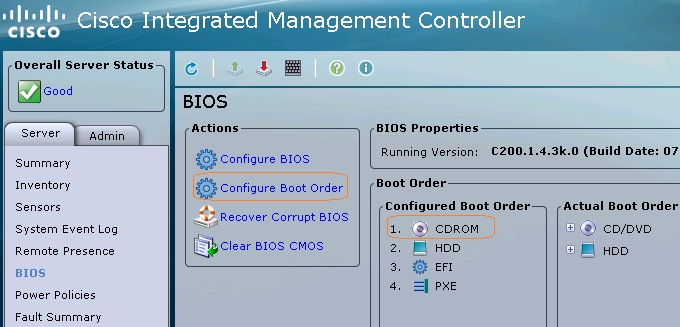
Once you have selected the proper boot order for the virtual CD-ROM, installation will automatically kicks. After here , it’s all about VMware ESXi to complete the installation .
Let’s go back to CIMC to explore more about the hardware.
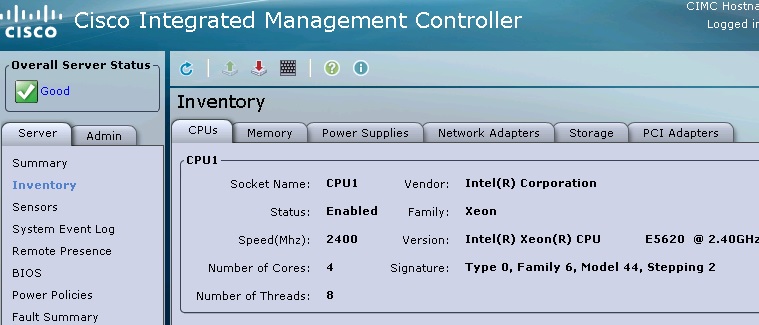
5. Click on the inventory and see the CPU and Memory components on it.
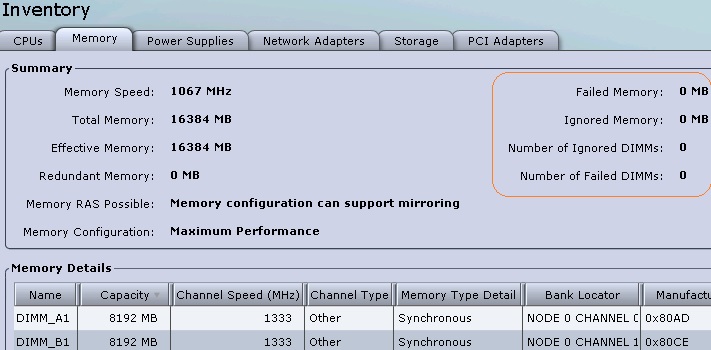
Check out the memory tab too.
There are couple of PCI cards are installed on the system. You can see those card on PCI Adapters tab.
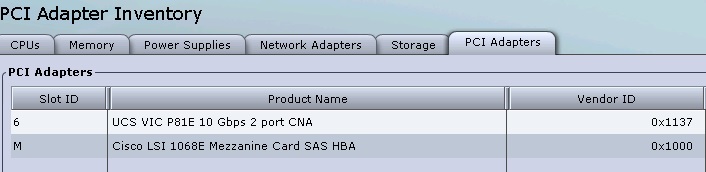
We can see that this system has the UCS VIC P81E PCI card. In the network adapter tab , you will get more information about this. We will see that in the up coming article.
Thank you for Visiting UnixArena.