


There are lot of elements which we didn’t see in the last article. In this article ,we will see that how to configure the CIMC log (syslog), Virtual KVM settings ,configure the BIOS, Power polices, User management, CIMC network settings. We will also see that how to configure the communication services for CIMC(http,https, ssh). To monitor the host, we also able to configure the SNMP on CIMC. At the end of the article, we will see that how to update the firmware and updating the new certificate in CIMC.
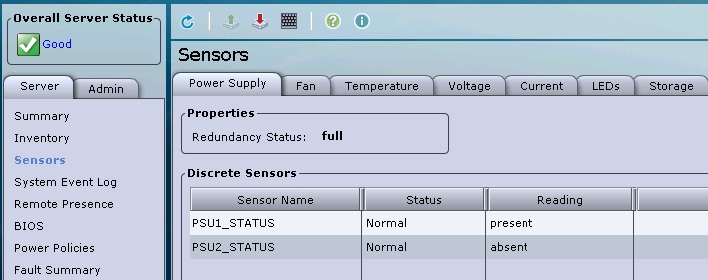
1. Verify the sensor status of the C-series server.If there is any issue with the server sensors , it will be displayed here.
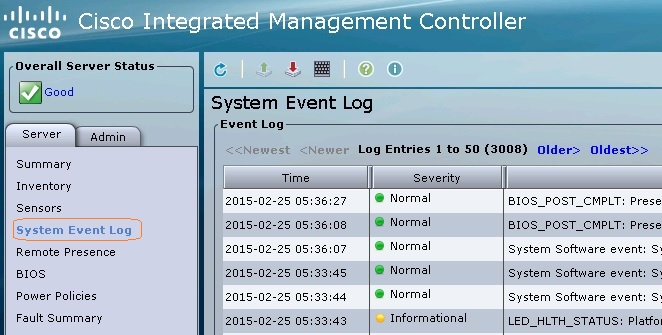
2. Event log can be viewed by clicking the “system event log”
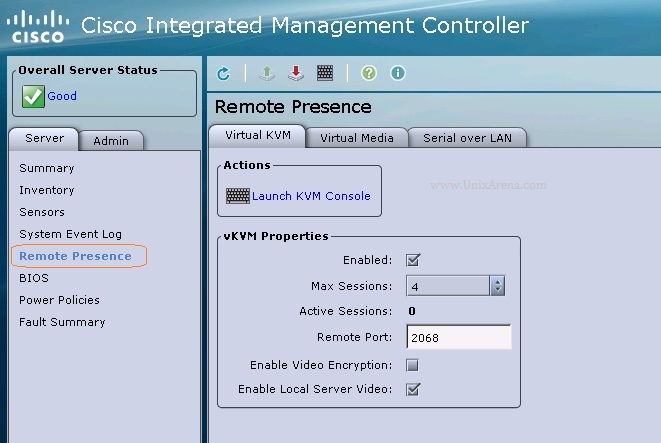
3.Click on the Remote Presence to configure the virtual KVM console. Here we can configure the number of maximum sessions and remote port.
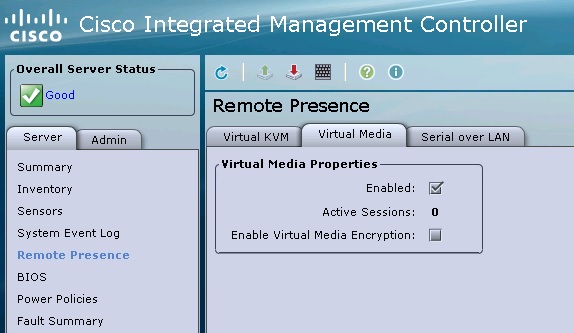
4.Here is the place where you can enable the virtual media. If you enable the virtual media, you can able to map the local ISO file to the CIMC. (Ex: Mapping the OS ISO files)
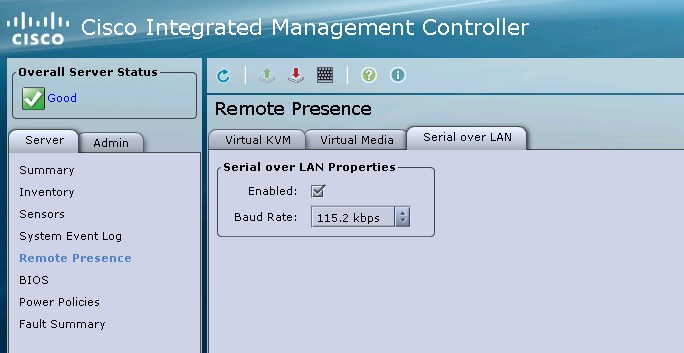
5. Serial over LAN option must be enabled to connect the CIMC remotely.
6.Boot order can be defined in BIOS – > Configure Boot order.

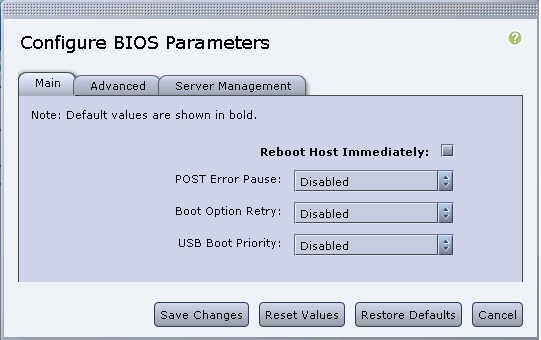
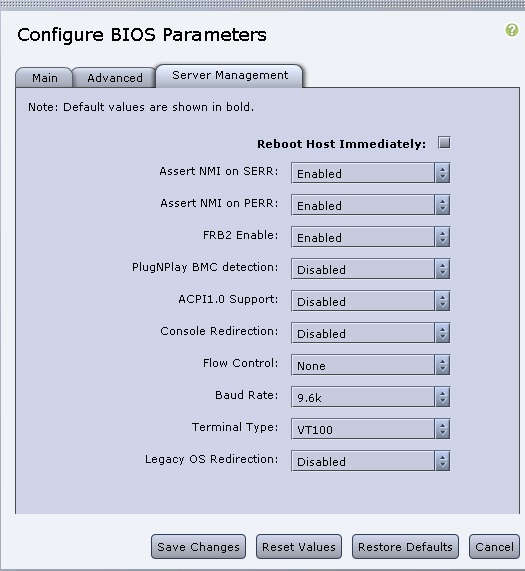
7.If you click on the configure BIOS, it will take you to the below window.
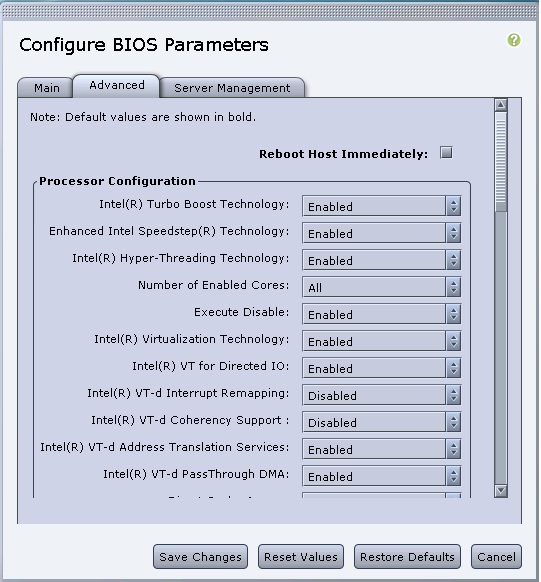
Processor related settings can be changed in “Advanced” tab.
Server management port configuration can be found in the last tab of the BIOS menu.
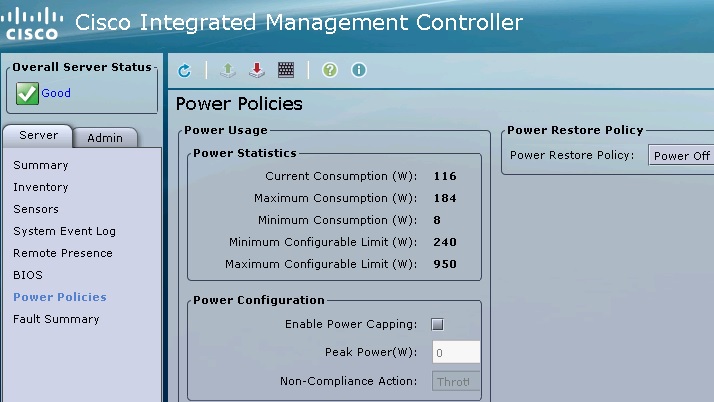
8. We do have option also to configure the peak power consumption on UCS servers.
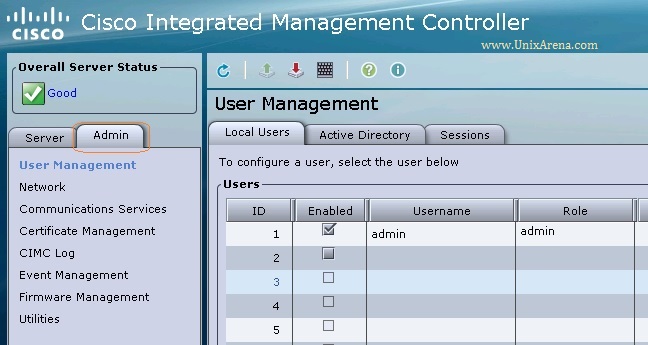
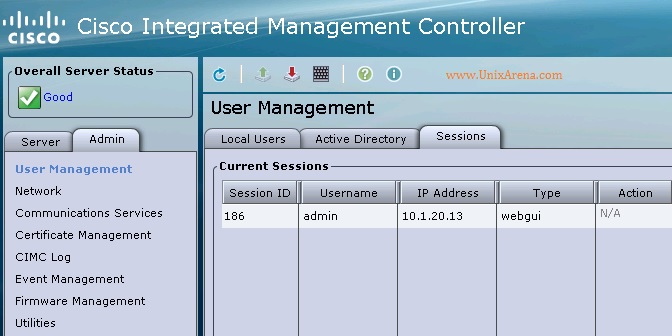
9. Click on the “admin” tab . In the user Management , we can able to add the new local users and configure the “Active Directory” to it. We have also option to see the current sessions and “admin” user have access to terminate those sessions if required.
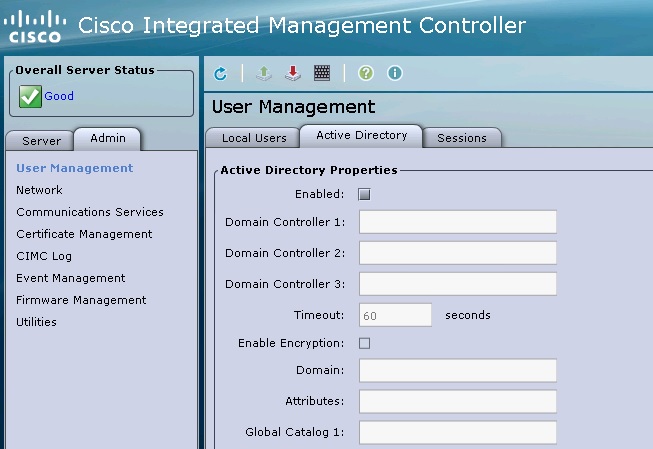
Here is the “Active Directory” tab .
Here is the “sessions ” tab.
Click on the Page 2 to continue.
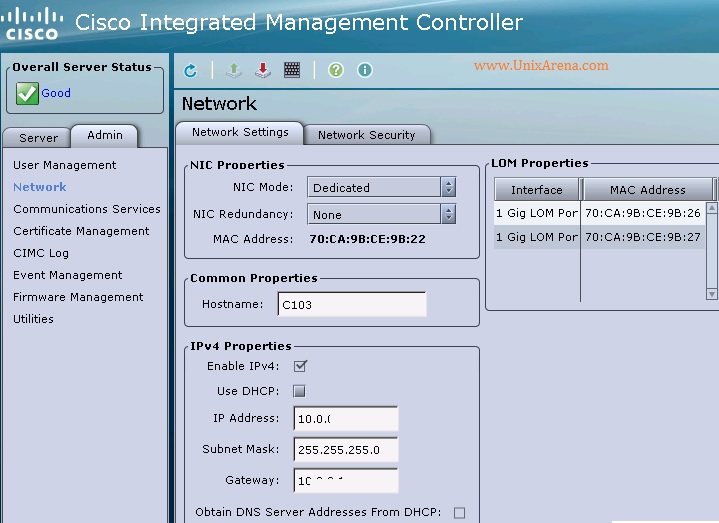
10. Click on the “Network” tab to configure the network settings.
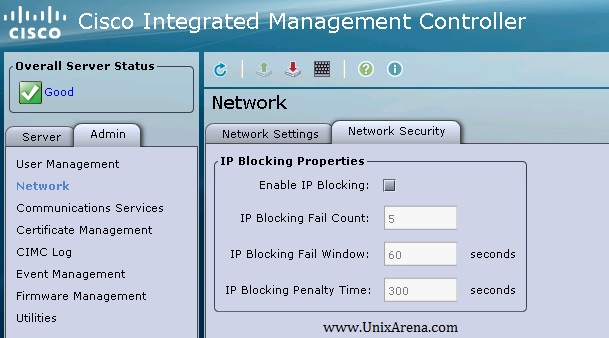
10. Cisco provides the option to block the IP, according to the number of failed logins.
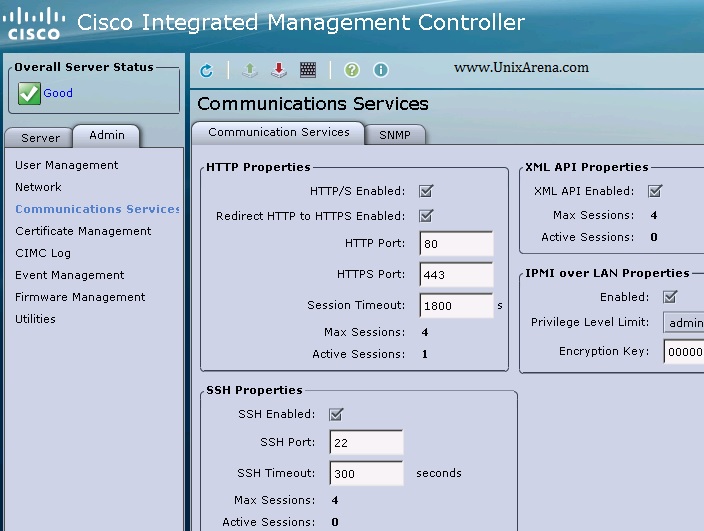
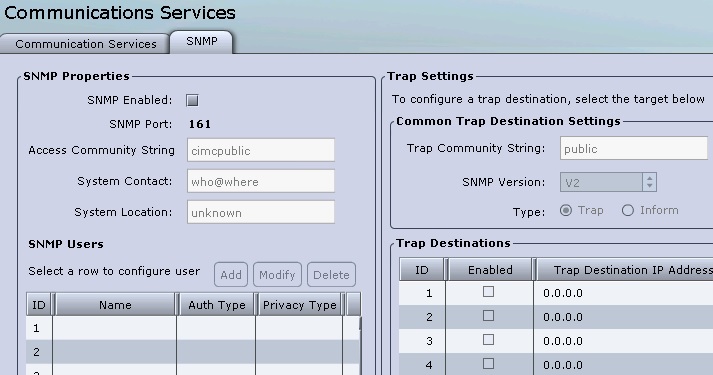
11.In the “Communication Services” tab , you will be able to configure the http, https and ssh protocols to communicate to the CIMC. IPMI is used for monitoring.
12. SNMP traps will help to monitor the hardware with Simple Network Management Protocol.
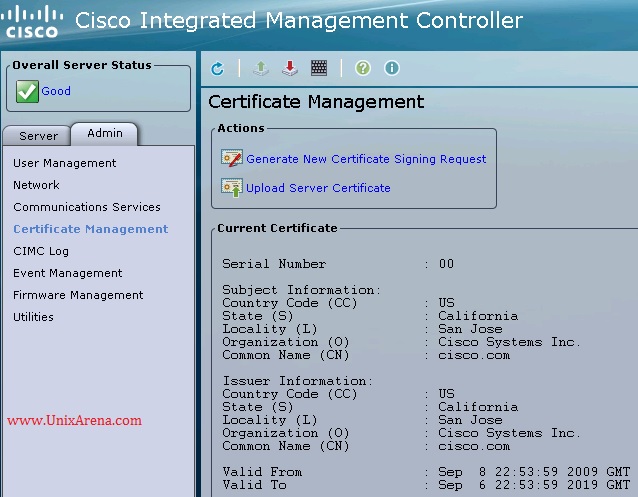
13.You must have the valid certificate on the system. If you do not have the valid one ,Click on the “Generate New signing request” and download the “csr” file . You may need to send this file to CISCO to get the valid certificate.
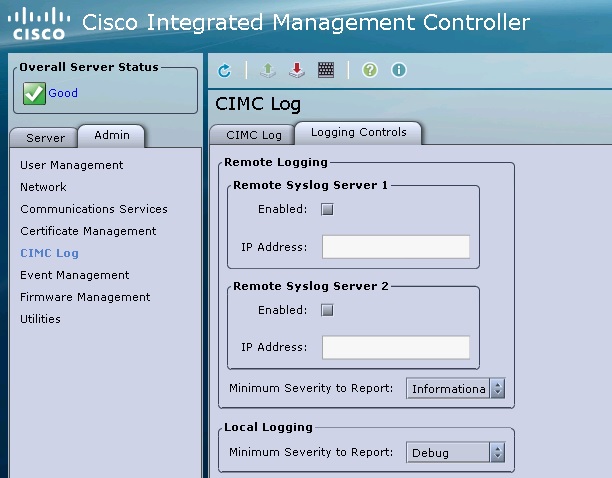
14. Routing the CIMC logs to syslog server.
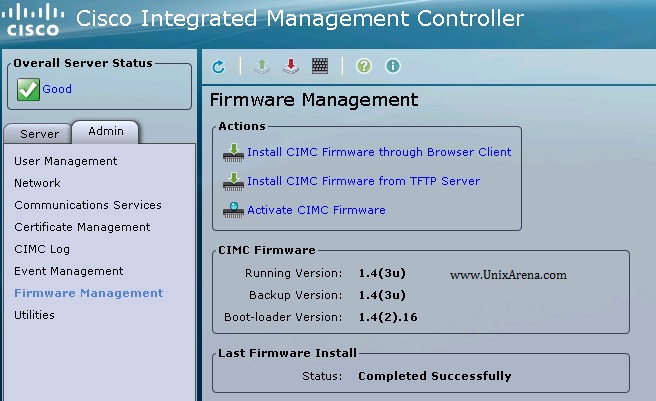
15. Firmware Management tab . Here you can upload the new firmware to the CIMC from your laptop or TFTP server. The new firmware will get activated after the host reboot.
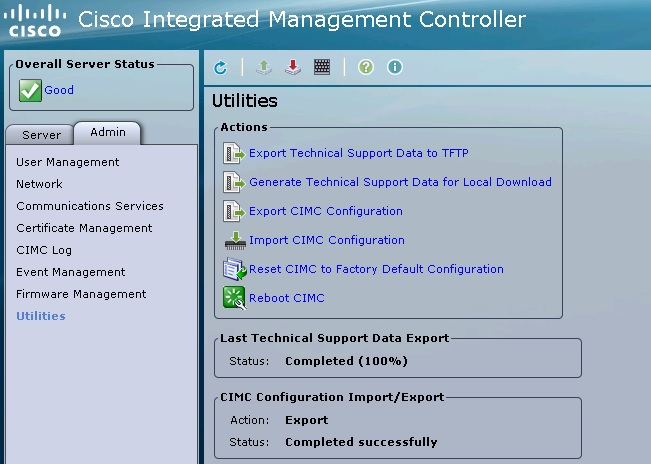
16. Utilities provides below action items on the CIMC.
- Export Technical support data to TFTP server . These support data is require if you open any case with CISCO.
- Generate the technical support data to local machine.
- Export the CIMC config
- Import the CIMC config
- Reset the CIMC to factory default.
- Reboot CIMC (It will not impact the host).
We have almost gone through the UCS C-series server except the Network adapter VIC P81E. We will see that adapter in the next article.
Thank you for visiting UnixArena.