


This article explains how to create ISCSI targets, LUNS and filesystem from scratch in ZFS storage appliance which is the common storage on oracle supercluster. ISCSI protocol works in server-client model where ISCSI target will act as a server and initiator will act as a client. This communication happens through IP network. In Oracle supercluster, we have infiniband network which provides up to 32Gb/s speed (Ethernet over Infiniband).So you no need to worry about the network performance between ZFS storage appliance and SPARC systems. Here we will see some of the common administration tasks in ZFS Storage appliance.
How to create the storage pool on ZFS storage appliance ?
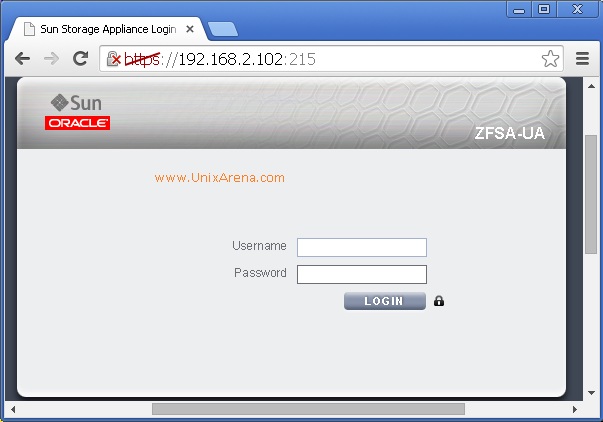
1. Login to ZFS storage appliance web portal .
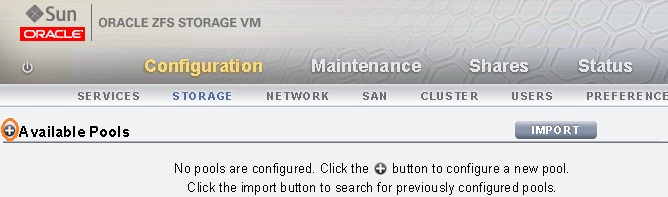
2.Navigate to Configuration – > Storage – > Click on “[highlight]+[/highlight]” symbol to add new pool
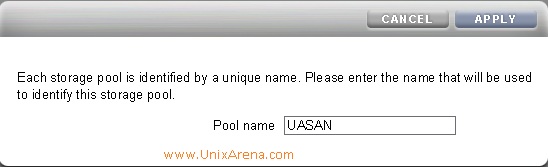
3.Enter the pool name and click on apply.
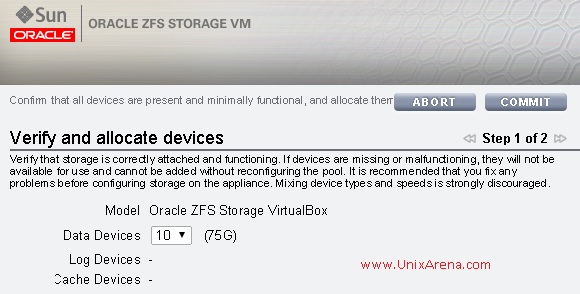
4. Select the number disks which should be part of this pool and commit.
5.Select the data profile for this pool and commit to create pool.
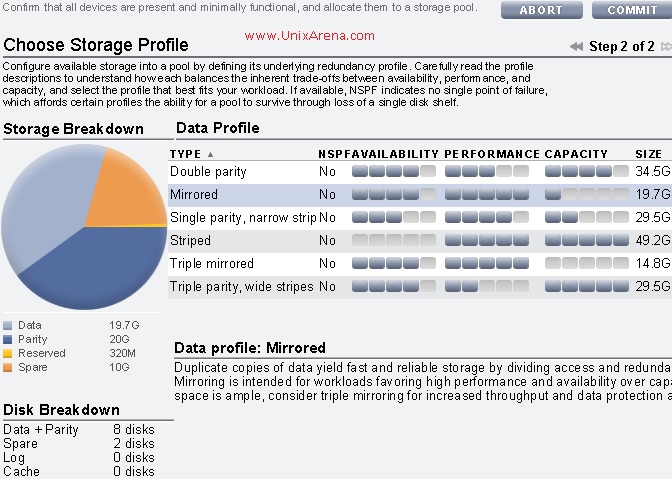
The above picture gives you clear idea that what will happen if you choose any of the profiles. For an example, if you choose “Striped” profile, you will get 100% capacity and performance but there is no redundancy. Here , i have selected “Mirrored” profile which provides availability and performance but i can use 50% of storage size. See in the “Storage Break-down Graph”.
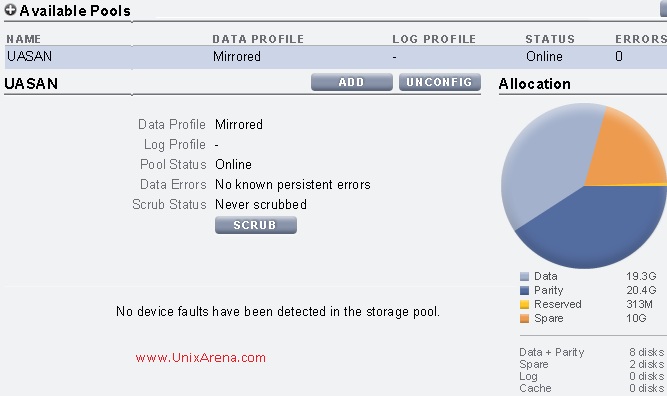
Here you can see that new pool has been created and its “online” .
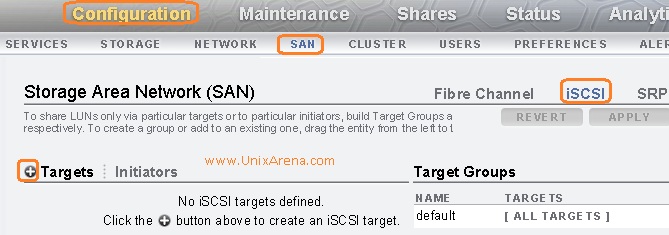
How to Create ISCSI Targets on ZFS storage appliance ?
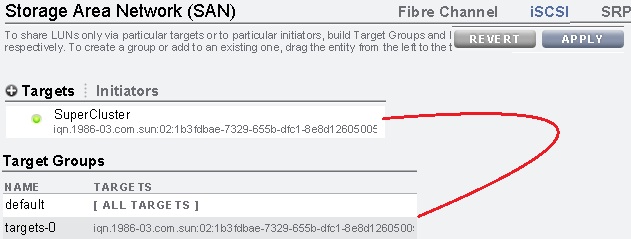
1. Click on the configuration tab and select “SAN” . Select ISCSI in the right side tab .
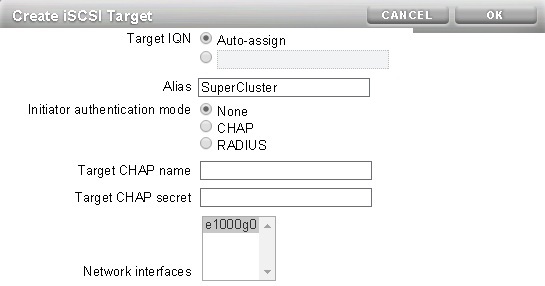
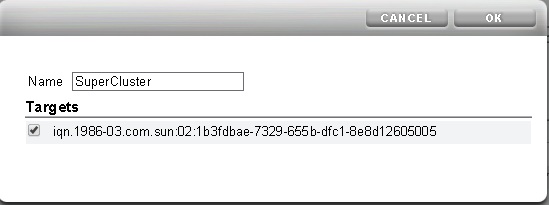
2.Let the system assign the unique target id. In the alias , Just enter the meaning full name where you are going to provide this target.In my case, i am going to assign this target to supercluster systems.Click OK to create target.
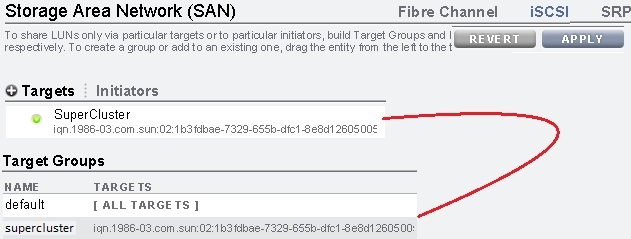
3.Once the target is created, you need to drag the newly created target to “Target Groups”
4.Just modify the target group name for which you have dragged. Click on Edit symbol .
5.You can see the target groups like below .
How to create the ISCSI LUNS to Specific target group ?
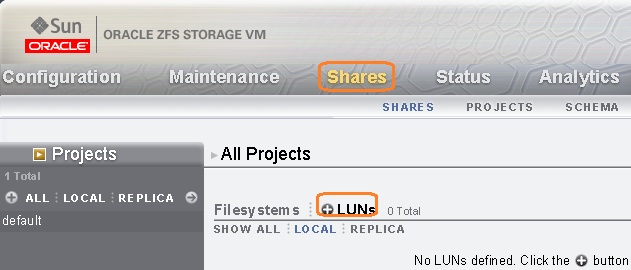
1.Click on Shares and click the “+” which is next to “LUNs” .
2.Enter the LUN name and size. Select the target group and click apply.
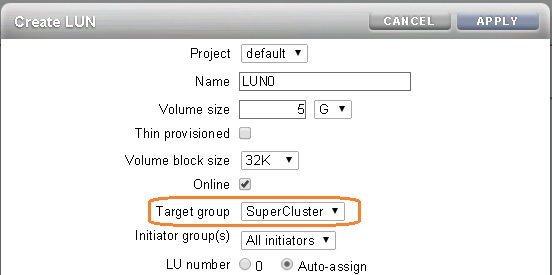
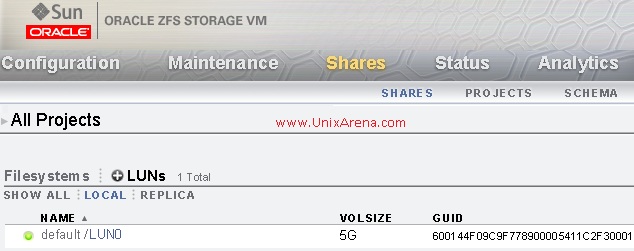
3. LUN is ready .
How to add the ISCSI targets in Oracle Solaris 11 to use the ISCSI LUNS which you have created in ZFS storage appliance ?
1. Login to Oracle Solaris 11 node and check whether ZFS storage appliance is reachable.
root@SAN:~# ping 192.168.2.102
192.168.2.102 is alive
root@SAN:~#
2.Enable the ISCSI initiator service if its not already online.
root@SAN:~# svcs -a |grep iscsi
disabled       15:59:39 svc:/network/iscsi/target:default
online         16:00:01 svc:/network/iscsi/initiator:default
root@SAN:~#
3.Add the ISCSI target to the system.(To know the target, check step no 5 – above )
root@SAN:~# iscsiadm add static-config iqn.1986-03.com.sun:02:1b3fdbae-7329-655b-dfc1-8e8d12605005,192.168.2.102:3260
root@SAN:~# iscsiadm list static-config
Static Configuration Target: iqn.1986-03.com.sun:02:1b3fdbae-7329-655b-dfc1-8e8d12605005,192.168.2.102:3260
root@SAN:~#
4.Enable the ISCSI discovery .
root@SAN:~# iscsiadm modify discovery -s enable
root@SAN:~#
5.Scan the device at OS level
root@SAN:~# devfsadm -iv iscsi
6.Check in format command output.
root@SAN:~# echo |format
Searching for disks...done
AVAILABLE DISK SELECTIONS:
       0. c0t600144F09C9F778900005411C2F30001d0
          /scsi_vhci/disk@g600144f09c9f778900005411c2f30001
       1. c8t0d0 <VMware,-VMware Virtual S-1.0-16.00GB>
          /pci@0,0/pci15ad,1976@10/sd@0,0
       Specify disk (enter its number): Specify disk (enter its number):
root@SAN:~#
7.You can create zpool on the iscsi lun and use it.
root@SAN:~# zpool create UA-POOL c0t600144F09C9F778900005411C2F30001d0
root@SAN:~# zpool status UA-POOL
  pool: UA-POOL
 state: ONLINE
  scan: none requested
config:
        NAME                                     STATE     READ WRITE CKSUM
        UA-POOL                                  ONLINE       0     0     0
          c0t600144F09C9F778900005411C2F30001d0  ONLINE       0     0     0
errors: No known data errors
root@SAN:~#
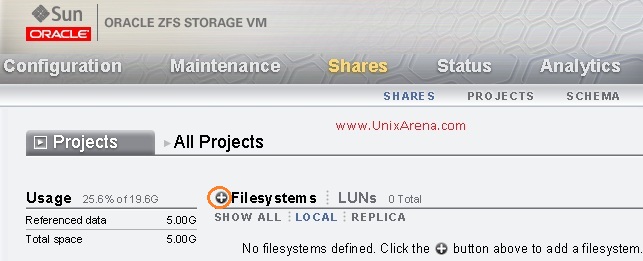
How to create NFS share in ZFS storage appliance ?
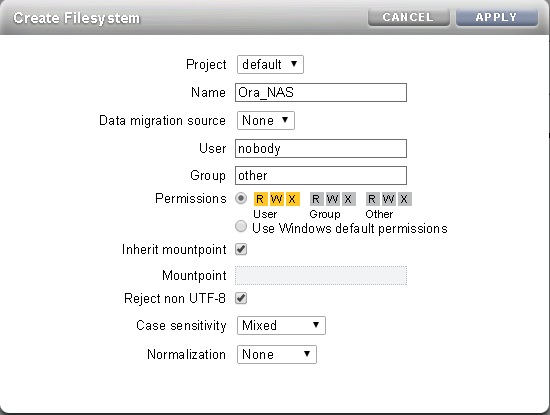
1.Click on shares and click the “+” which is next to the filesystems.
2.Enter the share name and select the filesystem options.Click apply to create the share.
3.You can see share like below .

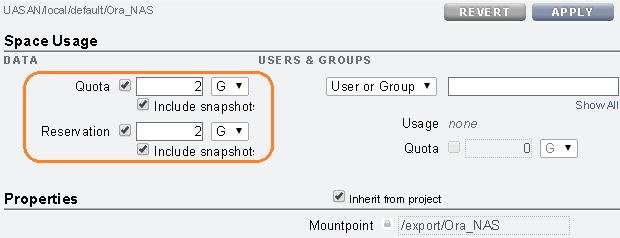
4.You can set the limit for this share in general tab like below. So that this share can’t grow more than what we are defining here.
5.Click on the protocol tab to set the NFS options.

We have successfully create the NFS share on ZFS storage appliance. you can mount this share on the client like below.
root@UA-SC:~# mkdir /ORA_NAS
root@UA-SC:~# mount -F nfs 192.168.2.102:/export/Ora_NAS /ORA_NAS
root@UA-SC:~# df -h /ORA_NAS
Filesystem             Size   Used  Available Capacity  Mounted on
192.168.2.102:/export/Ora_NAS
                       2.0G    31K       2.0G     1%    /ORA_NAS
root@UA-SC:~# showmount 192.168.2.102
root@UA-SC:~# dfshares 192.168.2.102
RESOURCE                                  SERVER ACCESS    TRANSPORT
192.168.2.102:/export/Ora_NAS          192.168.2.102  -         -
root@UA-SC:~#
Do you like this article ? Then just , Share it ! Comment it !! Be Social !!!