

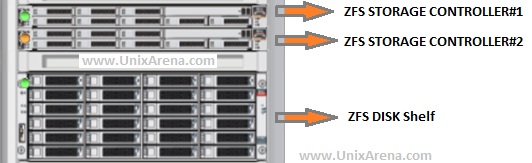
From last few weeks , i am working with Oracle Super Cluster T4-4 systems. Initially i felt quite difficult but now i am bit familiar with this engineering systems. In Oracle Super Cluster, ZFS storage appliance is one of the main components which provides the shared storage for in built SPARC systems. In the Half Rack – Oracle Super Cluster, you can find two ZFS appliance storage controller and one ZFS storage disk shelf.These ZFS storage shelf , ZFS storage controllers and SPARC systems are interconnected with infiniband network links which can provide speed up to 32Gb/s .
Oracle Super Cluster training is not available as public event. Oracle provides this training to their partners and it is available only in US. (At present) .ZFS storage appliance simulator is available for demonstration purpose and you can do everything except the clustering part (Clustering between two ZFS storage controllers).This would be the first step to learn oracle super cluster.
You can download the ZFS storage appliance from oracle. This is a pre-built virtual machine simulating the actual Sun ZFS Storage Appliance that comes with the Oracle Super Cluster . Here we will see how to install and configure ZFS storage appliance for demonstration purpose.
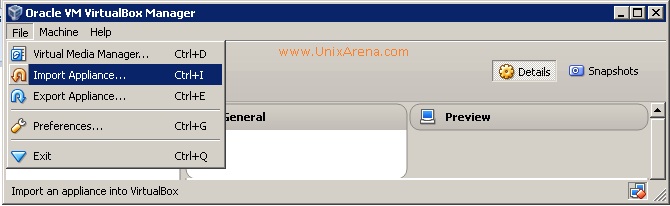
1.Open a Virtual Box and Click on file – > Import Appliance .
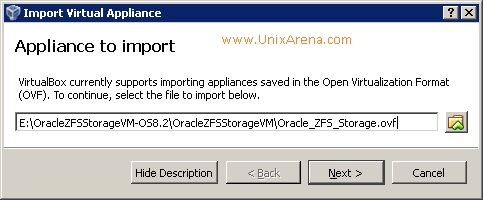
2.Select the OVF – ZFS storage appliance file which you have downloaded from oracle.
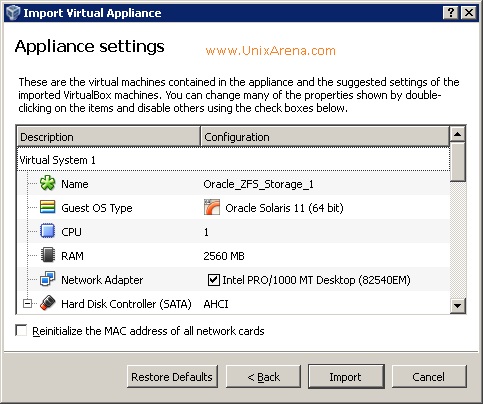
3.You will get the appliance settings like below .Click Import.
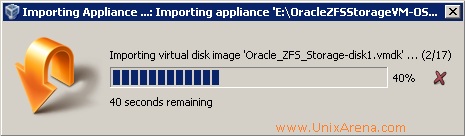
Here is progress of ZFS storage appliance simulator import.
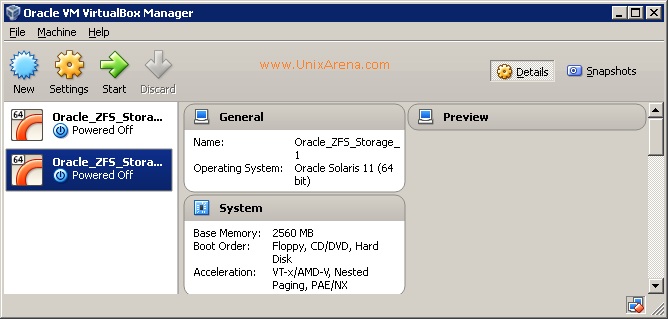
4.Once the import is done, you can see that new VM has been created like below.Just power on the VM.
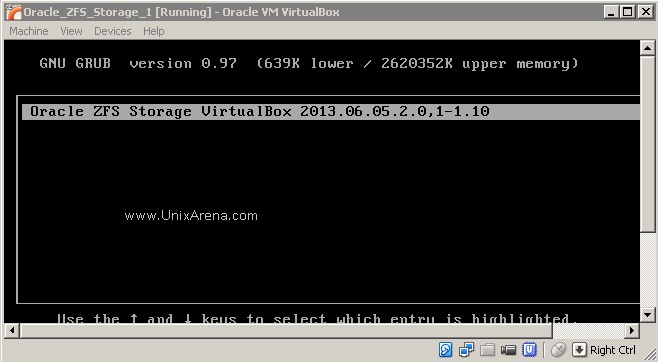
5.You can see appliance will be booting like below.
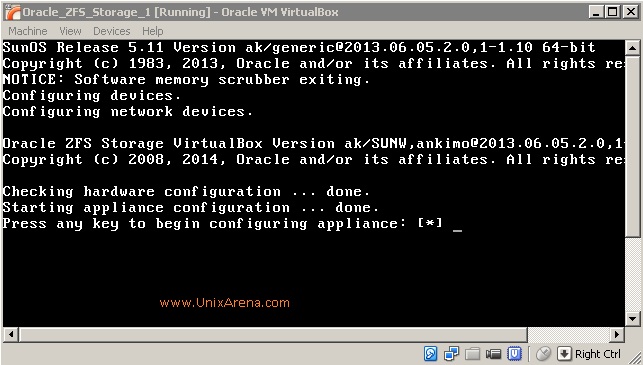
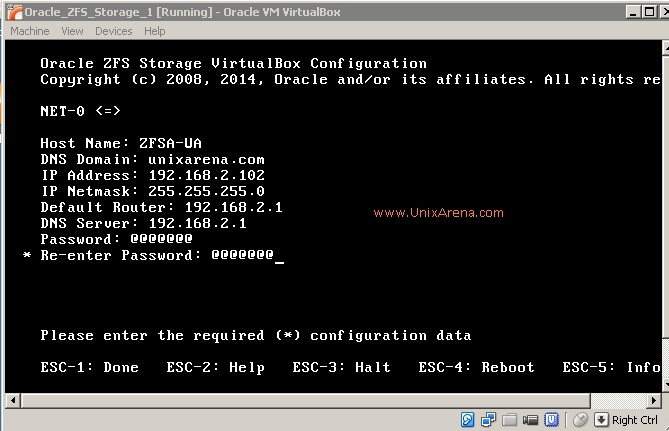
6.Once the system is booted, you need to perform the network configuration of VM. Press any key to continue .
7.Enter the ZFS storage appliance network details .This IP will be used to access the ZFS storage appliance via browser. Press ESC-1 to complete the configuration.
8.After the network configuration, You can see the ZFS storage appliance console like below.
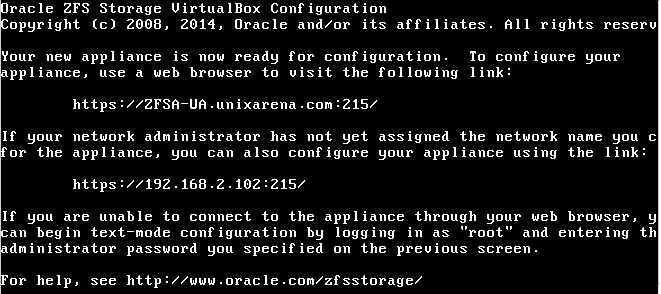
9.Just access the web based console using ZFS appliance IP with port number 215.
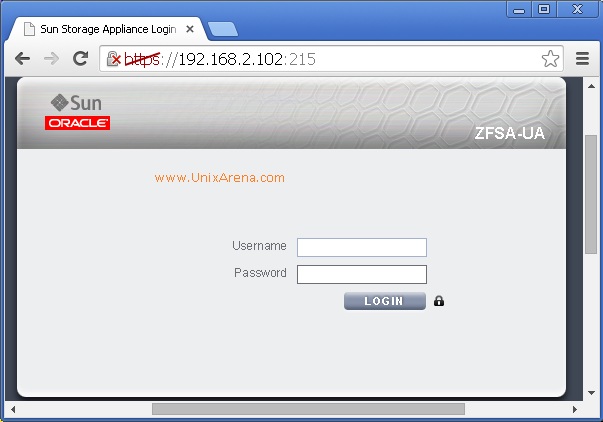
You can login to the appliance with root and password which is configured in step 7.
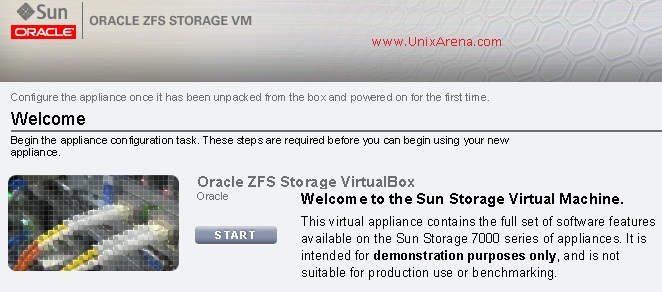
10.Once you have logged in to the web page , you will below screen.Just Click on start
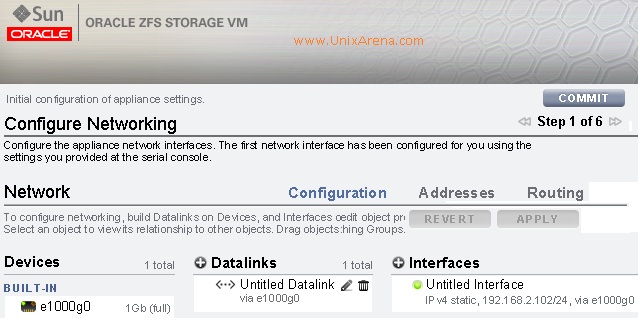
11.You can configure the additional network here. If you don’t want to configure just commit and continue.
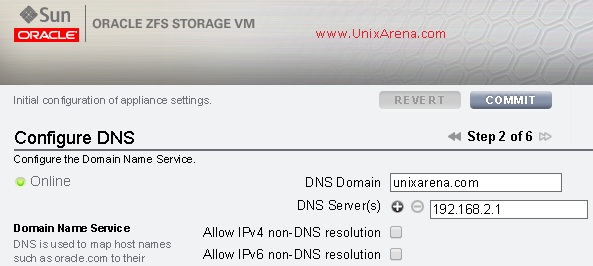
12.Configure DNS . Since we have done these steps in VM console , Just commit and continue.
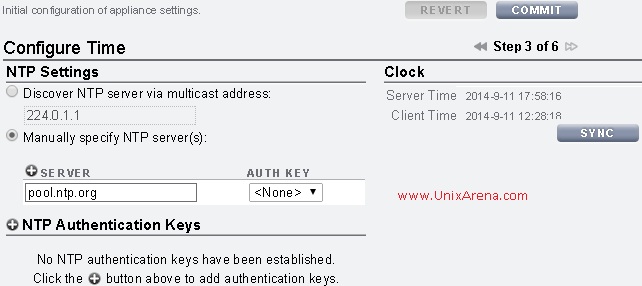
13.Set NTP server and Click on commit it .
14.Configure the Name services if required.

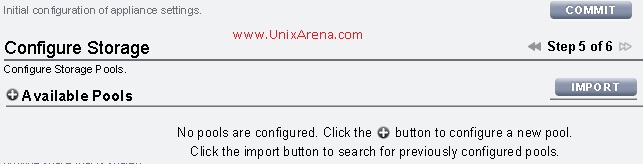
15.Configuring the Storage pools. We can configure later.
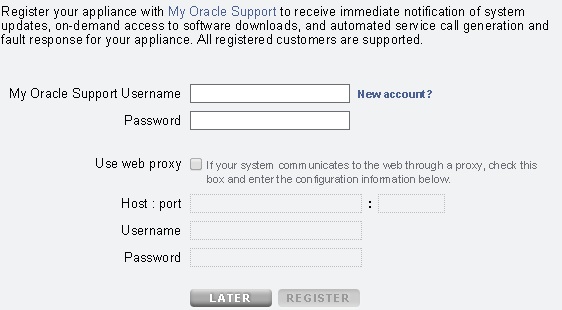
16.If you want to resister with oracle , you can do it . Since this is just simulator, click later to skip registration.
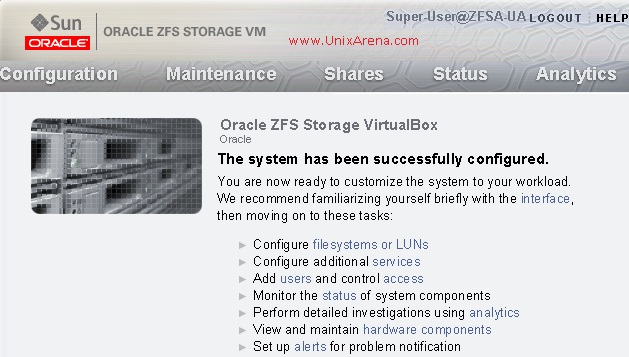
17.We are done. ZFS Storage appliance is ready to provision LUNS and shared filesystems.
We have successfully installed and configured the ZFS storage appliance. You can also access this appliance via ssh .But Oracle Solaris 11 commands will not work. You have to use some special set of commands. In the next article,we will see how to provision LUNS and creating the NFS shares to the clients.
Share it ! Comment it !! Be Sociable !!!