


This articles demonstrates that how we can migrate the virtual machine from Virtual box to VMware workstation . Virtual box can able to export the VM in OVA file format (Open Virtualization Archive) which can be easily imported in VMware workstation. I have forced to install Oracle Solaris 11.2 on Virtual box and now i just want migrate the Solaris 11.2 VM to VMware workstation since virtual box is not supporting the Solaris kernel zones. There may be a chance that VM guest may not recognize the new virtual hardware after the migration and you need to perform the reconfiguration reboot for the VM.
Exporting the VM from Virtual Box:
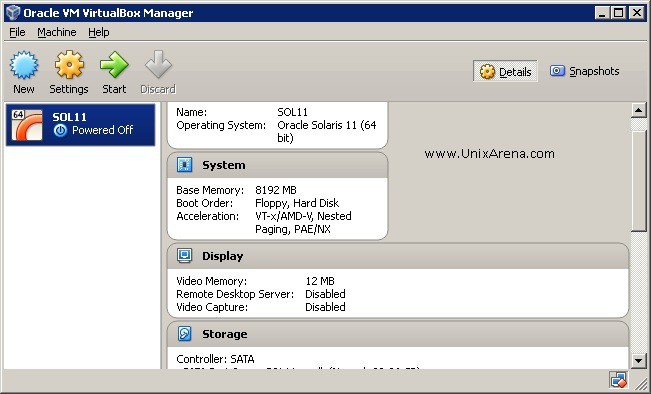
1.Open the Oracle VM virtual box.
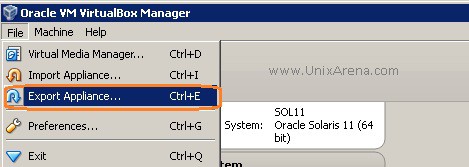
2.Click on File – > Export Appliance .
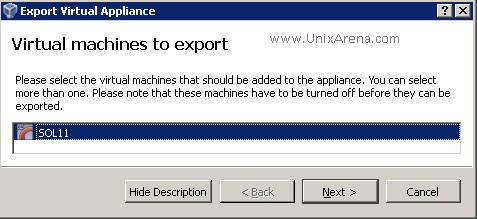
3.Select the Virtual machine to export.
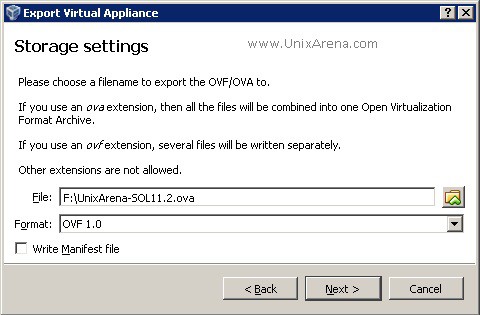
4.Select the destination for OVA file.
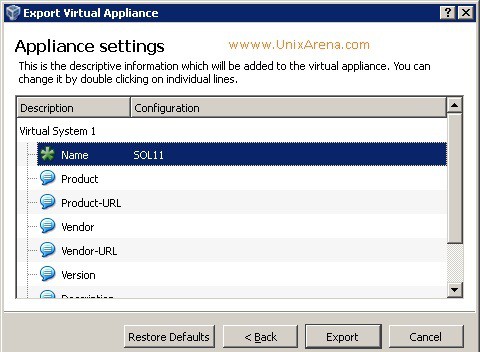
5.Here is the appliance settings. No need to modify anything here. Just click on export.
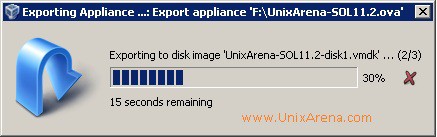
6.Here you can see the progress of the appliance export.
Import the Appliance on VMware workstation:
1.Open VMware workstation to import the OVA file.
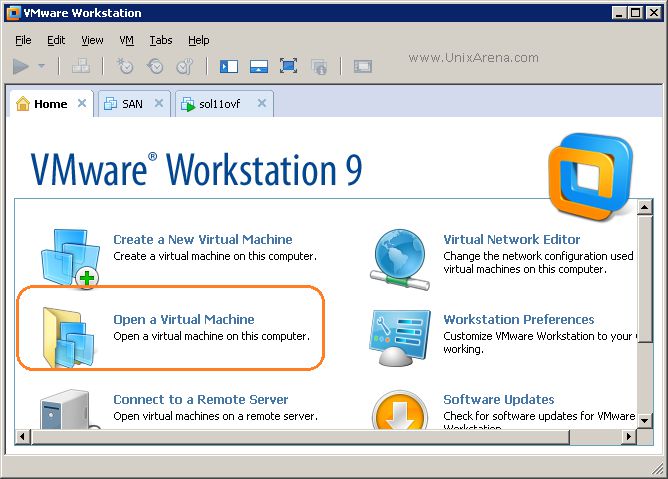
2.Click on Open a virtual machine and select the OVA file which we have exported from virtual box.
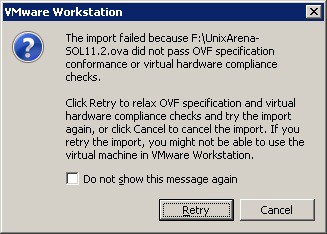
3.Import may fail due to hardware compliance check. Just retry the operation for relax OVF specification and hardware compliance check.
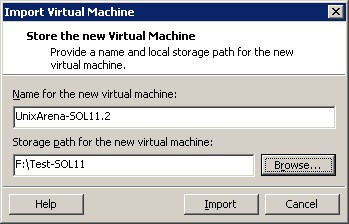
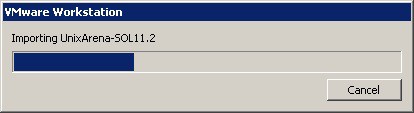
4. You can see that VMware workstation is importing the virtual machine.
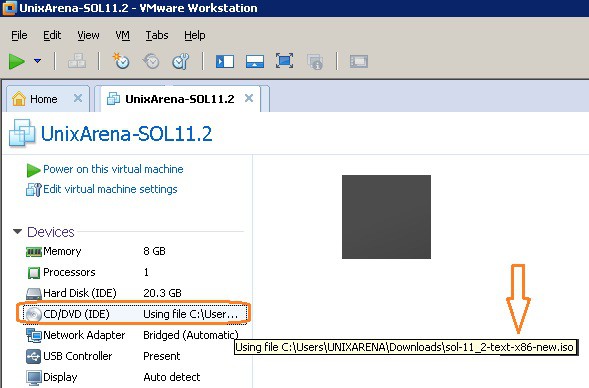
5.Once the VM is created , attach Solaris 11.2 bootable ISO to the VM to perform the reconfiguration reboot.
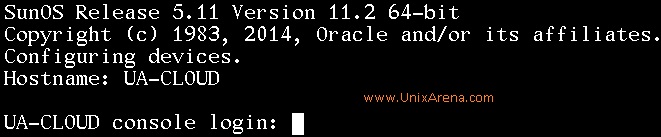
If you simply boot from hard drive, VM will panic like below.

Recovering Oracle Solaris 11.2 from the Panic: (Due to hardware changes)
1.Power on the VM and boot from DVD/CD . Select the keyboard as US-English (Default) and Language as English (Default).
2.You will get below menu.Select “Shell” for recovering the OS.(Option-3 )
1 Install Oracle Solaris
2 Install Additional Drivers
3 Shell
4 Terminal type (Currently sun-color)
5 Reboot

Please enter a number [1]:3
To retrun to the main menu ,exit the shell
root@dhcppc1:/root#
3.Import the rpool and mount it .
root@dhcppc1:/root# zpool import -f rpool
root@dhcppc1:/root# beadm list
be_find_current_be: failed to find current BE name
be_find_current_be: failed to find current BE name
BE      Active    MountPonit Space  Policy  Created
--      ------    ---------- -----  ------  -------
Solaris R           -        10.00G static  2014-08-18 00:28
root@dhcppc1:/root#mkdir /recover
root@dhcppc1:/root#beadm mount solaris /recover
4.Re-configure the OS with new device information using below command.
root@dhcppc1:/root#devfsadm -Cn -r /recover
root@dhcppc1:/root#
5.Create a file for reconfiguration reboot and unmount the BE
root@dhcppc1:/root#touch /recover/reconfigure
root@dhcppc1:/root#beadm umount solaris
root@dhcppc1:/root#exit
6.Just select 5 option 5 to reboot the system.
1 Install Oracle Solaris
2 Install Additional Drivers
3 Shell
4 Terminal type (Currently sun-color)
5 Reboot
Please enter a number [1]:5
7.Detach the oracle Solaris 11.2 ISO image from CDROM and boot the VM in harddrive.
8.Now System is completely up without any issue.
Apart from the OS reconfiguration part, this migration procedure will be same for other guest OS.
Share it ! Comment it !! Be Sociable !!!