

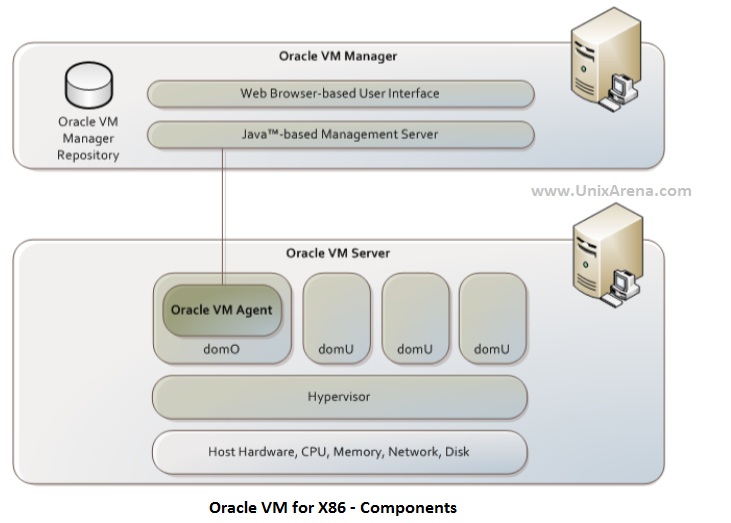
Oracle VM for X86 is a native hypervisor which is directly runs on the host’s hardware.This hypervisor is based on xen technology and it requires very small footprint on the hard drive to install it.Oracle VM server is directly installed on the baremetal computer and it contains the oracle VM agent to manage the communication with oracle VM manager. By default, this hypervisor system is called dom0 (Domain zero) which also be called privileged domain since it has direct access with hardware. Virtual machines will be called as domU which is unprivileged domain and doesn’t have direct control on the hardware.
This product is similar to VMware vSphere and you can see the comparison between these two products here.
The below image shows the oracle VM for x86 components.
Here we will see the installation of dom0 (dom zero) / Oracle VM server . This installation will be almost similar to Linux installation.
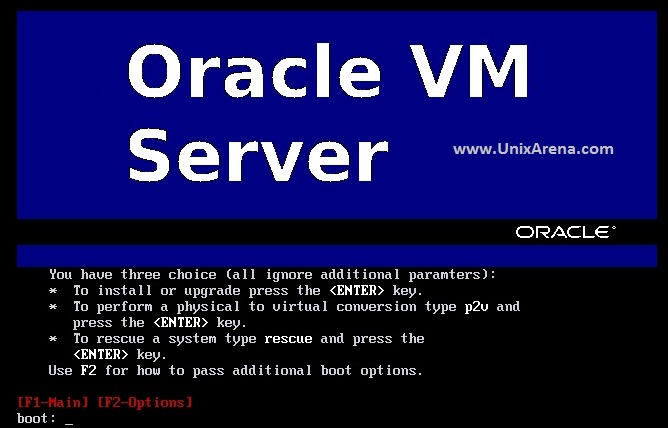
1. Download the oracle VM server from oracle and Burn it in DVD . Insert the DVD in to physical server .
2.Power on the server and select the DVD/CD as boot device.Once you get the boot prompt , just enter to continue.
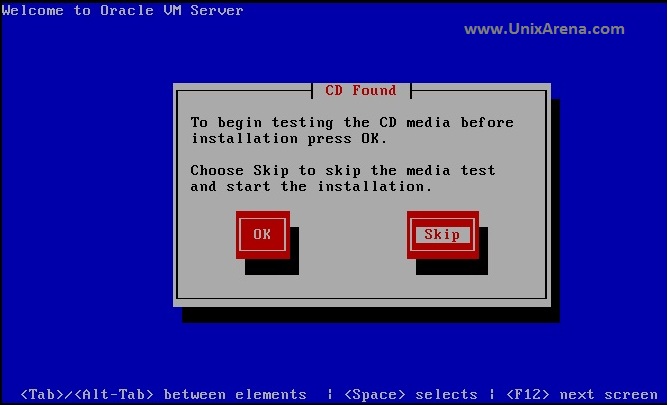
2.Skip the DVD check .
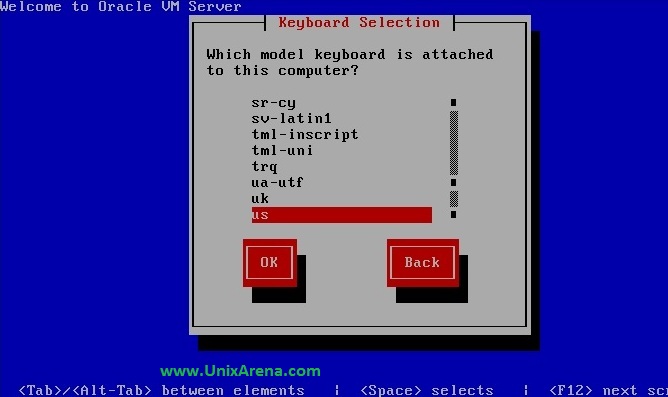
3.Select the keyboard layout. Let me go with default one.
4.Accept the license .
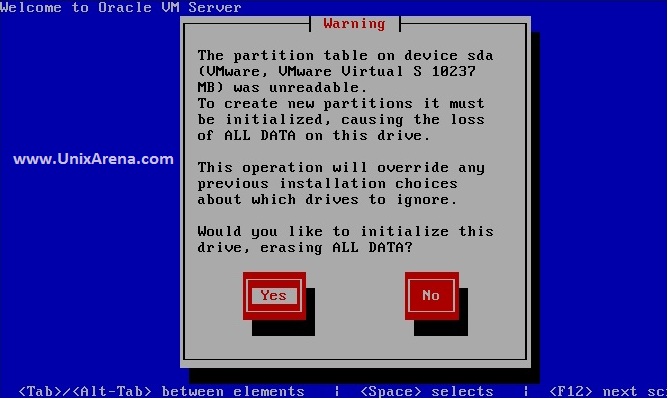
5.Erase the data on the disks and continue.
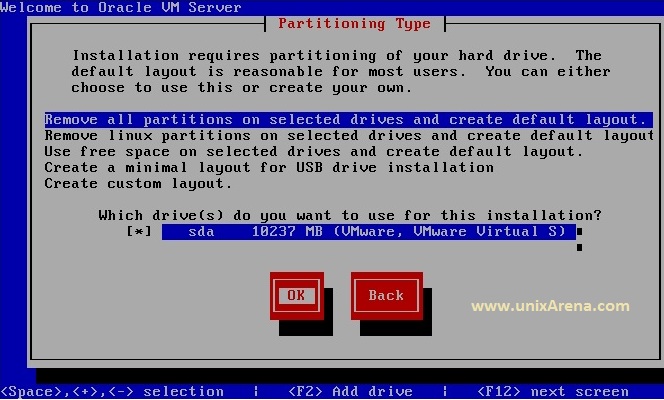
6.Select the disks for oracle vm server installation.
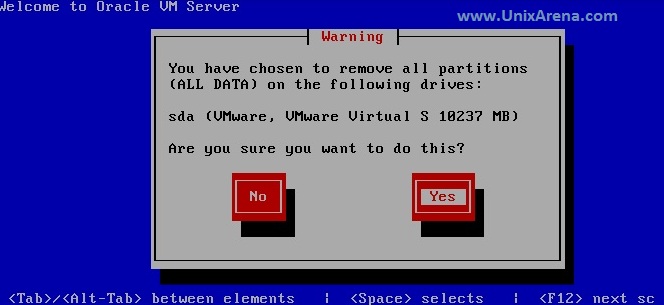
7.Click on yes to remove existing partitions.
8.No need to modify the default layout.

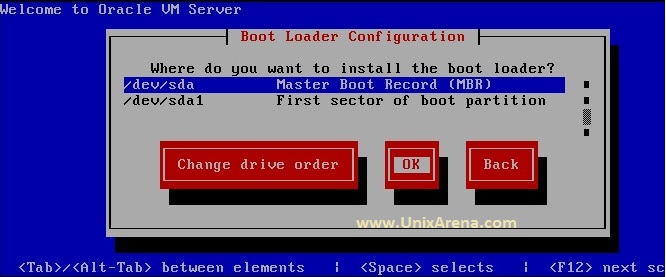
9.Select the boot order. Just continue with defaults.
Click on the page 2 to see the installation steps of oracle VM server.
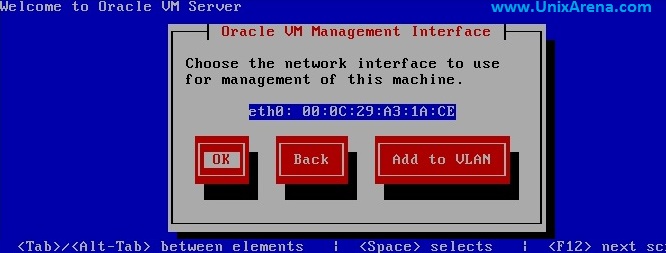
10.Select the interface for oracle VM server management.
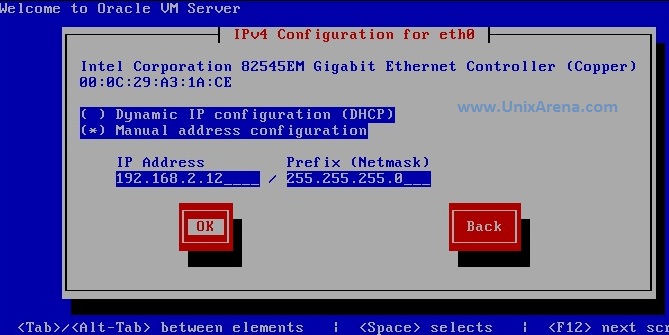
11.Enter the Static IP and Netmask for oracle VM server.
12.Specify the Gateway . If you don’t have one ,just leave it blank and proceed. I don’t need to specify gateway since all the servers are in same network.

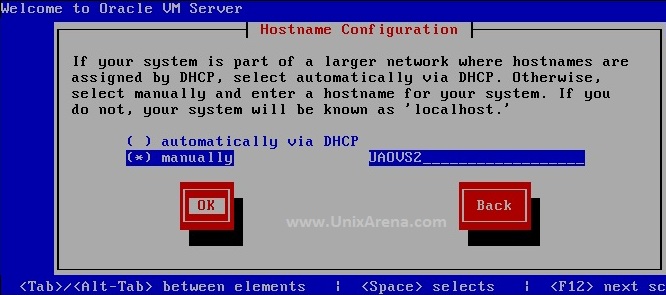
13.Enter the Oracle VM server hostname.
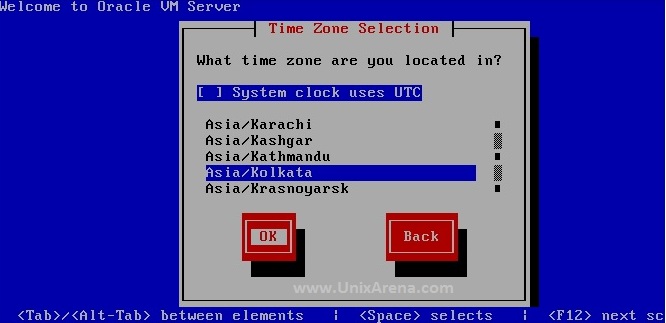
14.Select the timezone according to your region.
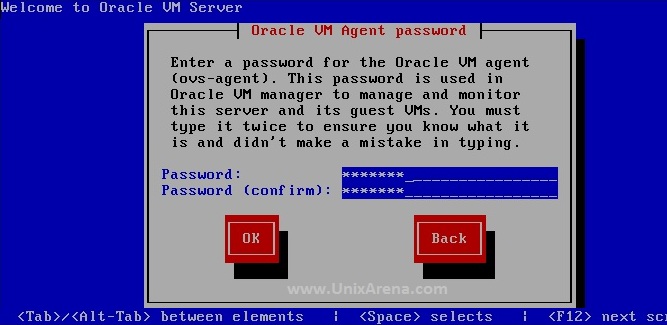
15.Enter the ovs-agent password.You need to provide this password to connect to OVM manager.
16.Enter the OVS server root password. This is typical Operating system super user password.

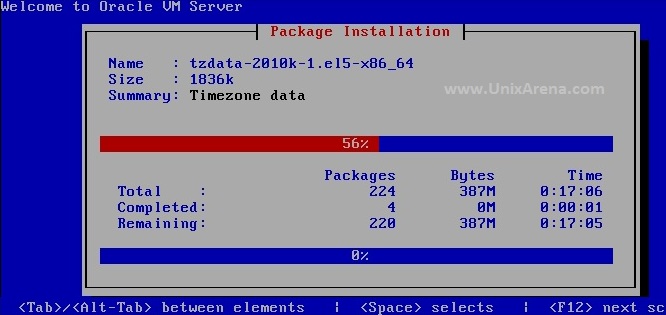
17.Now the installation will kick off. It will hardly take 5 minutes.
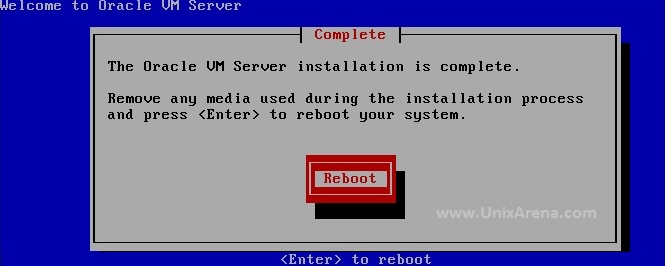
18.Reboot the node once the installation is completed.
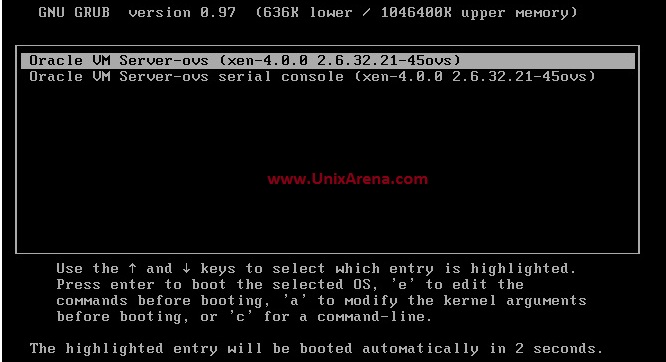
19.Remove the DVD and let the system to boot from harddrive. You can see the grub menu before booting the OVS.
20.Once the OS is booted, you can see the OVS console.
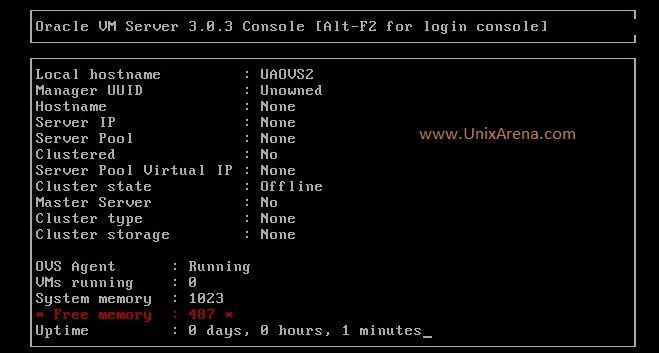
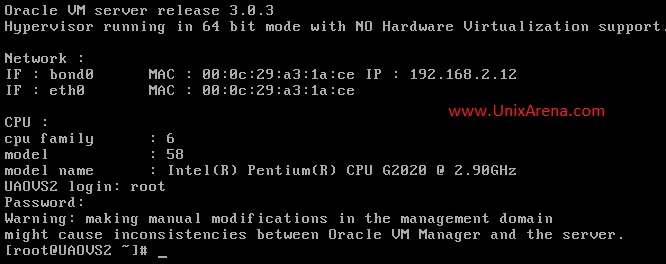
21.Press Atl-F2 to navigate to typical bash shell login prompt.Enter the root user credentials and login
In this article , the installation looks lengthy, but actually it just took 15 minutes for this complete installation of oracle VM server .
Without Oracle VM manager, we can’t do much on oracle VM server. We will see oracle VM manager installation in next article.
Thank you for visiting UnixArena.
Share it ! Comment it !! Be Sociable.