

In oracle VM for x86 series , we have already seen the installation of oracle VM server and Oracle VM manager. Once you have completed the installation of those softwares, you need to add the oracle VM servers in to oracle VM manager to manage those server.You need to discover the oracle VM servers from OVM console and create a new server pool which is basic entity in oracle VM. You must create a server pool, even though if you have single oracle VM server. You can create a N number of server pools according your requirement. Typically all the server pools will be clustered and virtual machines can be live-migrated to balance the load across the physical machines aka OVM servers.
Here we will see how to discover the oracle VM servers and how to create a new server pool.
Oracle VM for x86 version : 3.0.3
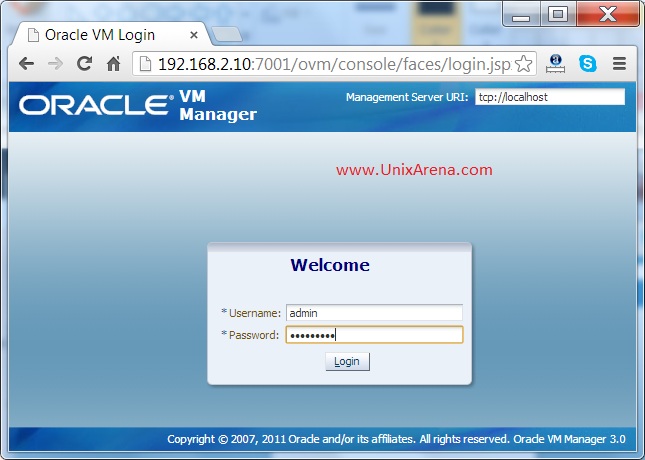
1.Open the browser and enter the Oracle VM manager IP and port number 7001. If you are using https, then port number should be 7002.
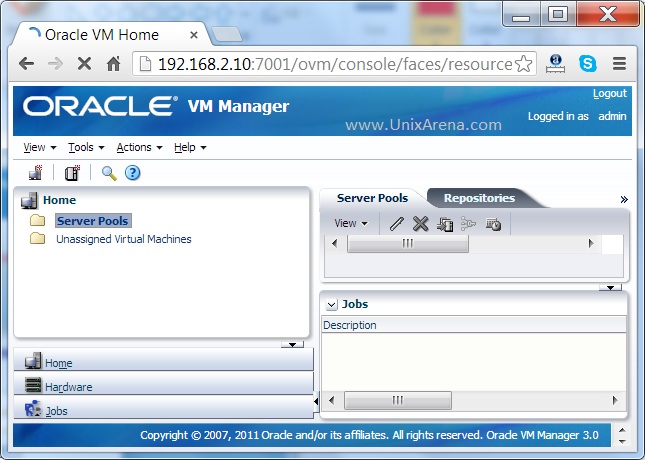
2.Once you have logged in ,You will get home tab like below one.
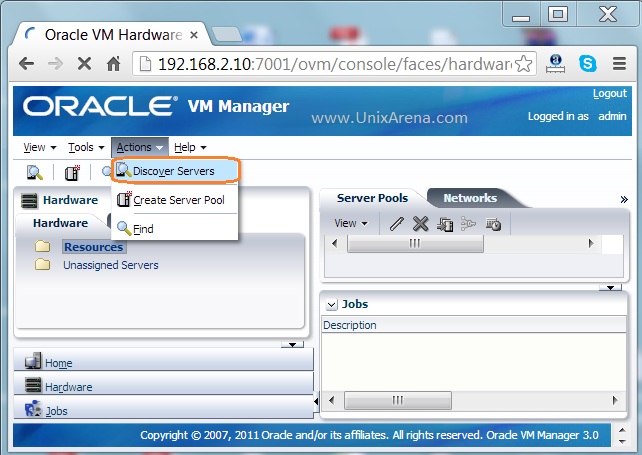
3.Click on the hardware tab . From the Top menu, click on Action and Discover servers.
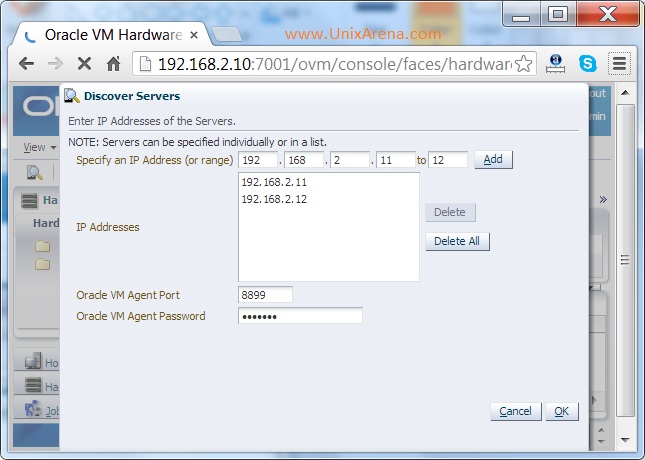
4.Enter the IP’s of the OVM servers. Its better to give server IP instead of giving the wide range. This operation is not very fast.You have to provide the oracle VM servers , VM agent password. Not a root password of oracle VM server.
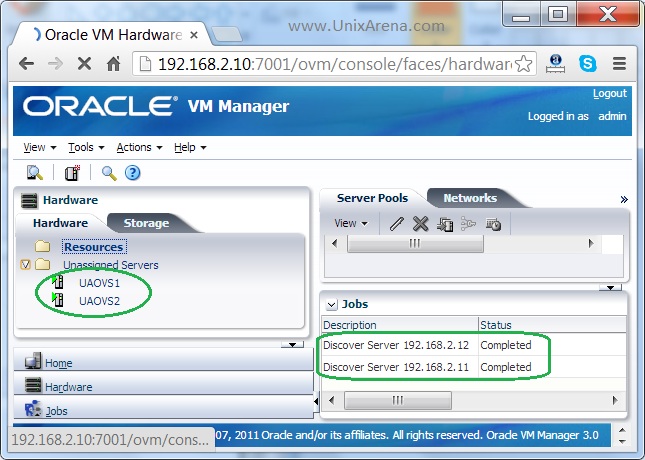
5.Once the servers are added, you can see the OVS servers are in unassigned directory.
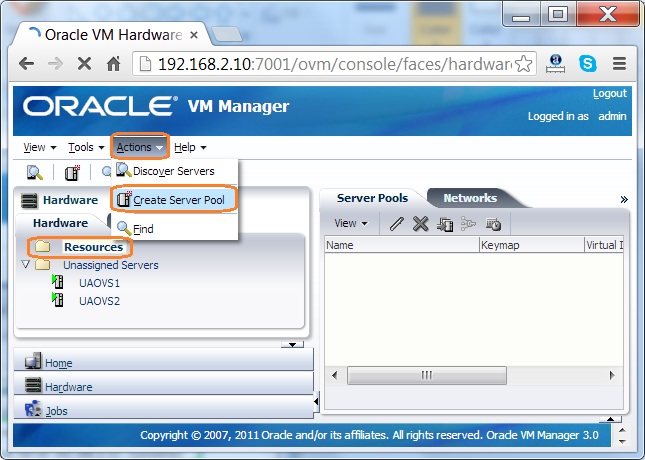
6.To create the new serveer pool, just click on the Resource and from top menu, select Action – > Create server pool.
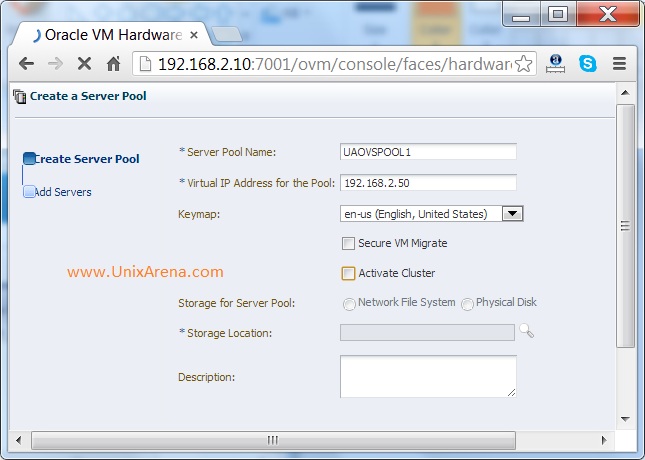
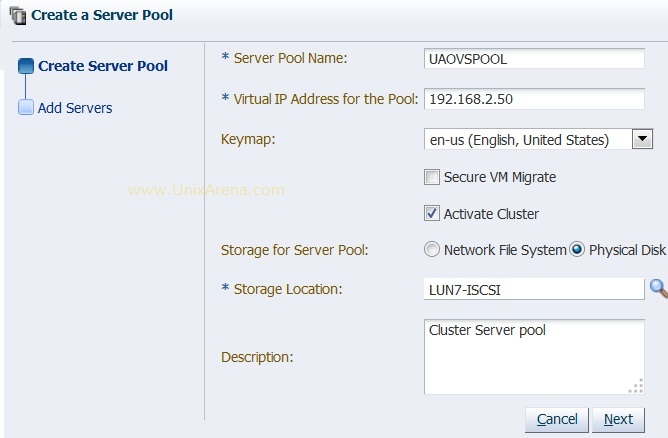
7.Enter the server pool name and enter the new virtual IP for server pool. Here you can activate the cluster if you want .If you activate the cluster , you need to provide the NFS share or physical LUN to store the cluster information. Here I am creating the server pool without cluster.
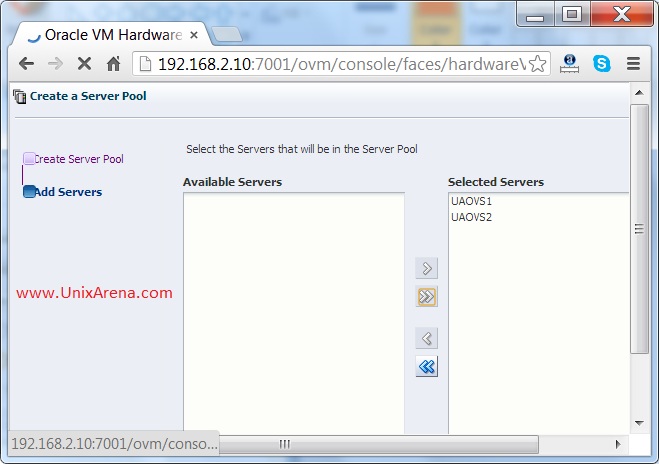
8.Add the oracle VM servers to the server pool.
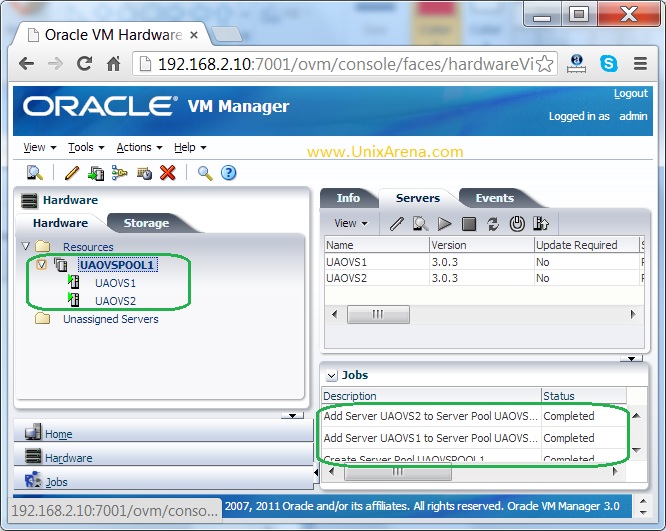
9.Once the operation is completed,you can see the new server pool under resource folder. Here you can see both the OVS servers moved from unassigned to pool.
We have successfully created the oracle VM server pool. But the one we have created is a non-cluster .By default oracle VM server pool will be clustered.
Click on page 2 to see how to create the OVM cluster server pool.
Once you have created the non-cluster server pool,then there is no way to modify it .You need to destroy the server pool and re-create it .
Note: You should have storage connected to OVM in a order to configure the cluster server pool.If you have ISCSI server, you can add it in OVM server.
In Step:7,
you have an option to activate the cluster. If you click on the “activate cluster ” option , window will ask you to provide the NAS share or physical disk to store the cluster information.
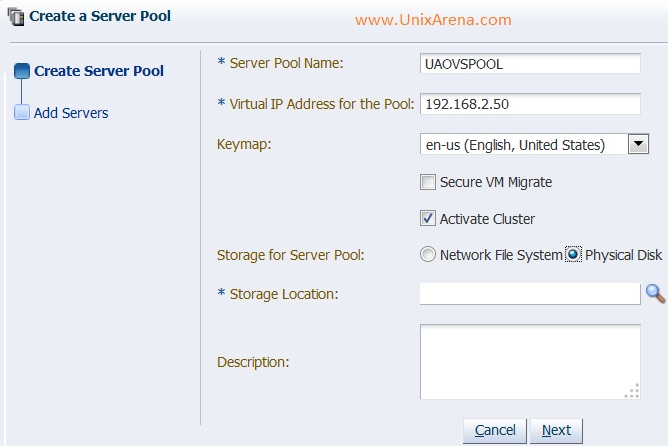
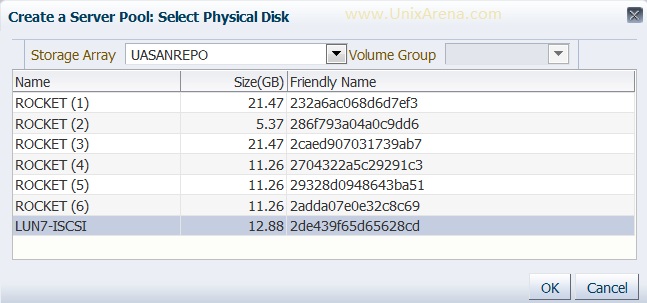
Once you have selected the “Activate Cluster” , you have to specify the storage to store cluster information.Here i have selected the physical disks. If you don’t have ISCSI physical disks , you have to configure it . Click on the search icon to scan the storage.I have selected 12.88GB LUN.
You will get the below screen. Click next to continue to add the Oracle VM servers.
Select the oracle VM servers and finish the wizard.
Once the server pool is created and cluster setup is ready ,you can see the server pool status like below.
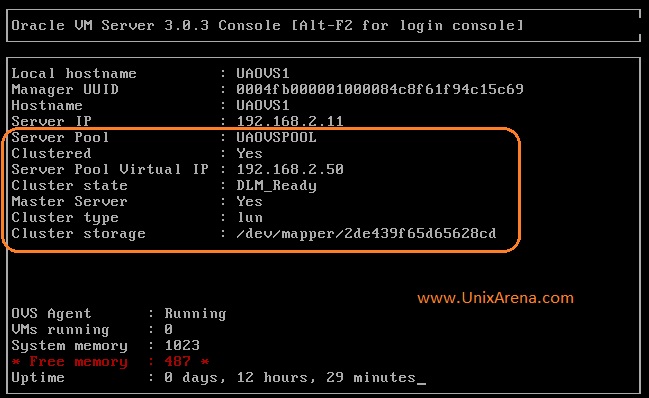
You can see the cluster status from oracle VM server console as well.
We have successfully created the cluster oracle VM server pool.
Hope this article is informative to you.
Share it ! Comment it !! Be Sociable !!!