


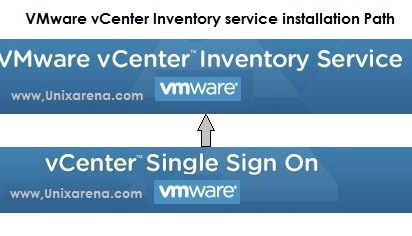
Vmware vCenter Inventory service is one of the prerequisites for vCenter server installation.It stores vCenter server inventory data and server application data.It also allows you to search the inventory objects across linked vCenter server instances. To install Inventory service,you required Vmware vCenter single sign on (SSO).After installing SSO on the server,you can start the inventory service installation. Here we will see the step by step installation guide of VMware vCenter Inventory service with complete screenshots.

Prerequisite:
1. VMware vCenter Single Sign On.
Login to windows 2008 server in which you want to configure vCenter server.
1.Copy the “VMware vCenter Server 5.1” directory to windows 2008 server and execute the Vmware-Inventory-Service.exe from “Inventory Service” Directory or start autorun file.

2.Press OK to continue with English.
3.Press “Next” to continue the inventory service.

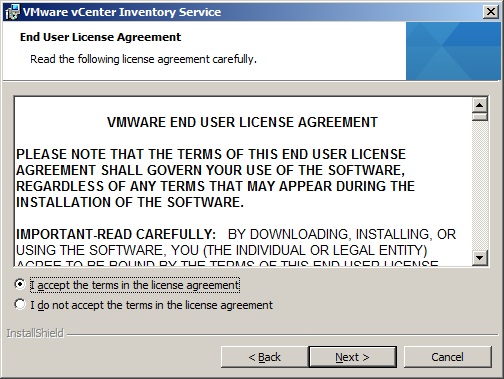
4.This is end user patent agreement ,Just press Next to continue.

5.Accept the license to continue.
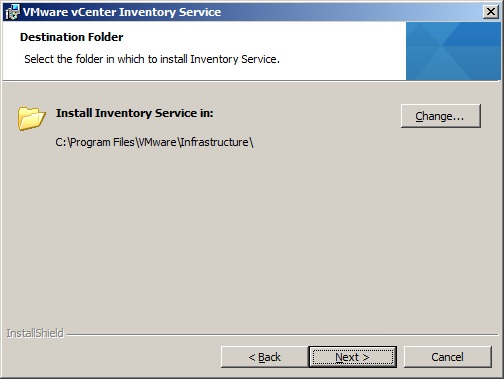
6.Select the inventory service location.
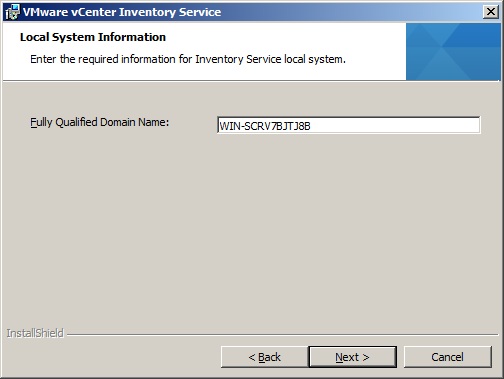
7.Enter the server name or IP address where you are installation inventory service.
By default ,it will take the local machine hostname. Click Next to continue.
8.Configure the ports for inventory service.I have chosen default ports.

9.Select the inventory size of you environment. You can see the JVM memory size in right side.

10.Enter vCenter Single Sign On credentials to continue the installation.

11.Click Install to kick off the inventory service installation.

12.Click Finish to complete the installation.

You have successfully installed the inventory service.So now you can start VMware vCenter Server installation.Good Luck.
Thank you for reading this article.