


Many of the Solaris beginners will be wondering that how to install Solaris 11.Here you go with step by step guide.There is no much difference compare to Solaris 10 Using DVD/CD installation method and you need to answer very less questions. Solaris 11 won’t ask you to select the filesystem types like UFS or ZFS since UFS root filesystem will be no longer supported on this version.Since Solaris 11 root filesystem is ZFS,it has great advantage in OS patching using Liveupgrade method.Another important feature over Solaris 10 is that you can have ISCSI disks as root disk.Solaris 11 has many advantages over Solaris 10 and will see those in upcoming days.Here i would like share the screen shots of Solaris 11 installation.
Here i have selected keyboard layout as US-English (Standard installation)

3.Select preferred language here.I have selected “English”

4.Here you have option to add additional drivers and modify terminal type.
You can also use this menu for OS recovery using option “3 Shell”.Let me go with option 1 to install Solaris 11.

5.This is a welcome screen which you will get in Solaris 11.
Note:In any window,press F2 to continue and Press F3 to go back to the previous screen.
Any time you can quit the installation by selecting F9.

I have choosen local disks.

7.If you have multiple local disks,Select the disk to install OS.Here my root disk is c8t10d0.
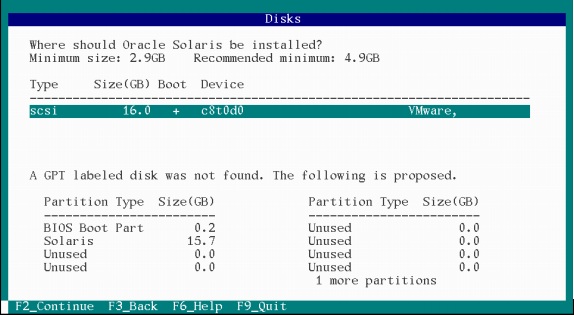
8.Select “Use the entire disk” option since we are going to use ZFS as root FS.

9. Enter the system’s hostname. My host name is “unixarena-SOL11”.

10.In the above menu,you can select “Manually” option to configure IP address manually.You can use TAB key to navigate in the screen.

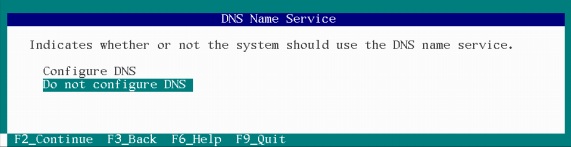
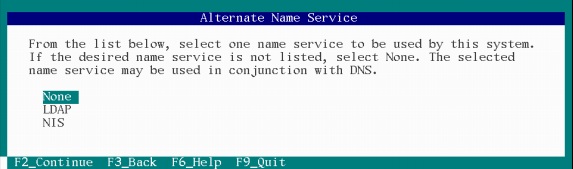
12.You have options to select alternative DNS .
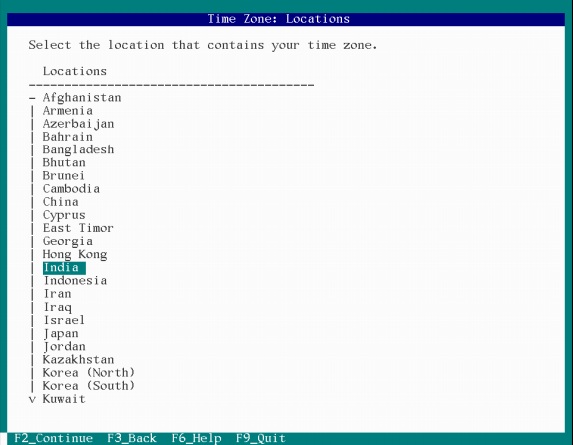
13.Now its time to select your timezone.

14.Timezone continues with location details.
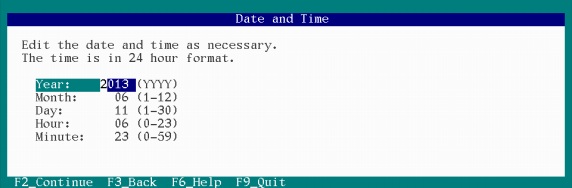
15.Set Date & Time now.


21.After system reboot, your system will boot in local hard disk and you will get below console screen.

root@UAAIS:~# pkg install slim_install
Linked image publisher check
root@UAAIS:~#
root@UAAIS:~# svcadm enable gdm
root@UAAIS:~# svcs -a |grep gdm
online         11:39:00 svc:/application/graphical-login/gdm:default
root@UAAIS:~#